
Where to Find the Big Walk Map & Compass
A focused location route from the Crosswalk and Red Tower panel to the navigation-tool table inside the Map Room.
Table of contents
The portable map and compass are together on a table inside the Map Room. The blue Map Room sits below the Red Tower at approximately 3560, 1425, at the top of a long red staircase. You cannot collect the navigation tools until the group has opened that building.
Quick answer
- Lower the Crosswalk and enter the red side of the island.
- Complete enough challenges to place five red pieces in the Red Tower control panel.
- Take the golden key and pass it through all five cutters.
- Carry the shaped key to the blue Map Room below the tower.
- Open the long-staircase entrance, go inside, and check the table on the right for the portable map, compass, and laser pointers.
If the table is still behind a locked door, the group has not completed the Red Tower key route yet. The map and compass are pickups inside the room, not a reward that appears directly at the tower panel.
Find the Map Room from the Crosswalk
After lowering the Crosswalk, take the left branch into the red area with two large circular platforms. Look for a blue building reached by a long red staircase. That is the Map Room. The Red Tower control panel is uphill at about 3670, 1400.
Use the building colours and staircase as the final check. The coordinates are approximate route aids from one documented play route, not a complete or universally north-aligned map.
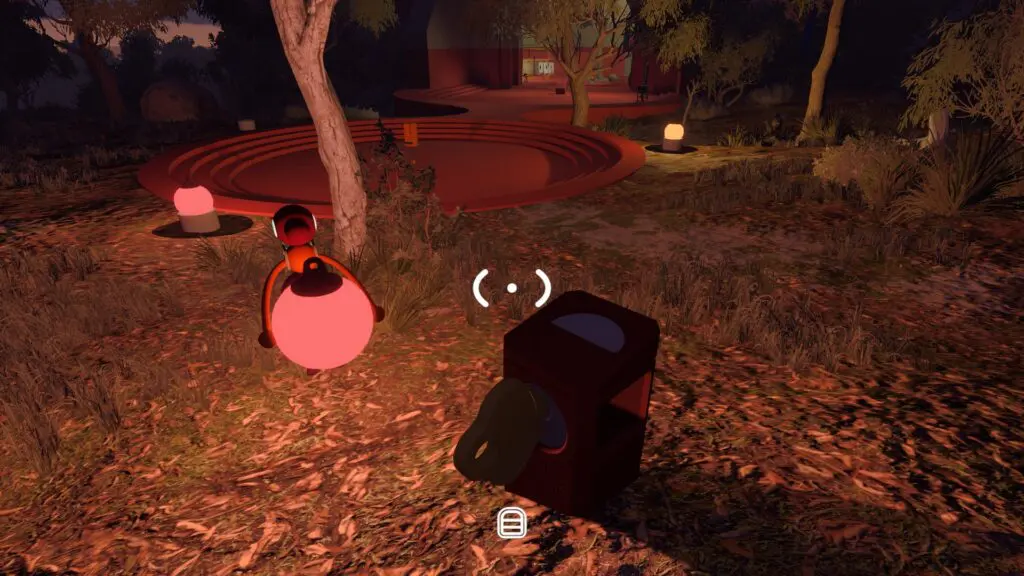
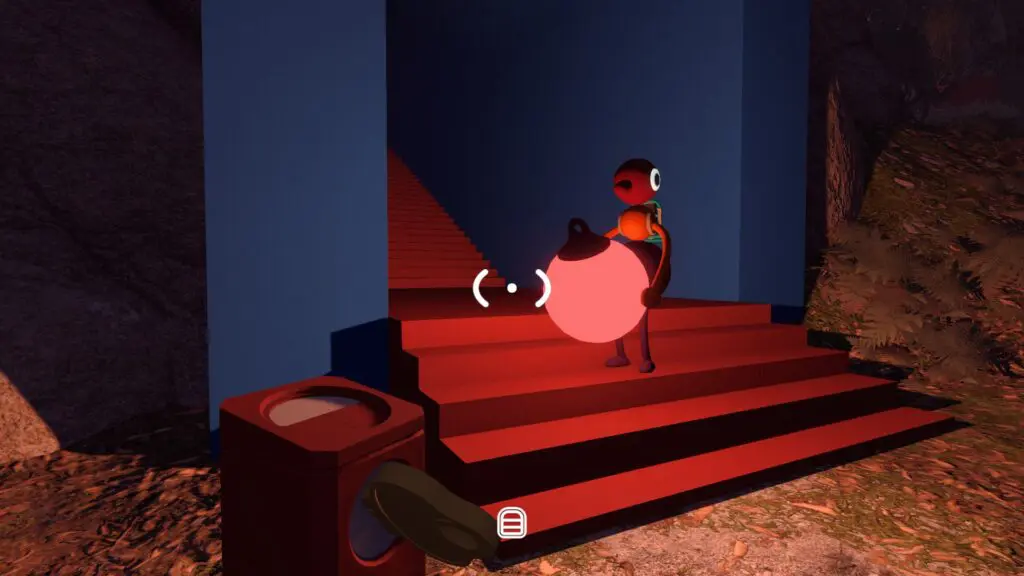
If the group has not filled the Red Tower panel, use the Map Room puzzle route. It gives five nearby challenge options, visible completion signals, recovery steps, and the complete key-cutter order.
Unlock the door without losing the key route
Five red control-panel pieces release an oversized golden key from the back of the Red Tower panel. The key does not fit the Map Room lock immediately. Start with the cutter beside the tower door, then follow the arrow exposed by each cut:
- beside the Red Tower doorway;
- on the downhill path beside rocks;
- farther down near a tree;
- at the entrance to the area with the two circular platforms;
- to the left of the Map Room's long staircase.
After the fifth cut, take the shaped key to the lock beside the Map Room entrance. If the group loses its place, return to the last cutter rather than carrying the key toward an unrelated tower or transport lock.
Pick up the map and compass
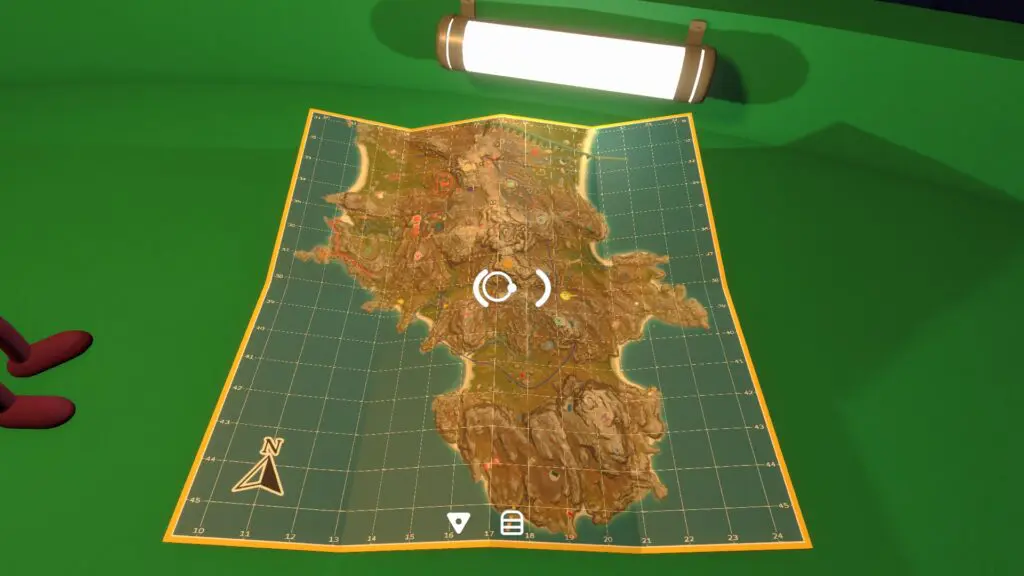
Enter the Map Room and check the table on the right. The portable map, compass, and laser pointers are grouped there. The large terrain model in the room is a separate orientation aid that becomes more useful as the group explores.
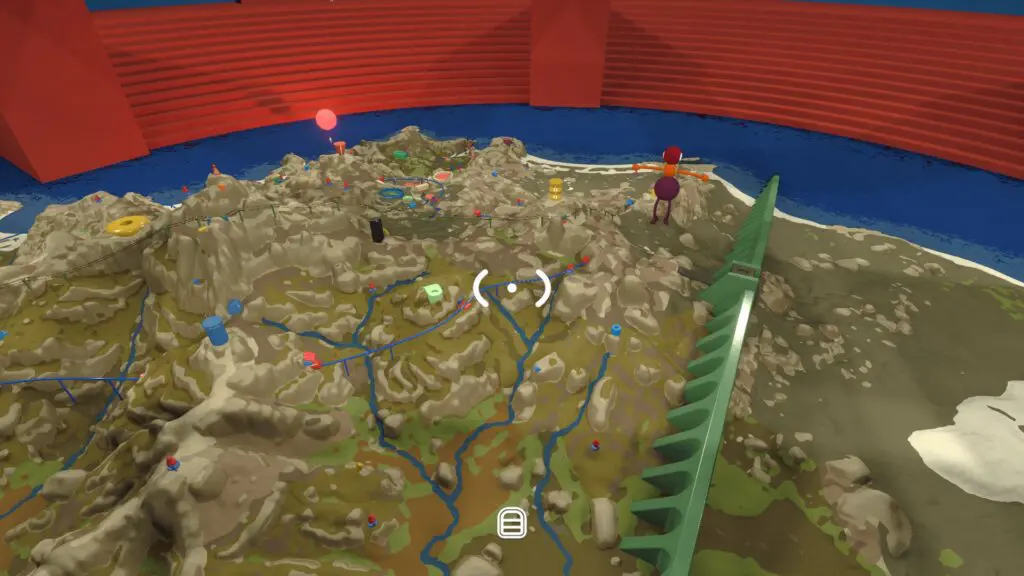
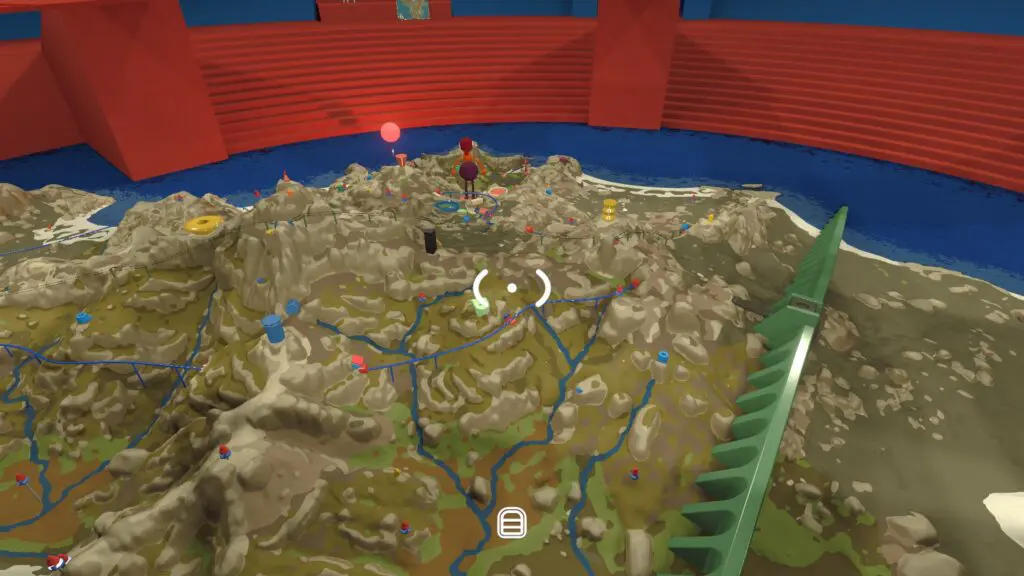
- Take the map when someone needs to read a target or compare grid squares.
- Take the compass when the group needs to hold a shared direction while moving away from the room.
- Keep a laser pointer with the navigator when pointing at a distant landmark will be faster than describing it.
These are shared world objects rather than a private menu inventory. Show the group who is carrying each tool before splitting up.
If you still cannot find them
Use the first condition that matches what you can see:
| What you see | What it means | Next move |
|---|---|---|
| The Crosswalk is still raised | The opening route is incomplete | Finish the four fixed Crosswalk puzzles |
| The Map Room door is locked | The Red Tower key route is incomplete | Fill the panel, collect the key, and use all five cutters |
| You found a tower but no long red staircase | You are at the wrong control region | Return toward the red side and look below the Red Tower |
| You entered the room but missed the pickups | You are looking at the terrain model instead of the tool table | Check the table on the right |
Do not use an approximate coordinate as stronger evidence than the blue building, long staircase, door state, and table. Those visible checks tell the group which prerequisite is actually missing.
Use the tools on the next route
Once one player has the portable map and another can confirm direction with the compass, open the map coordinate guide. It explains the two four-digit grid axes and provides the currently documented landmark lookup without claiming a full map.
For a broader route choice, use the landmark guide. To jump directly to the database records, open the map or compass entry.
Related guides
Big Walk Map Room Puzzles — Red Tower Solutions
Complete five useful Red Tower challenges, shape the golden key, and open the Map Room for navigation tools.
Read guideBig Walk Interactive Map — 230 Locations & Puzzles
Search 230 Big Walk locations on a terrain map, isolate all 45 puzzles, inspect solution cues and screenshots, track found markers, and open related wiki guides.
Read guideBig Walk Map & Landmarks — Scoped Route Guide
Navigate the opening area, Crosswalk, Map Room, tower routes, trains, chairlift, and tunnels without a false full-map claim.
Read guideBig Walk Communication Tools
Choose radios, walkie-talkies, megaphones, flares, cowbells, whiteboards, pointers, or gestures for the current constraint.
Read guide