
Big Walk Map Room Puzzles — Red Tower Solutions
A practical route through the glass room, beach maze, heavy-ball relay, hoop meter, and launcher return.
Table of contents
The Map Room is the first major navigation unlock after the Crosswalk. Its blue building and long red staircase sit below the Red Tower, but the key comes from the control panel at the top of that mountain.
The five challenges below are a compact route around the Red Tower. Unlike the four fixed opening puzzles, they are recommended nearby sources of red control-panel pieces. If your group has already completed other island challenges, their pieces can also advance this panel.
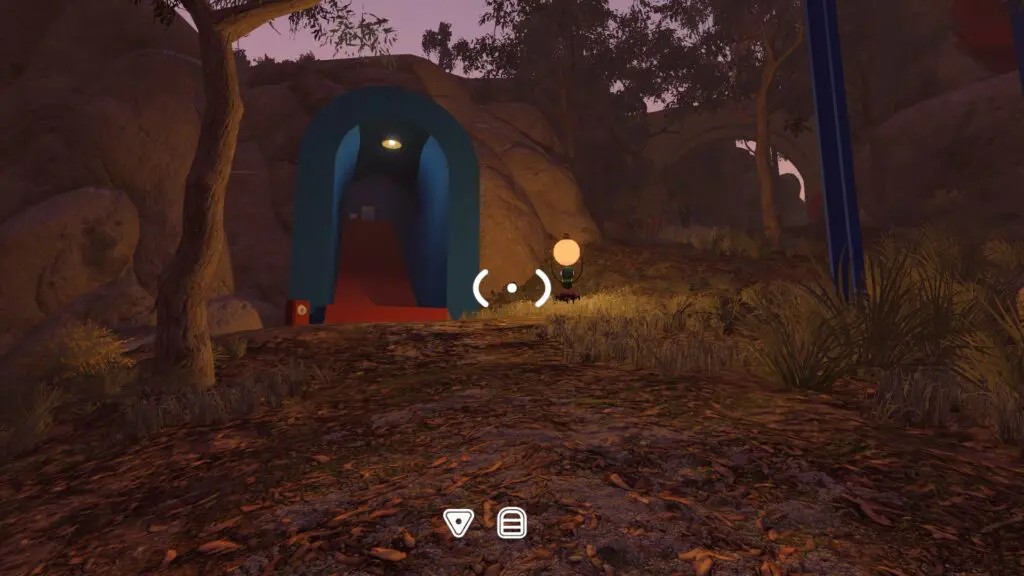
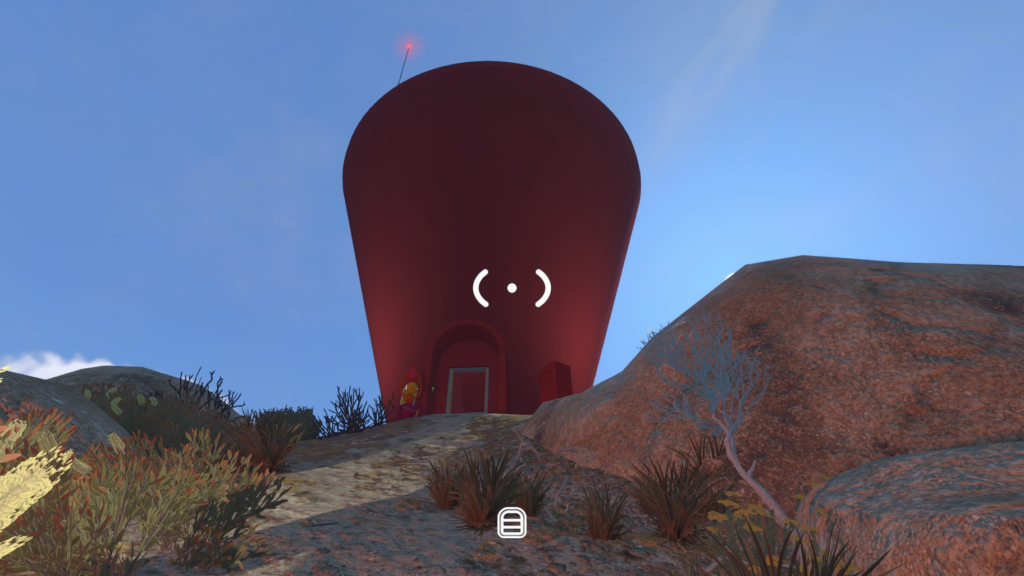
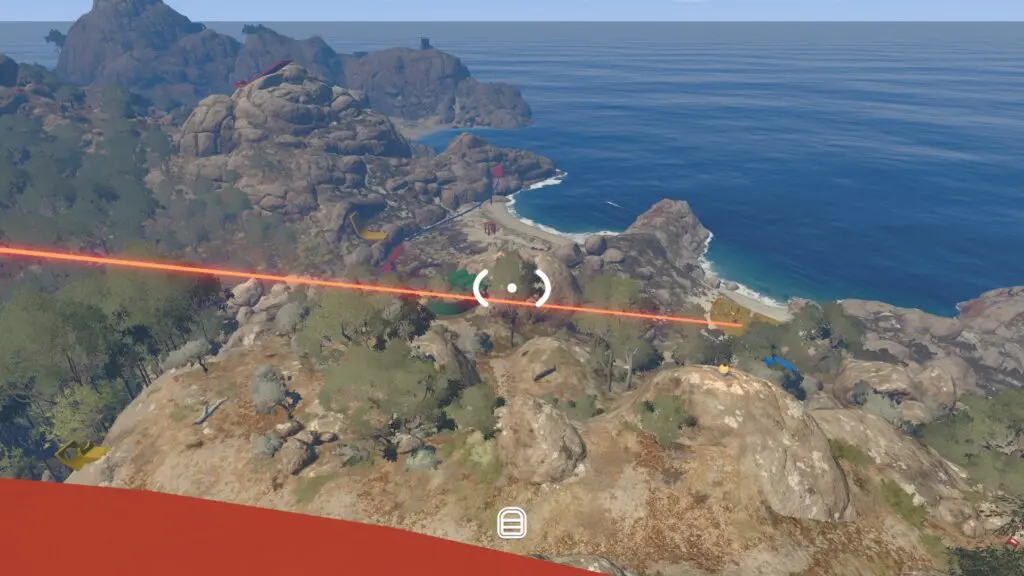
Find the Red Tower and Map Room
- Map Room entrance: approximately 3560, 1425.
- Red Tower control panel: approximately 3670, 1400.
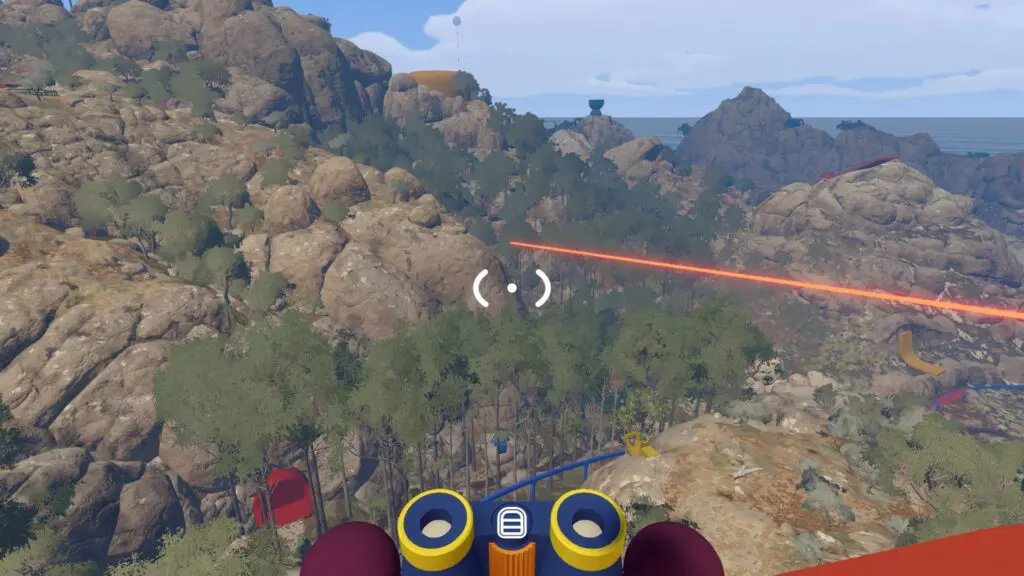
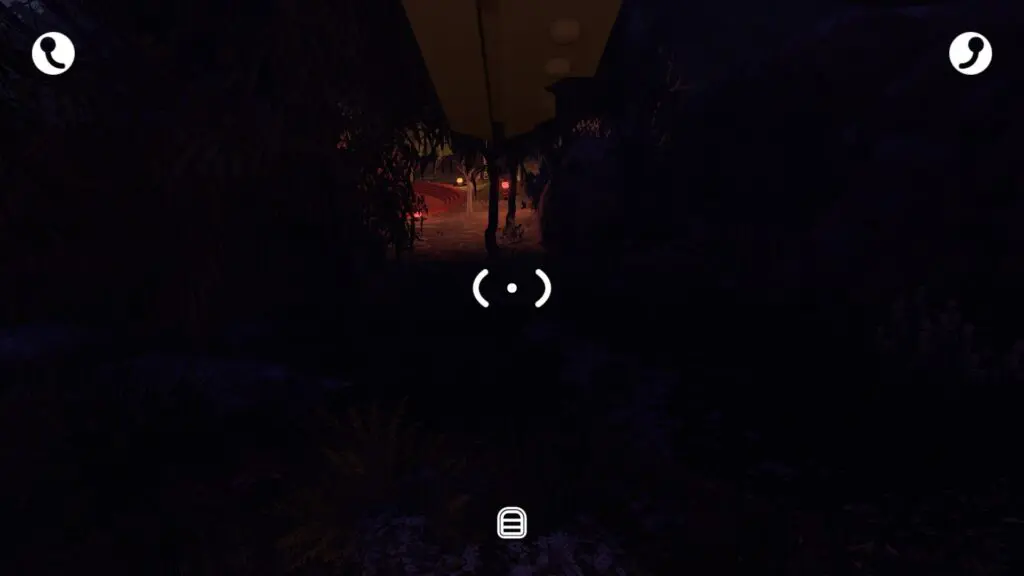
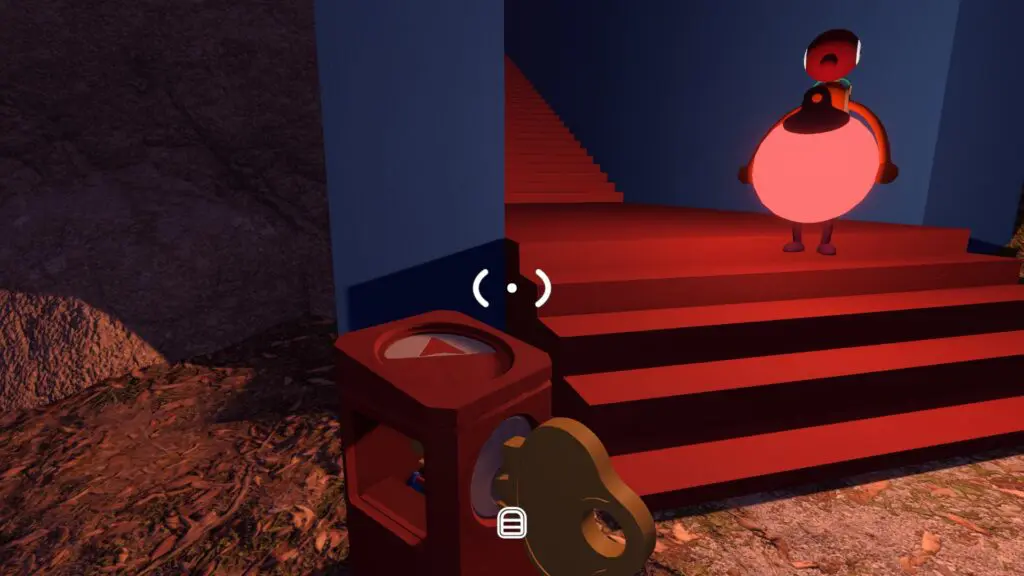
After crossing the red Crosswalk, take its left branch into the area with two large red circular platforms. The blue Map Room is reached by a long red staircase. Turn back toward the route you just descended and follow the second path uphill to the Red Tower.
The host's 2-, 3-, or 4+-player world can add active targets or raise a visible meter requirement. Use the exact number displayed in your session; the core actions below remain the same.
1. Glass room signals — point without speech
Use the focused Glass Room Signals guide for role setup, progress-bar checks, and wrong-press recovery.
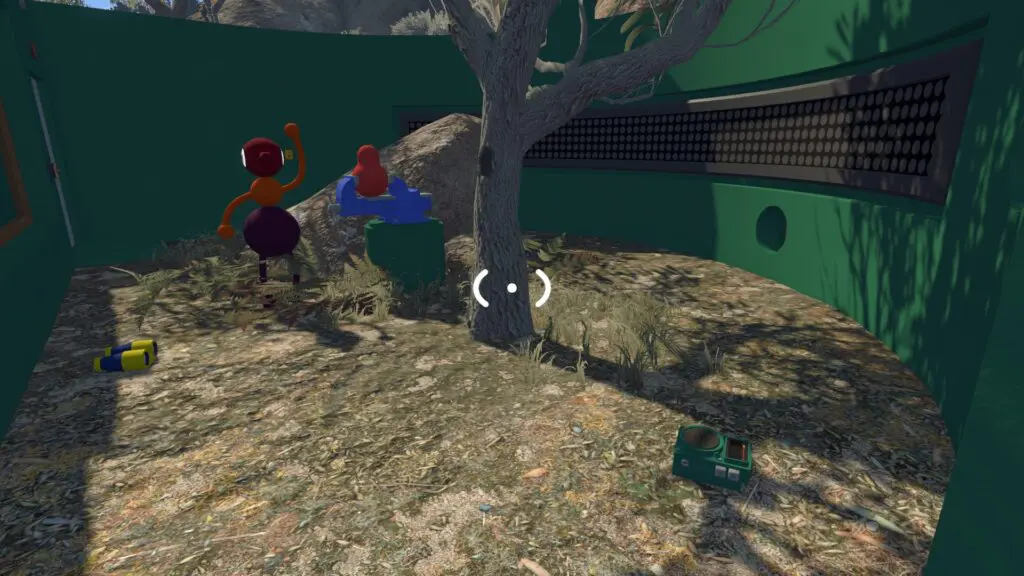
Find it: Follow the path down from the Red Tower to the green building at the bottom, around 3760, 1430.
Do it:
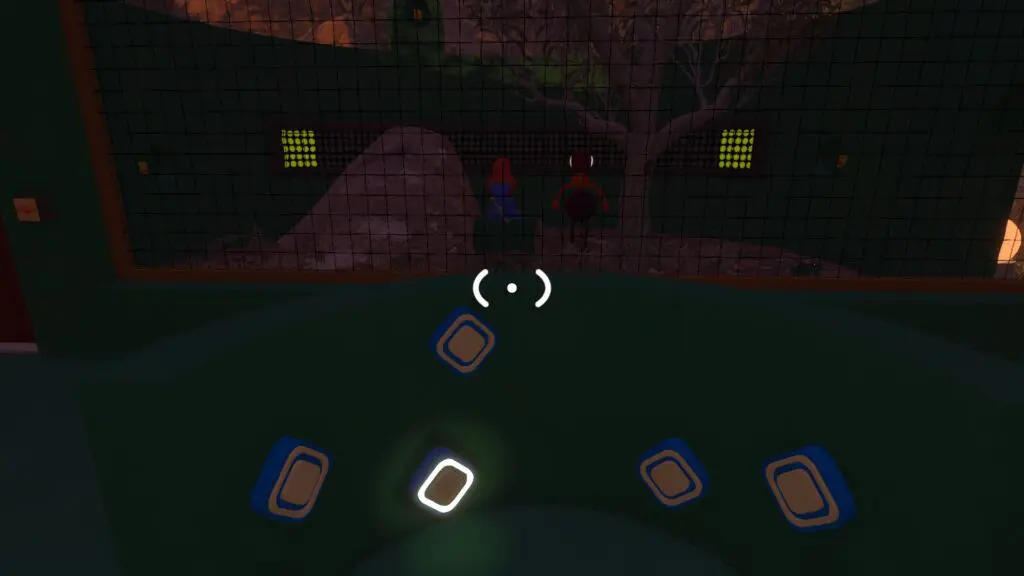
- One player enters the glass panel room. The door locks and one stone on the semicircular panel lights up.
- The inside player points toward the matching outside wall button. Treat arm direction as the message; the glass prevents normal communication.
- An outside player presses the indicated button.
- Repeat until the long progress screen fills. A 2-player run uses ten correct signals; follow the visible progress bar if your world differs.
Completion signal: the red control-panel piece unlocks when the bar is full.
Retry: a wrong press does not require abandoning the route. Stop, let the inside player face the intended button clearly, then continue one signal at a time.
2. Split beach maze — pass the timer through the window
Use the focused Split Beach Maze guide for the two entrances, handoff setup, and expired-timer recovery.
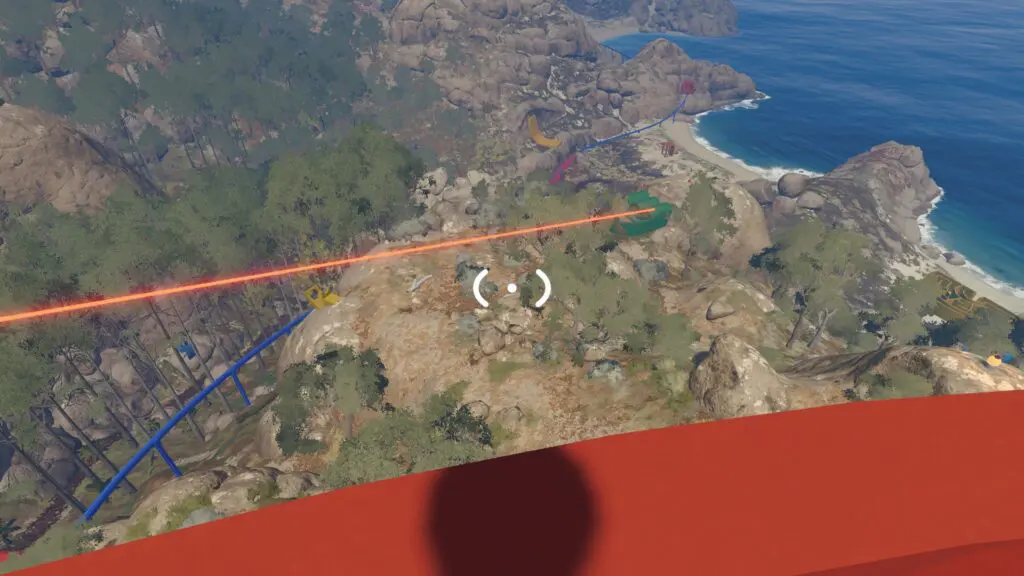
Find it: Go southwest from the glass room or tower to the beach maze, around 3840, 1350.
Do it:
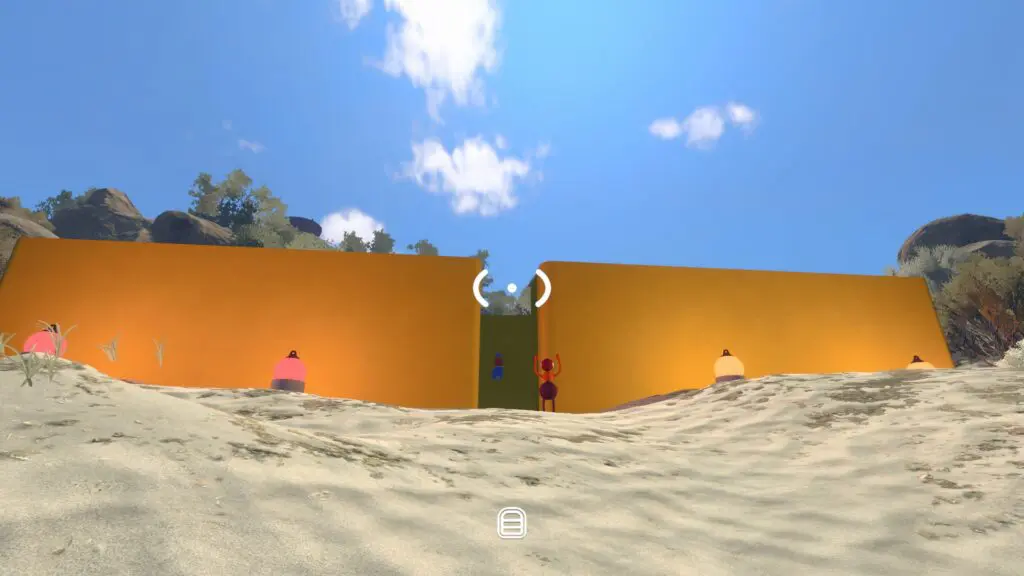
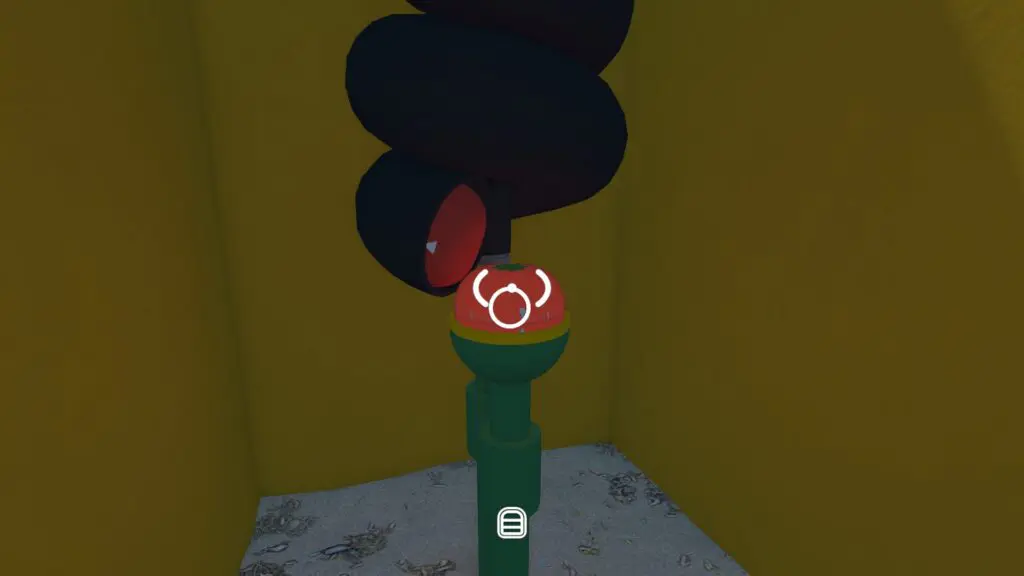
- Split the group: one route begins beside the tomato-shaped timer; the other ends beside its holder.
- Move through the separated paths until both players reach the communication window near the endpoints.
- The timer-side player passes the timer through the opening.
- The receiving player places it in the holder on their side.
Completion signal: the control-panel reward releases after the timer is seated.
Retry: if the handoff is missed or the timer expires, bring both players back to the window, confirm the receiver is ready, and make a shorter throw.
3. Heavy-ball relay — the holder cannot walk
Use the focused Heavy-Ball Relay guide for the handoff chain, group-size roles, and dropped-ball recovery.
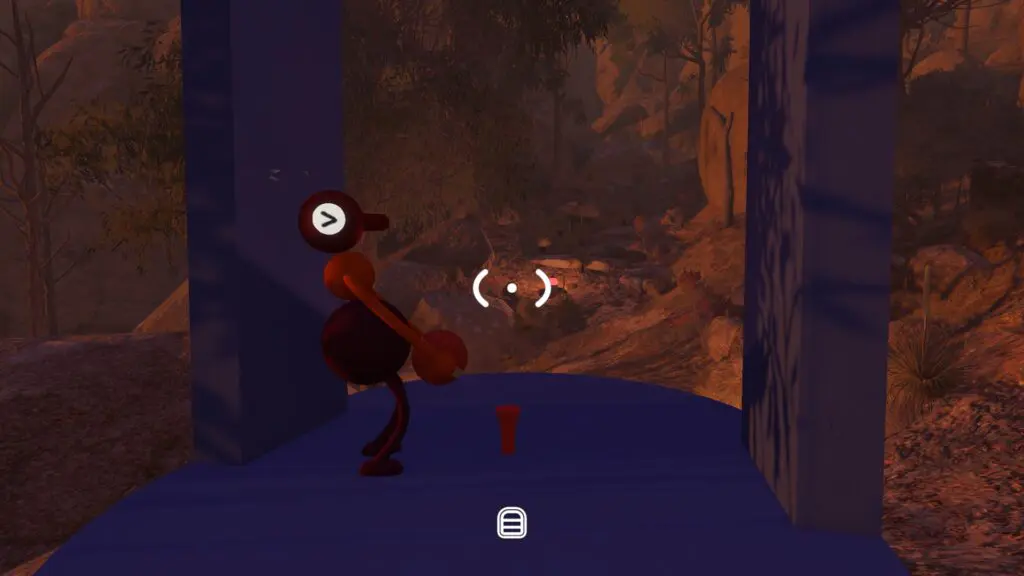
Find it: Cross the ravine southeast of the Red Tower and search the trees for a dark purple-blue platform, around 3740, 1620. A heavy ball rests on a spike at the start.
Do it:
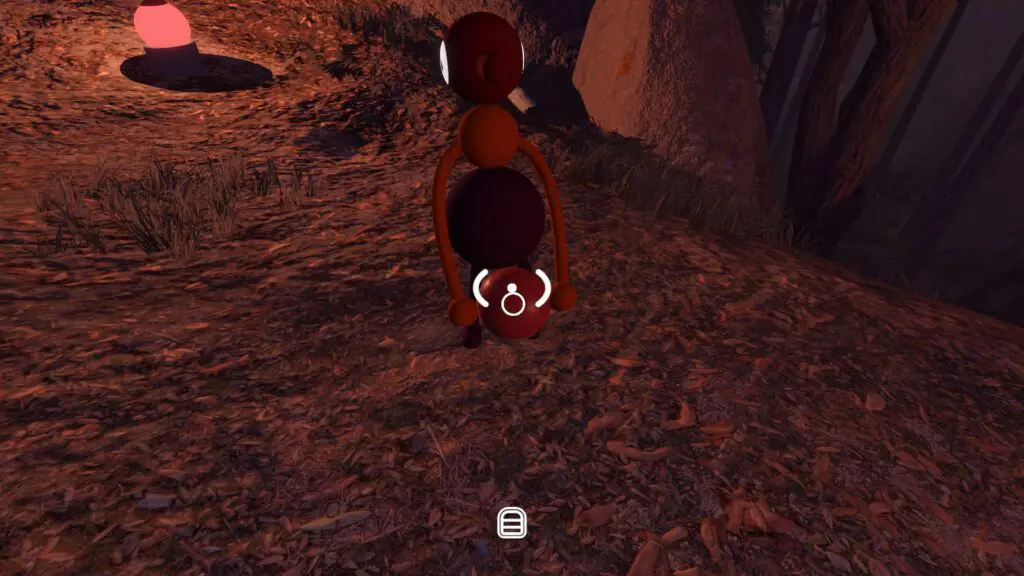
- The first player takes the ball and remains still; carrying it prevents movement.
- A teammate stands a short distance ahead, faces the holder, and takes the ball.
- The previous holder walks ahead and becomes the next receiver.
- Continue the relay uphill until the ball reaches the goal platform.
With three or more players, form a spaced chain before moving the ball. This is faster and makes it harder to lose the next receiver in darkness.
Retry: if the ball falls away from the route, the nearest free player retrieves it, stops, and restarts the relay from a stable patch of ground.
4. Hoop meter — throw lanterns, not the heavy ball
Use the focused Hoop Meter guide for the correct projectile, repeatable throw setup, and visible-meter rule.
Find it: The hoop stands in the same forest section, around 3830, 1560.
Do it:
- Bring at least one lantern to the hoop; a second lantern lets two players shoot without waiting for a return.
- Stand close enough to use a controlled upward throw.
- Put lanterns through the hoop until the visible meter is full.
In a 2-player world, one played route required eight successful baskets. Higher-player worlds may ask for a larger total, so the meter—not a memorized number—is the completion authority.
Retry: if throws keep clipping the rim, change distance before changing power. Retrieve the lanterns and shoot from the same repeatable spot.
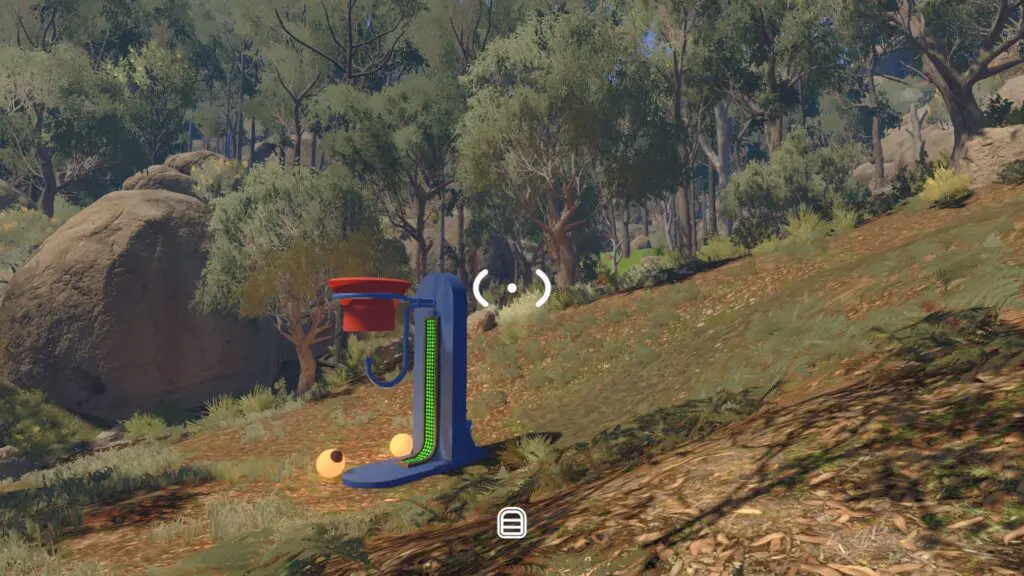
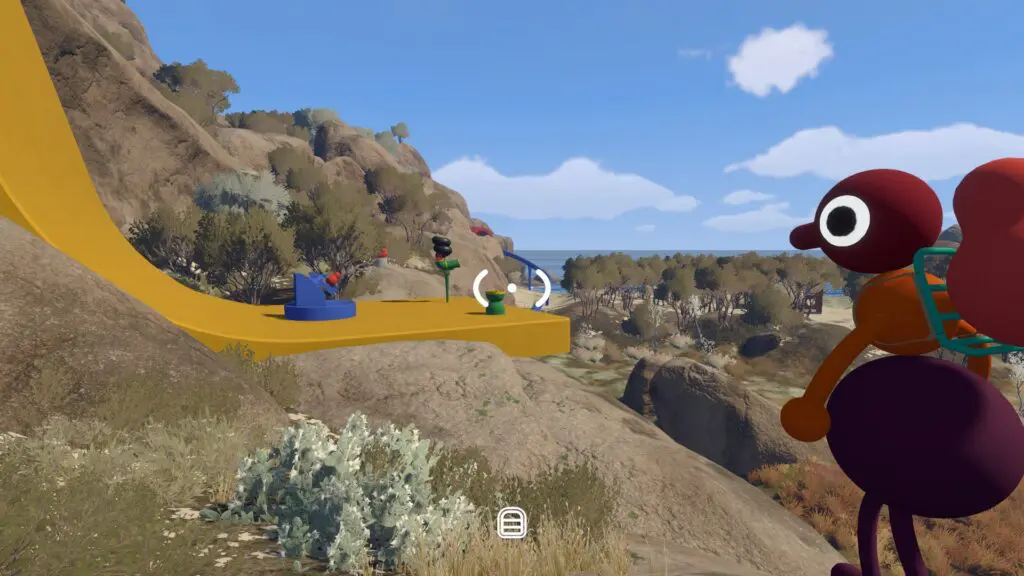
5. Launcher return — catch the timer before it expires
Use the focused Launcher Return guide for role staging, the return throw, and timer-expiry recovery.
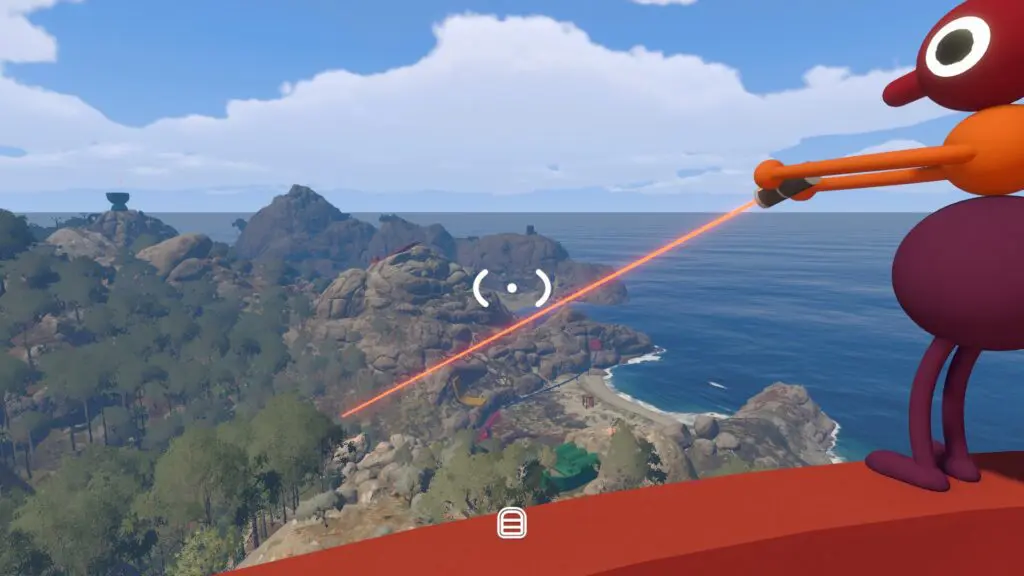
Find it: From the Red Tower, look toward the small train station for a visible yellow platform, around 3880, 1520.
Do it:
- Put one player in the field below before anyone activates the launcher.
- The platform player uses the shooter on the left. It fires a tomato-shaped timer into the field.
- The field player collects the timer and throws it back to the platform.
- The platform player places it into the hole on the green pedestal at the right side.
Retry: if time runs out, reset roles before firing again. The field player should wait near the expected landing zone and call out only after they are ready.
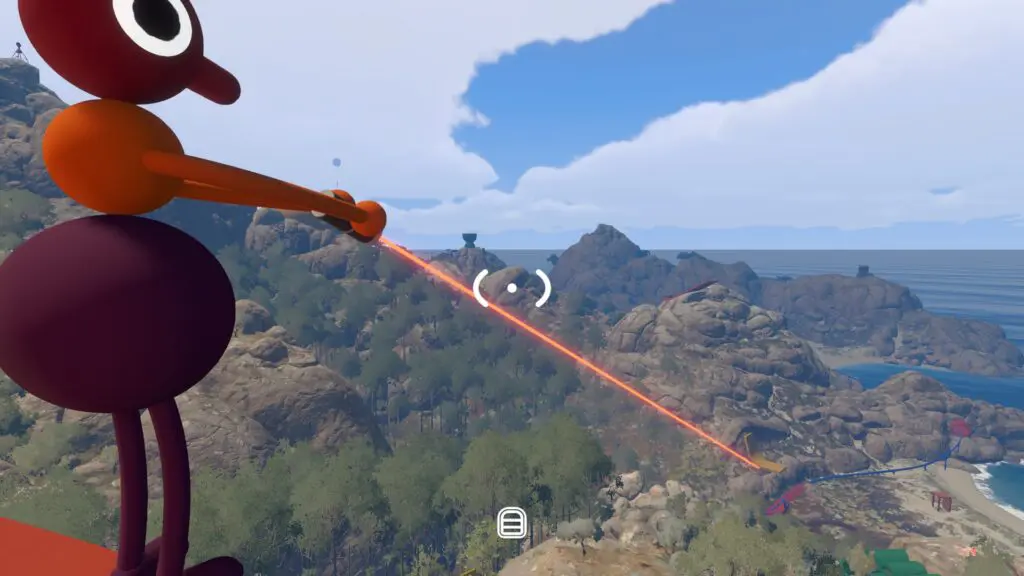
Cut the Red Tower key
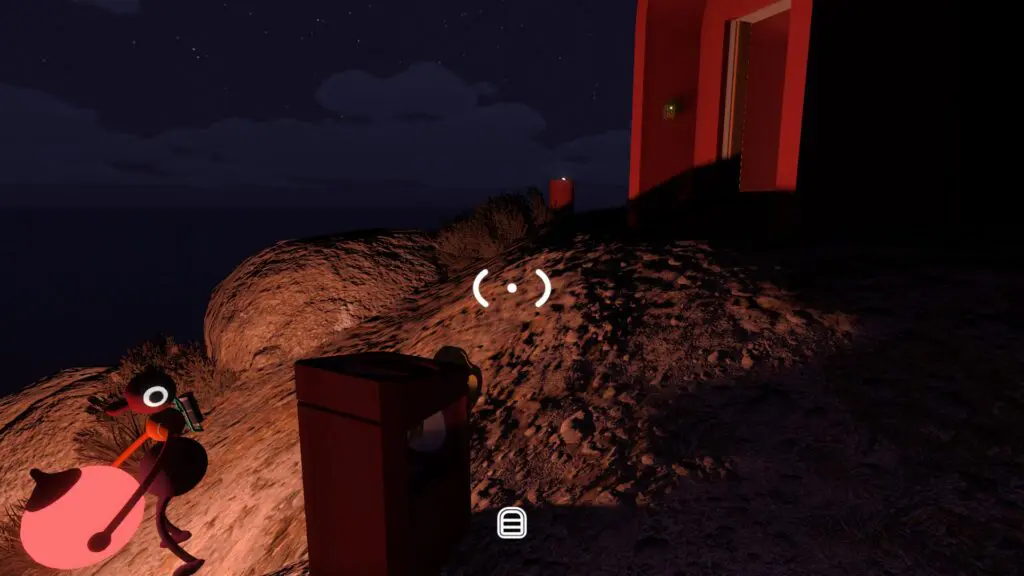
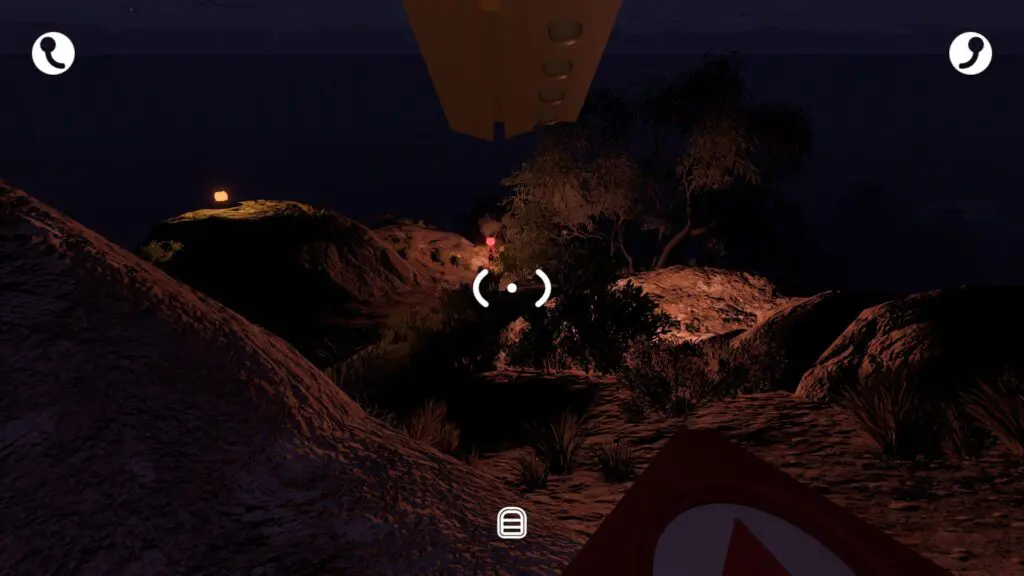
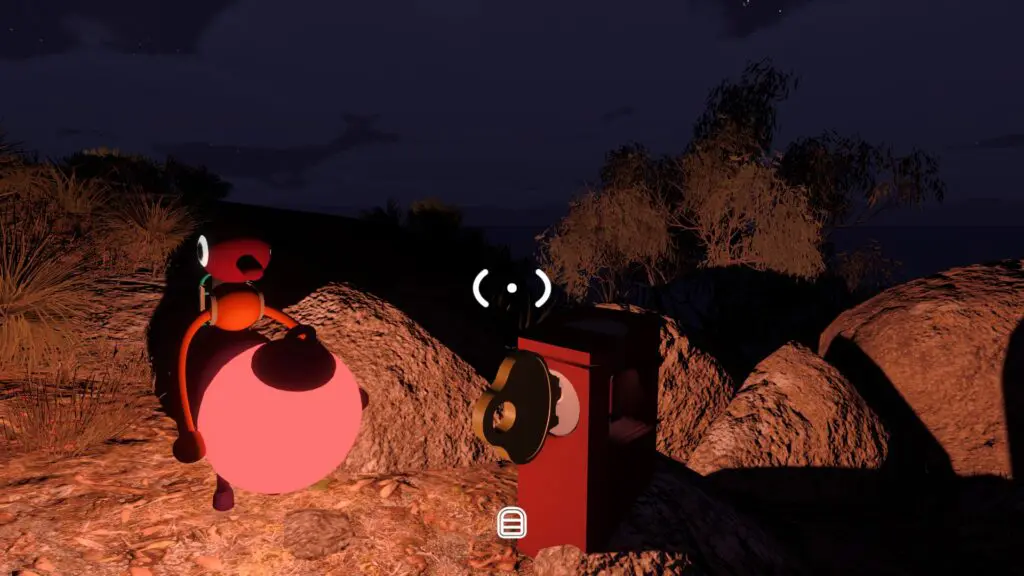
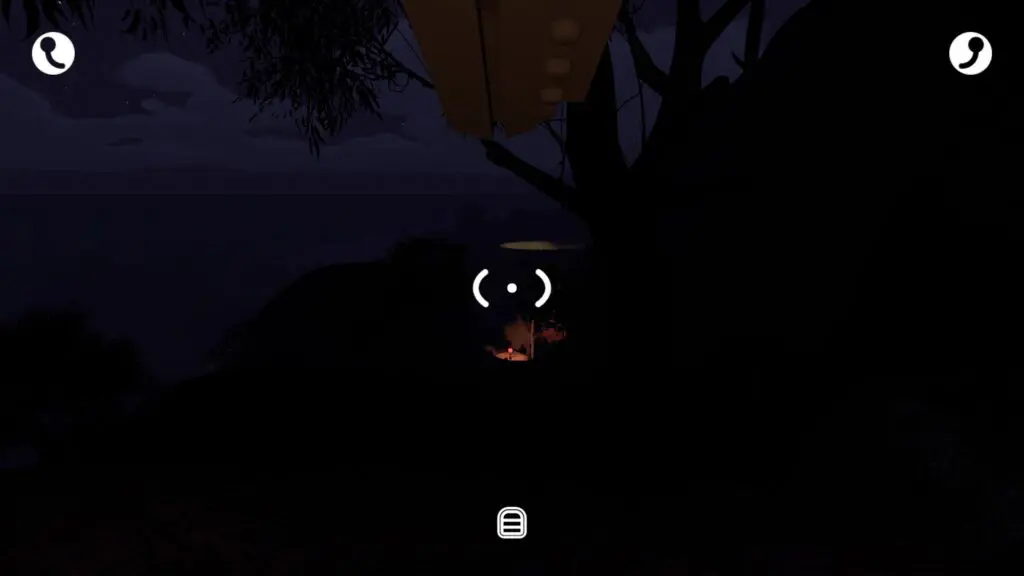
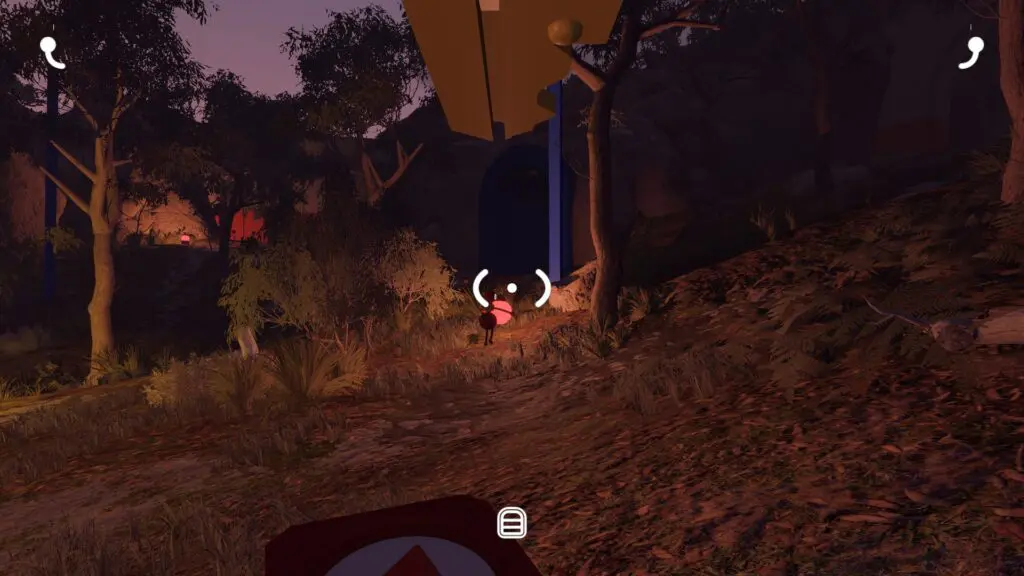
Place five red pieces into the control panel and take the golden key released from its back. Start with the cutter beside the Red Tower door, then follow the arrow exposed after every cut:
- Red Tower doorway.
- Edge of the downhill path beside rocks.
- Farther down near a tree.
- Entrance to the red area with the two circular platforms.
- Left of the long staircase leading into the Map Room.
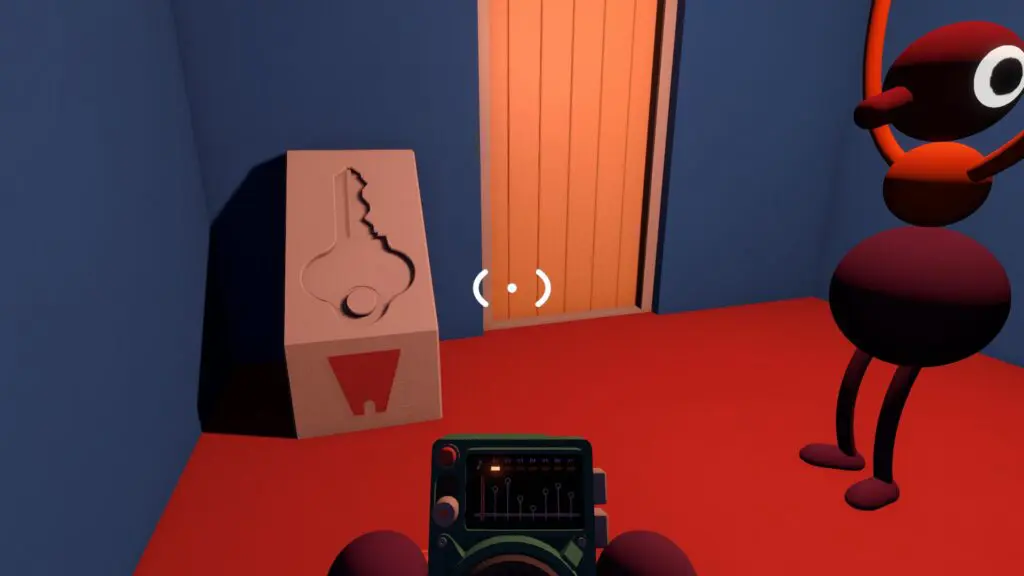
Insert the shaped key beside the Map Room entrance. Inside, the 3D terrain model grows more useful as the group explores. Check the nearby table for the portable map, compass, and laser pointers before choosing the next route.
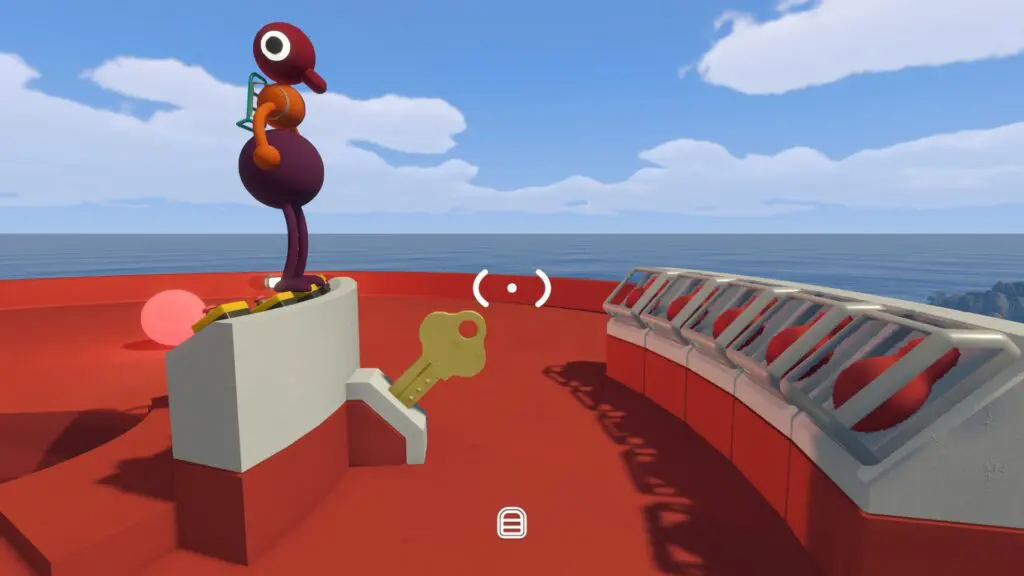
If the puzzle route is complete and you only need the pickup position or a locked-door check, use the focused map and compass location guide. Continue to the coordinate guide when the group is ready to read the grid.
Related guides
Big Walk Glass Room Signals Puzzle
Point from inside the silent glass room, press the matching outside controls, fill the progress display, and recover a wrong signal.
Read guideBig Walk Split Beach Maze Puzzle
Take separate maze routes, meet at the window, pass the tomato timer, and seat it on the receiving side before expiry.
Read guideBig Walk Heavy-Ball Relay Puzzle
Relay the heavy red ball uphill while its holder remains still, use a short handoff chain, and recover a dropped ball.
Read guideBig Walk Hoop Meter Puzzle
Throw round lanterns through the forest hoop, follow the visible progress meter, and correct repeated rim or distance misses.
Read guideBig Walk Launcher Return Puzzle
Fire the tomato timer into the field, catch and return it to the yellow platform, then seat it in the receiving pedestal.
Read guideBig Walk Crosswalk Puzzles — Opening Solutions
Solve the four fixed beach-side challenges, release and cut the golden key, and lower the first drawbridge.
Read guideBig Walk Map & Landmarks — Scoped Route Guide
Navigate the opening area, Crosswalk, Map Room, tower routes, trains, chairlift, and tunnels without a false full-map claim.
Read guideBig Walk Communication Tools
Choose radios, walkie-talkies, megaphones, flares, cowbells, whiteboards, pointers, or gestures for the current constraint.
Read guide