
Big Walk Blue House Symbol Puzzle
A focused reader-and-builder walkthrough with nine pieces, five ordered positions, communication checks, and example-safe recovery.
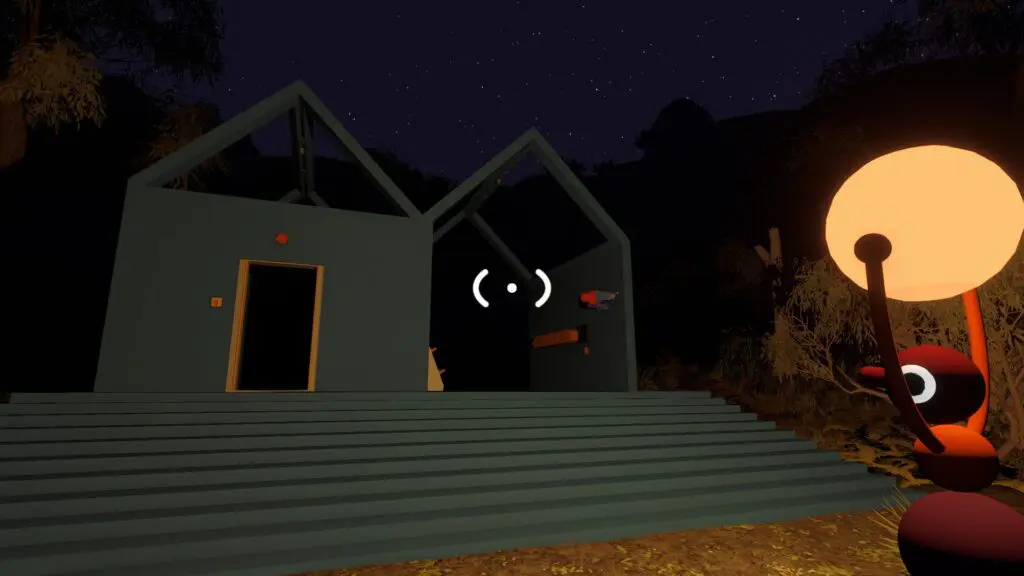
Table of contents
The Blue House challenge is not solved with a permanent symbol code. One player reads the current five-position sequence inside the building while another player chooses matching pieces outside and places them in the same left-to-right order.
Blue House puzzle is a descriptive label used by this guide, not an official
in-game name.
Quick solution
- Find the blue two-part building near 3660, 1295.
- Leave the builder outside beside the rack of nine handled symbol pieces.
- Send the reader inside and use the button beside the door to activate the five display positions.
- The reader communicates each symbol from left to right.
- The builder places the five matching pieces on the outside board in that exact order.
- Recheck all five positions, then press the outside submit button.
- Collect the red Crosswalk piece after the completion signal.
Find the blue building
From the telescope platform, look across the valley toward the green structure and continue along the mountain path. The blue house appears before the green scaffolding, around 3660, 1295.
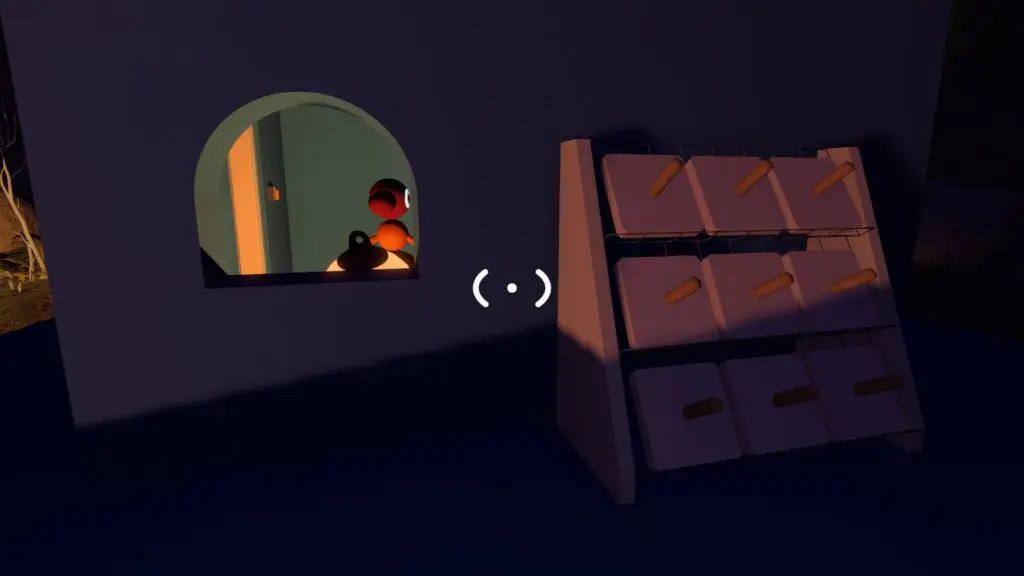
Stop at the front steps and identify both work areas before anyone enters: the door leads to the reader's room, while the symbol rack and answer board remain outside near the communication window.
Divide the reader and builder roles
The puzzle needs at least two distinct jobs:
| Role | Job |
|---|---|
| Reader | Enter the room, activate the five displays, and report each position from left to right. |
| Builder | Stay outside, select matching pieces from the nine-piece rack, and place five on the answer board. |
With three or more players, use an extra teammate to sort the loose pieces or repeat the reader's description without changing the order. The available evidence does not establish a fixed additional-piece count for the 4+ version, so follow any extra active targets visible in your session.
Activate and read the five positions
The reader enters first and activates the room with the button beside the door. Use the five display positions as numbered slots: far left is position one and far right is position five.
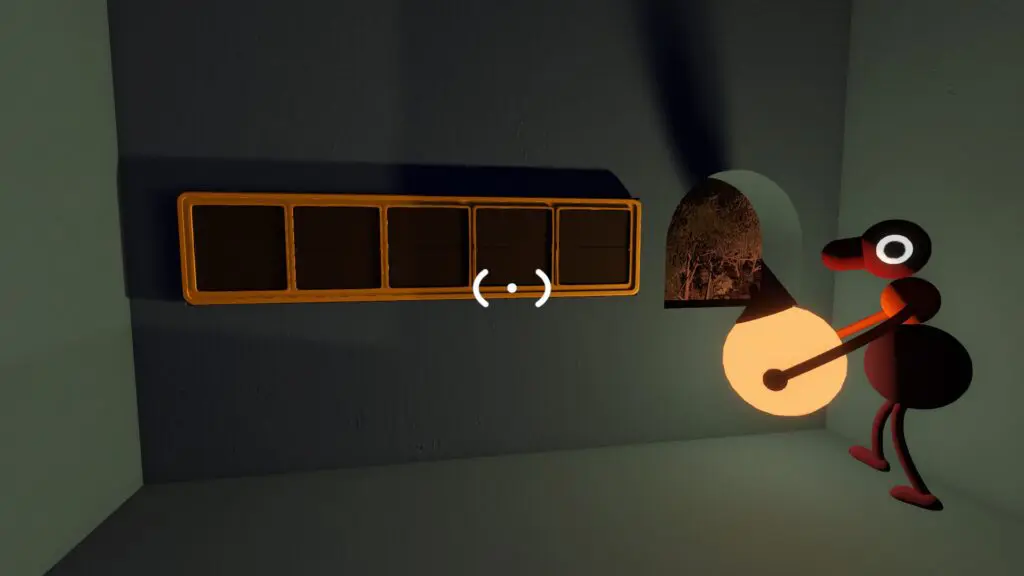
Call one position at a time. For shapes that are hard to name, agree on simple descriptions before submitting—curve direction, number of loops, or a familiar object are more useful than inventing a long explanation mid-sequence.
Build the outside answer
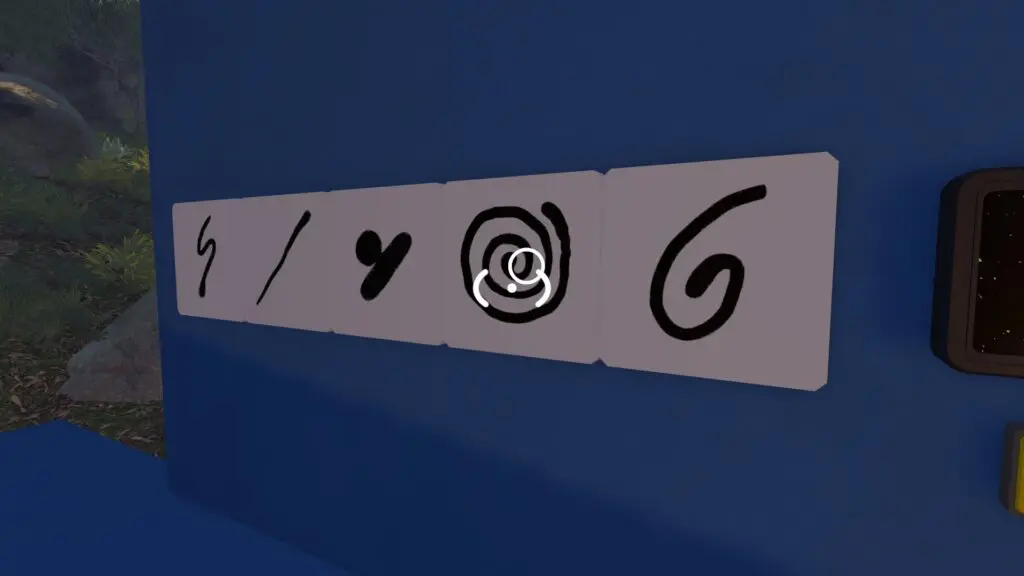
The builder selects one handled piece for each reported position and places the five pieces across the outside board from left to right. Keep unused pieces on the rack so the active answer remains easy to inspect.
When a piece is difficult to distinguish, carry it to the window and rotate the character until the reader can see its face. Confirm the first uncertain slot before continuing instead of finishing a sequence built on an early mistake.
Submit and confirm completion
Read the assembled row back from position one to five. Only after both sides agree should the outside player press the submit button.
The successful answer triggers the puzzle's completion feedback and releases a red control-panel piece. Pick it up before the group leaves the building.
If the answer is rejected
| What you see | What to change |
|---|---|
| All five pieces are present but nothing completes | Confirm that the outside submit button was pressed after the row was built. |
| The row is rejected | Recheck position one through five and correct the first mismatch before changing later slots. |
| Two shapes sound almost identical | Bring each candidate to the window and show its visible face to the reader. |
| The pieces are correct but reversed | Reset the row using the reader's left-to-right order, not the builder's viewing direction. |
| A copied online sequence fails | Ignore the example and read the five displays generated in the current session. |
| Communication breaks down | Regroup at the window, assign one speaker on each side, and restart from position one. |
What to do with the reward
Carry the red piece back to the four-slot beach platform near 3550, 1100. It is the third of the four fixed opening rewards in this route.
Use the complete Crosswalk route to track the remaining challenge, or return to the Spyglass puzzle if that remote case is still closed.
Related guides
Big Walk Crosswalk Puzzles — Opening Solutions
Solve the four fixed beach-side challenges, release and cut the golden key, and lower the first drawbridge.
Read guideBig Walk Spyglass Puzzle
Hold the telescope-platform button, follow the distant red signal, open the remote glass case, and collect the Crosswalk piece.
Read guideBig Walk Green Scaffold Button Puzzle
Count the active controls, assign one player to each station, use one countdown, and recover a mistimed Crosswalk attempt.
Read guideBig Walk Puzzle Teamwork
Choose a 2, 3, or 4+ world, divide observation jobs, and use in-game communication limits as part of the puzzle.
Read guide