
Big Walk Tunnel Puzzles — Yellow Tower Solutions
A spoiler-safe route through collection, microphones, sound matching, mirrored directions, aerial delivery, and cliff rooms.
Table of contents
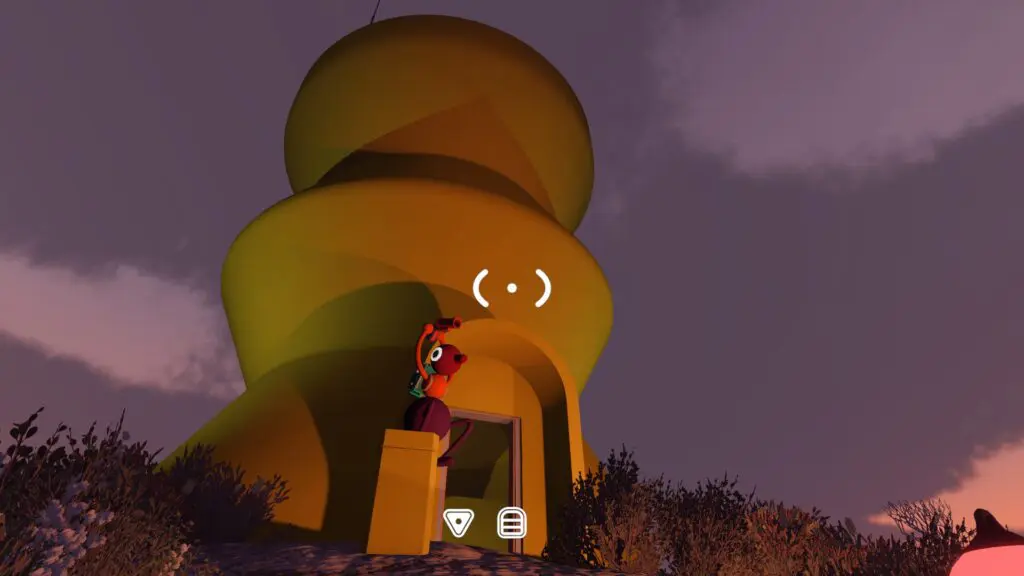
The Yellow Tower controls the Yellow Tunnel. You need five red control-panel pieces, but this route documents six nearby challenges so the group can skip one that does not suit its communication style.
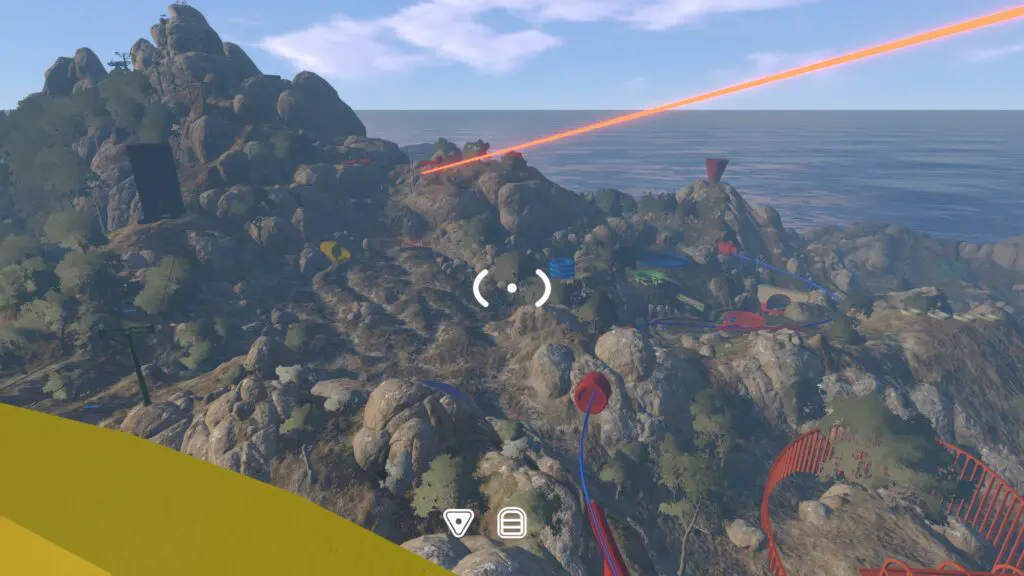
Opening the tunnel leads into later-game territory. This page stops at the entrance and does not reveal the story route, secret-area details, final radio channel, or ending.
Find the Yellow Tower and tunnel
- Yellow Tower: approximately 3310, 1560.
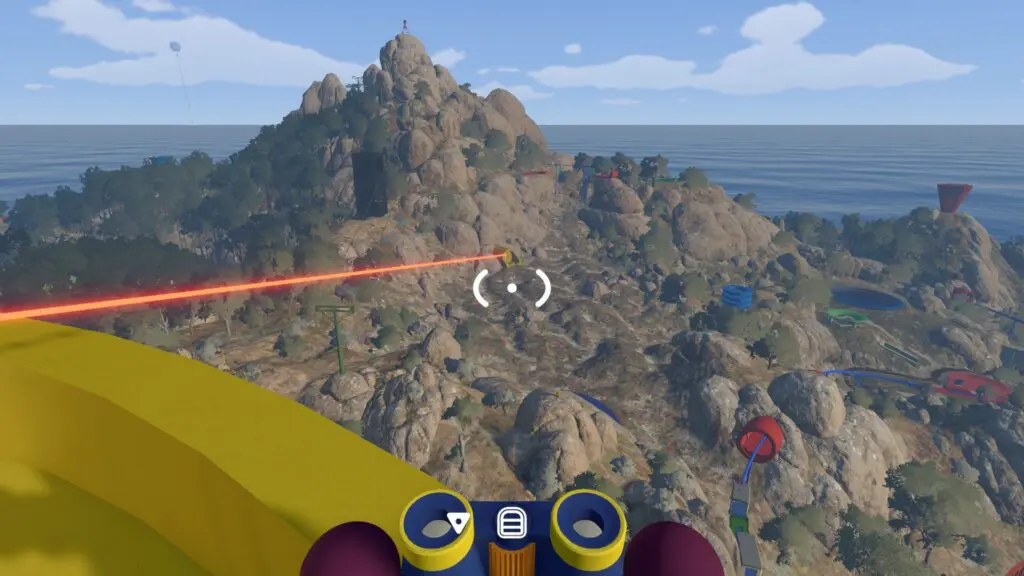
- Yellow Tunnel entrance: approximately 3500, 1620. From the tower, descend its south side and follow the rock face southeast. The entrance is opposite a blue bag structure.
The names below describe the visible mechanics. Use any five earned pieces at the Yellow Tower panel, and follow every additional target shown by the selected 2-, 3-, or 4+-player world.
1. Four-colour collection wheel
Use the focused Four-Colour Wheel guide for the four terrain zones, elevated pieces, and missing-piece recovery.
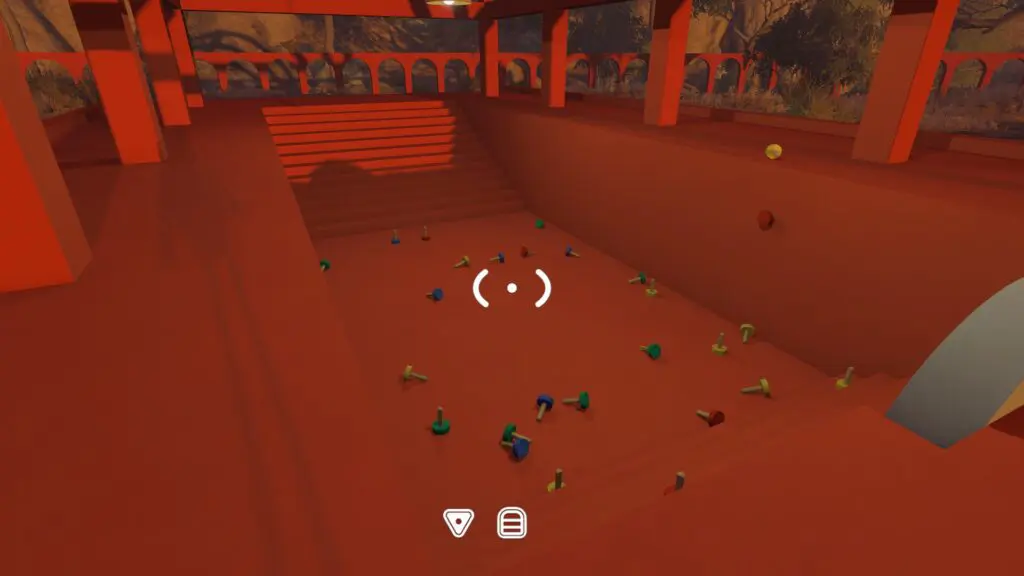
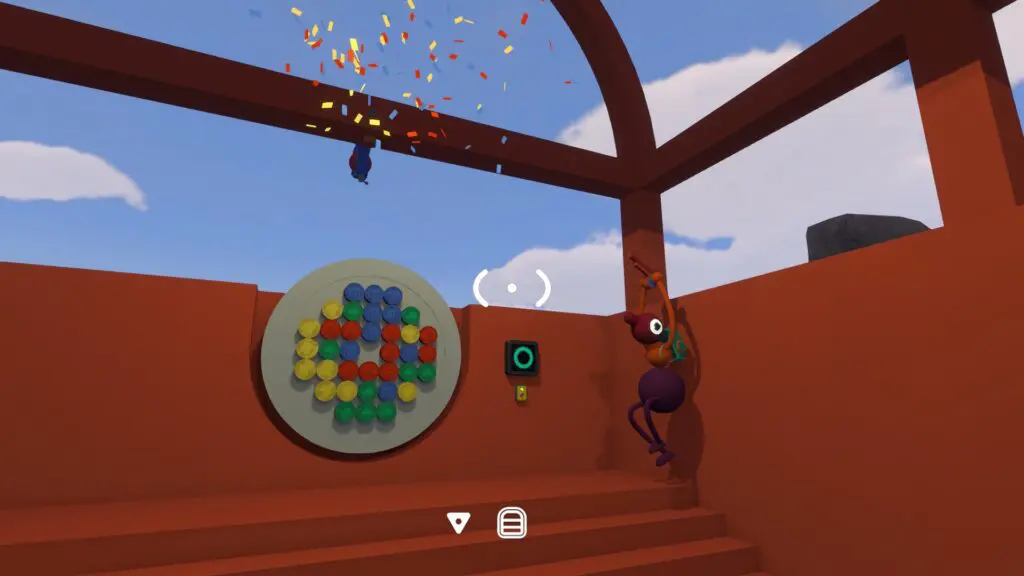
Find it: Around 3370, 1490. Start during daylight; the pieces spread from the central red area to trees, rocks, and the raised rail.
In the documented 2-player layout, the wheel needs 36 pieces: nine each in yellow, green, red, and blue. The placement rule is colour-based:
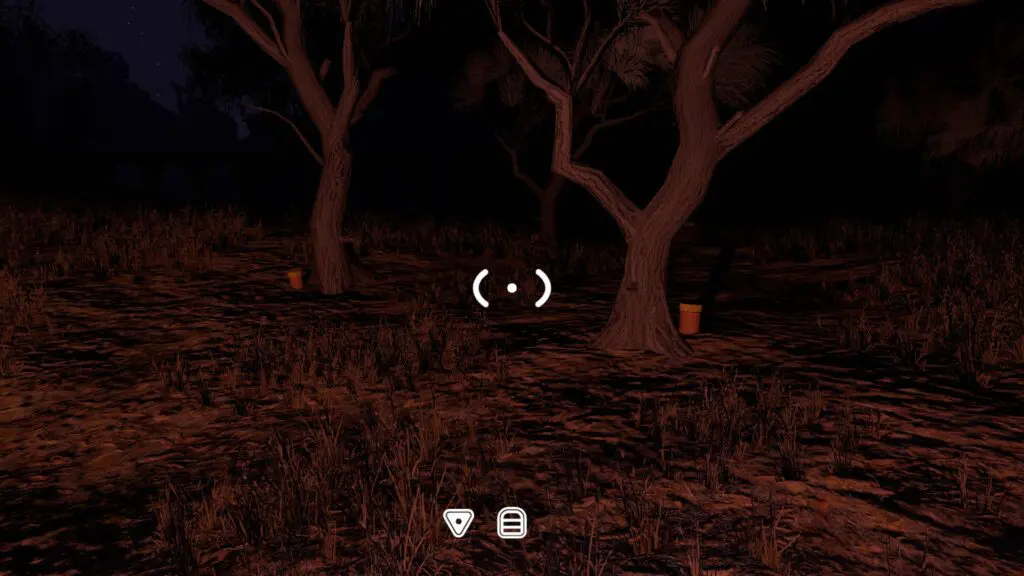
- search around trees for yellow;
- search rocks and boulders for green;
- search the central red area for red;
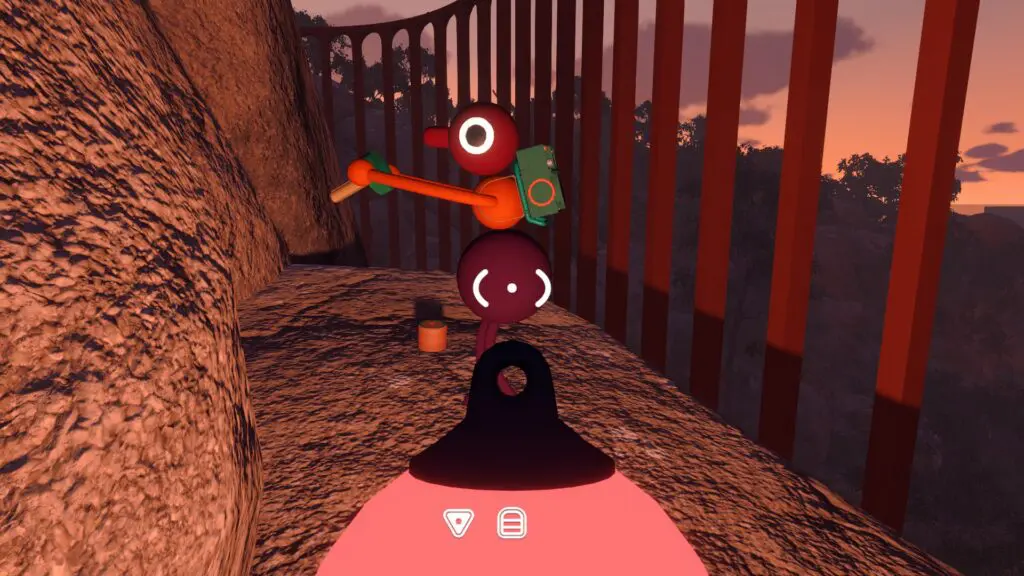
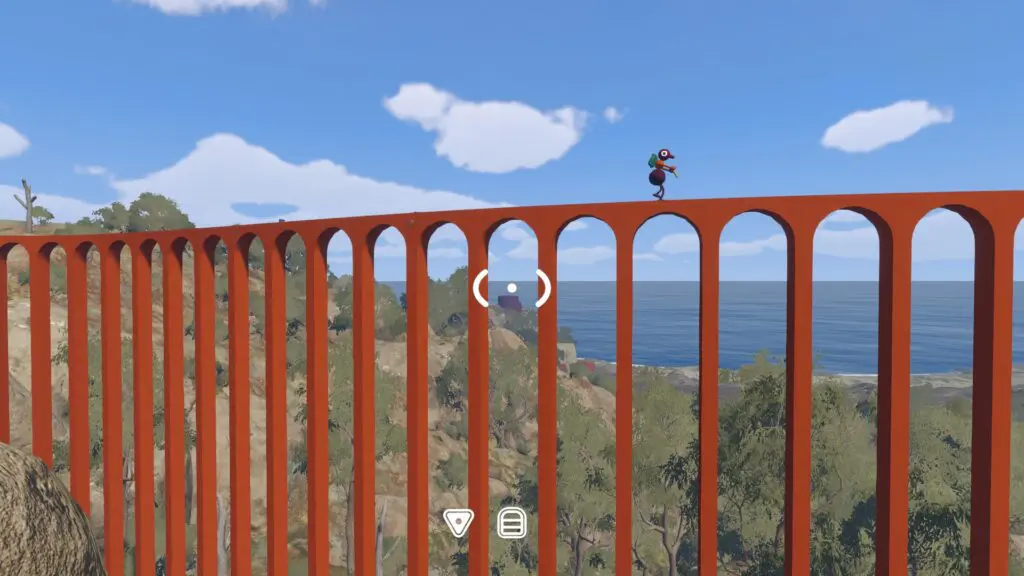
- climb onto the nearby rail for blue.
One elevated green piece requires reaching the rock face through the orange tunnel. Use boulders as steps to reach rail-top blue pieces. Any order works when placing pieces on the wheel.
Completion signal: the wheel accepts the complete set and releases a red piece.
Retry/search recovery: divide the area by colour and have each player call out a completed zone. If one remains missing, check the orange-tunnel ledge and top of the rail before repeating the ground search.
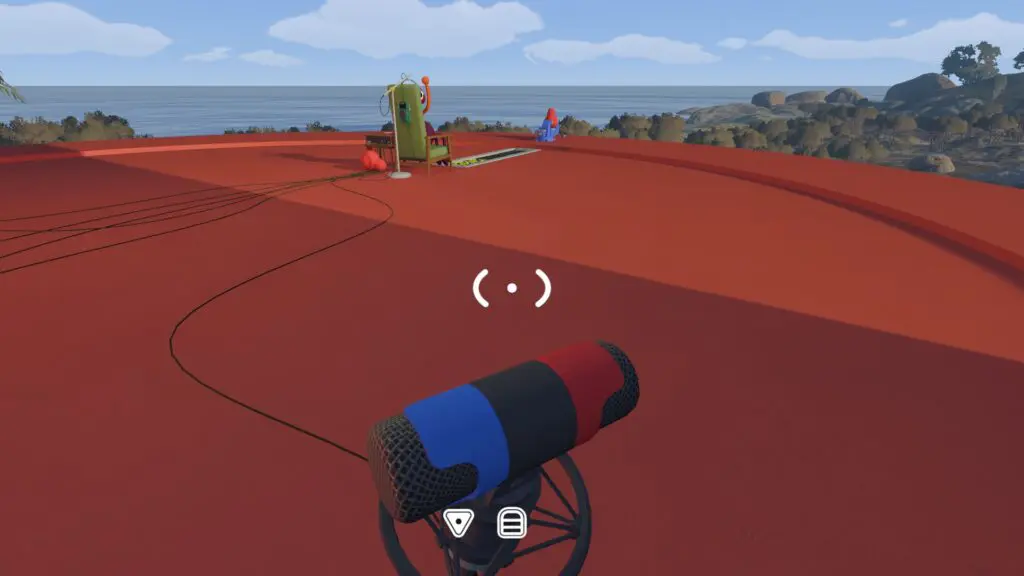
2. Six-microphone sound check
Use the focused Six-Microphone Sound Check guide for feed numbering, controlled comparisons, and an unclear listener signal.
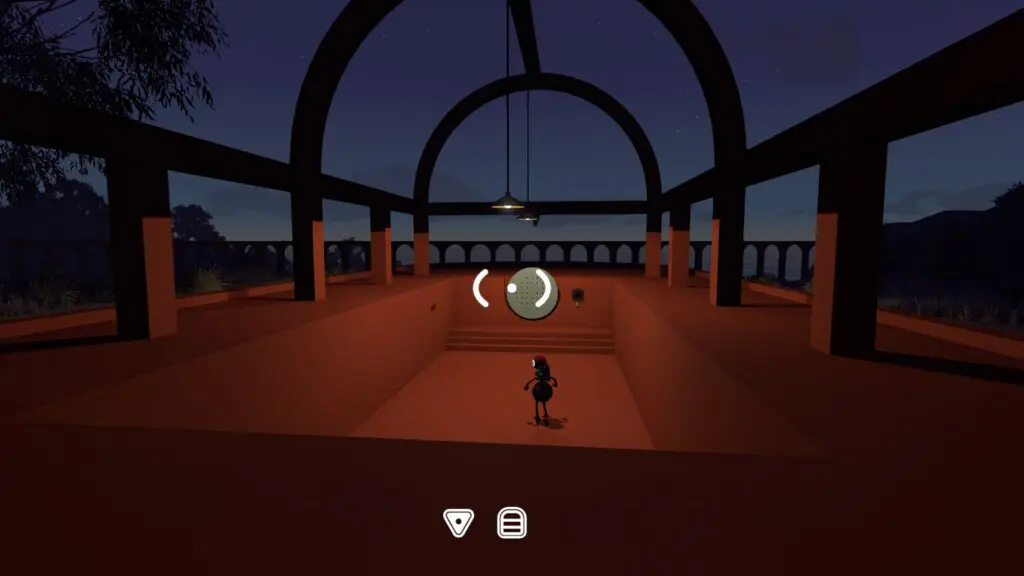
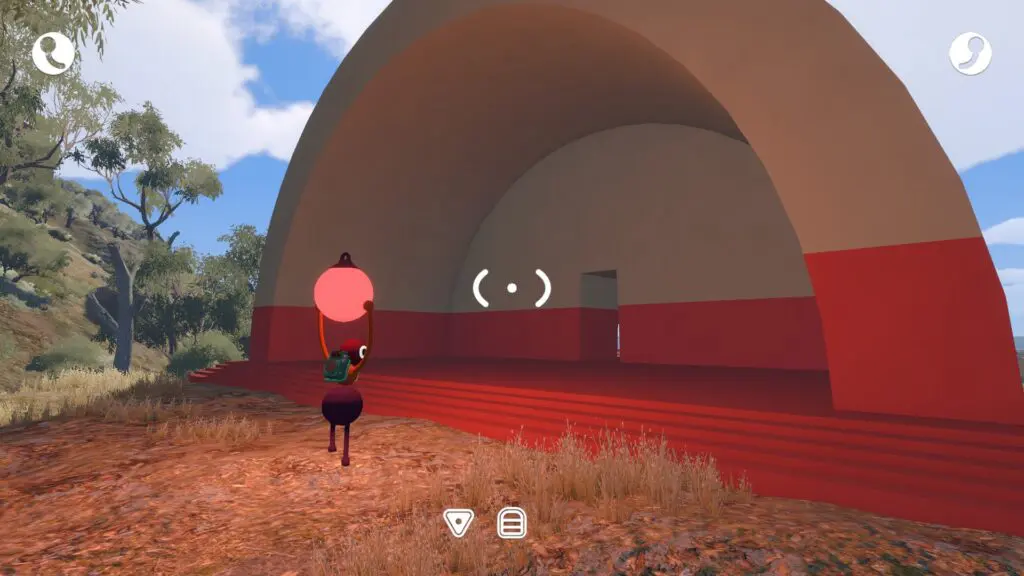
Find it: Enter the large beige-and-red archway around 3400, 1230.
Do it:
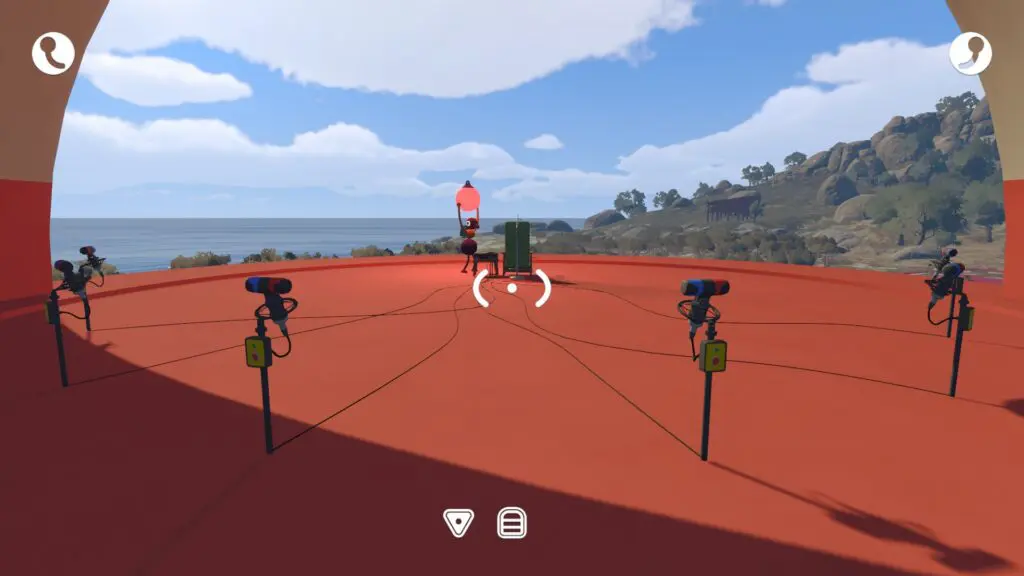
- One player sits in the listening chair away from the six microphones. Ordinary sound becomes muffled; the microphone feed reaches their headphones.
- Number the microphones 1 through 6 in a direction both players understand.
- The other player speaks the same short test phrase into every unused mic.
- The listener identifies which one is loudest and signals its number with slow arm raises.
- Remove that microphone from the next comparison and repeat with the unused set until the sequence finishes.
Completion signal: completing the required microphone sequence releases the reward.
Retry: keep the phrase, speaking volume, and mic order consistent. If the listener cannot distinguish two feeds, retest only those two rather than all six.
3. Match five speaker sounds
Use the focused Speaker Sound Matching guide for the reference vocabulary, one-booth comparison, and bad-match recovery.
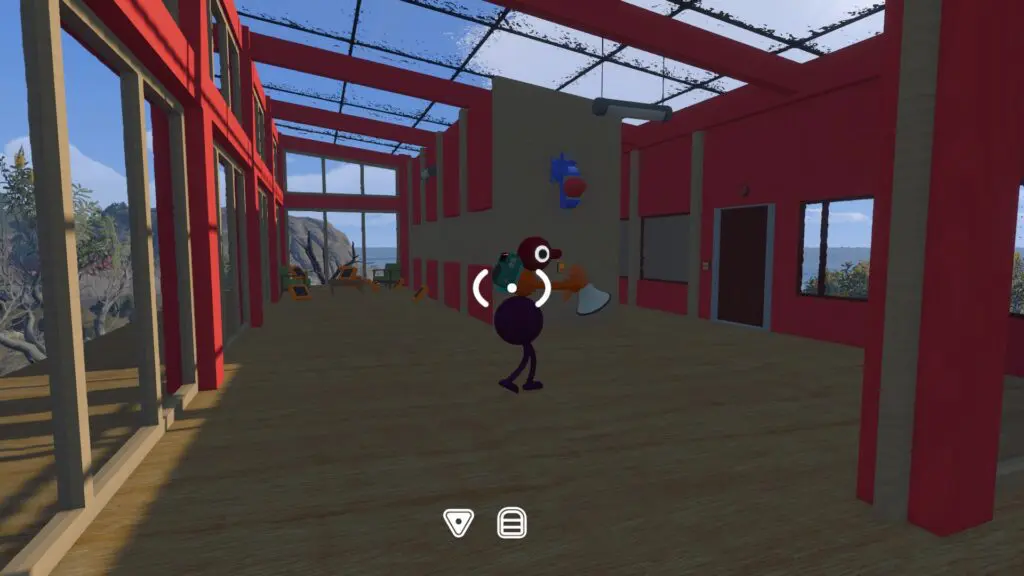
Find it: The beige-and-red striped building in the upper-left map area, around 3200, 1260.
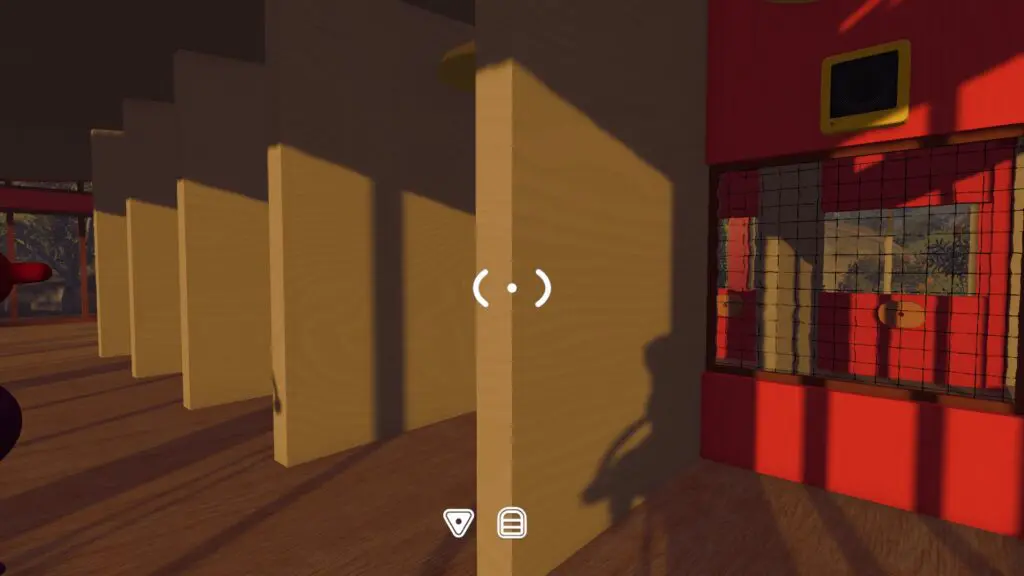
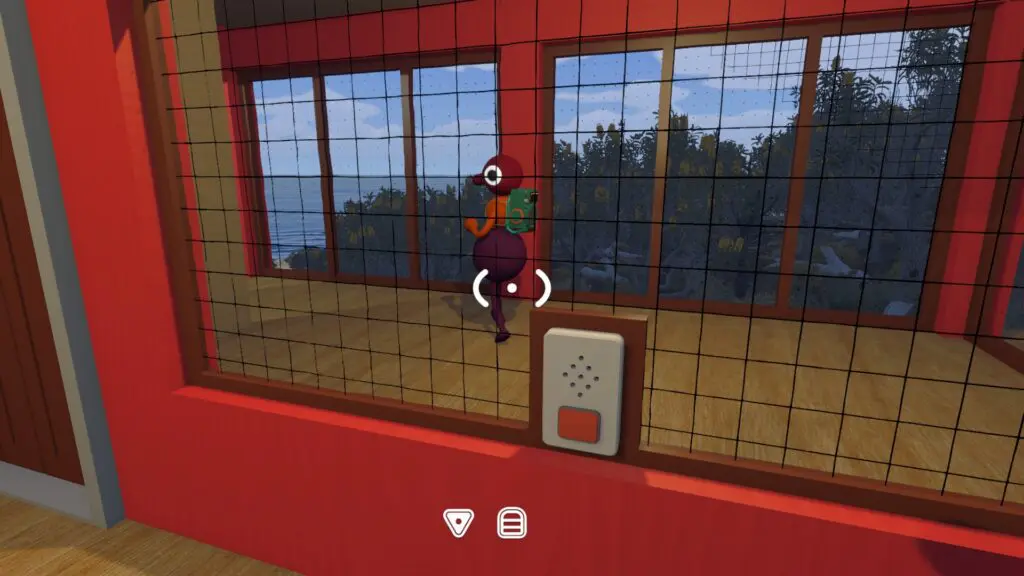
Five movable yellow speakers sit outside a lockable room; five booths wait for one speaker each. Inside the locked room are five reference sounds.
Do it:
- One player enters the reference room and listens to booth 1.
- At the intercom, reproduce the rhythm, pitch movement, or syllable pattern without naming a guessed object.
- The outside player tests the movable speakers, finds the matching sound, and hangs it in booth 1.
- Repeat for all five booths in order.
Completion signal: five correctly matched speakers release the piece.
Retry: isolate one booth. The inside player repeats only that reference; the outside player compares two candidate speakers before moving either.
4. Mirrored stage directions
Use the focused Mirrored Stage Directions guide for the complete seven-position conversion and wrong-input retry.
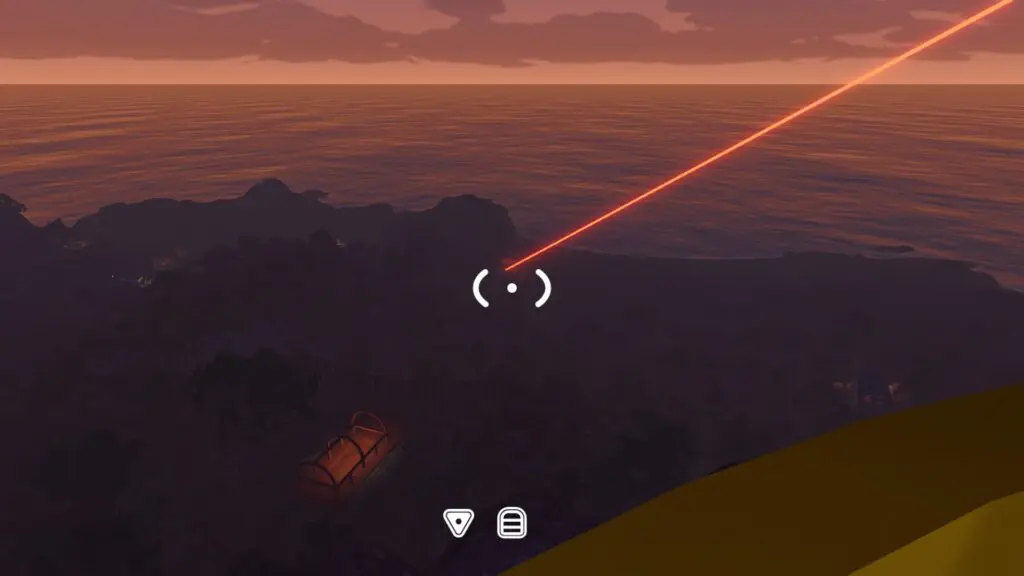
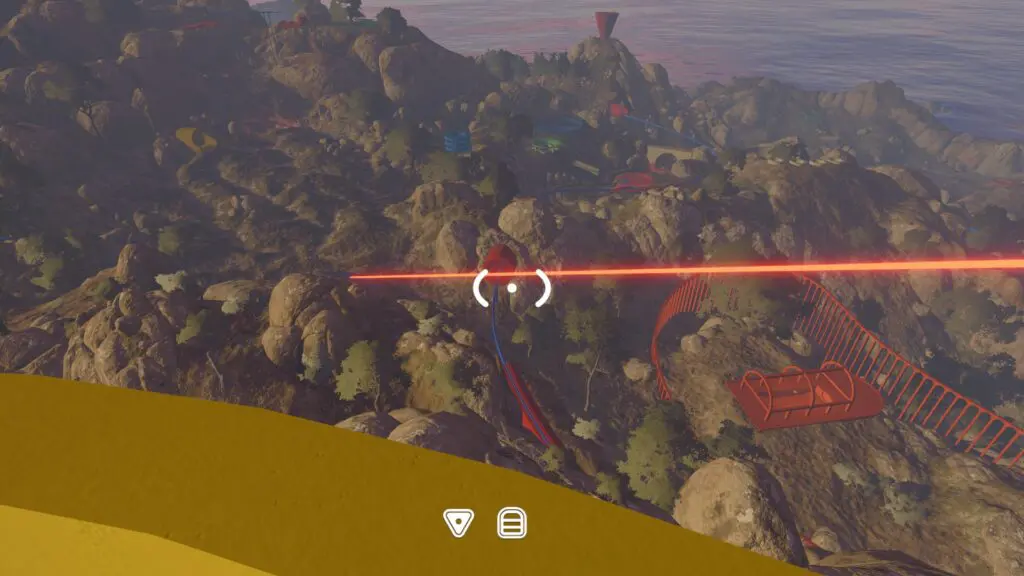
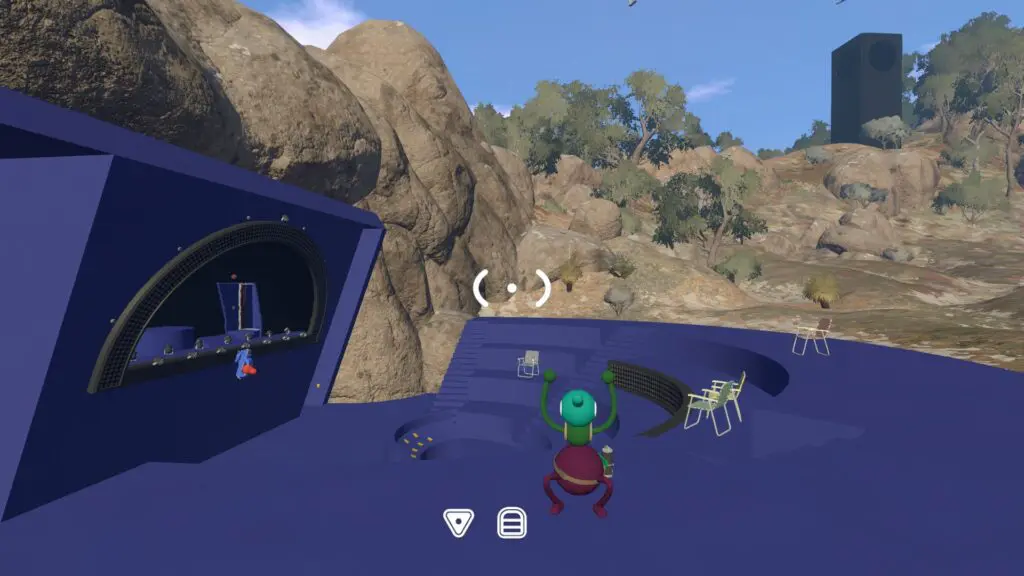
Find it: South of the Yellow Tower at the dark blue-and-black stage around 3410, 1590.
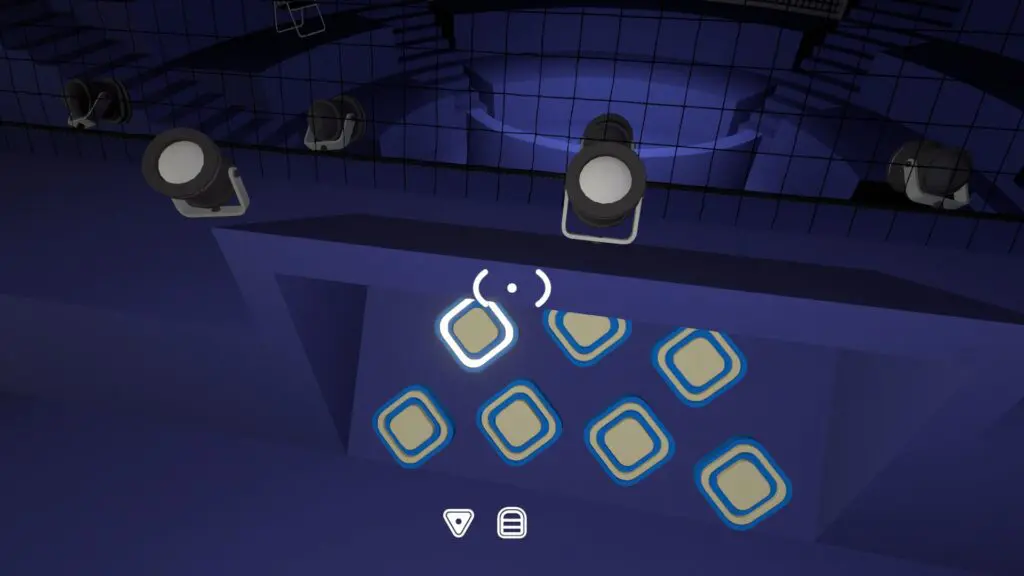
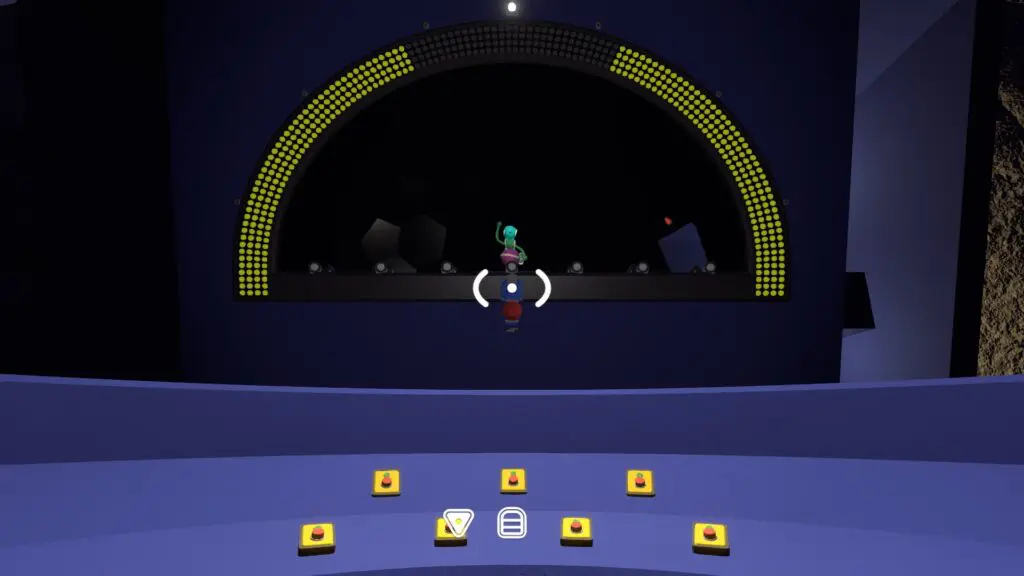
One player is locked in the light booth; the other stands at seven buttons by the seating area. The booth view is mirrored relative to the button panel.
Use this horizontal inversion:
- booth 1 → button 3;
- booth 2 → button 2;
- booth 3 → button 1;
- booth 4 → button 7;
- booth 5 → button 6;
- booth 6 → button 5;
- booth 7 → button 4.
The booth player should convert the lit position before signalling, then raise an arm once per target-button number. Continue through the displayed sequence.
Retry: reset to a neutral pose between numbers. If an input fails, repeat the current light after performing the mirror conversion again.
5. Aerial chair symbol delivery
Use the focused Aerial Chair Symbols guide for the reliable binocular method, faster carrying option, and wrong-piece recovery.
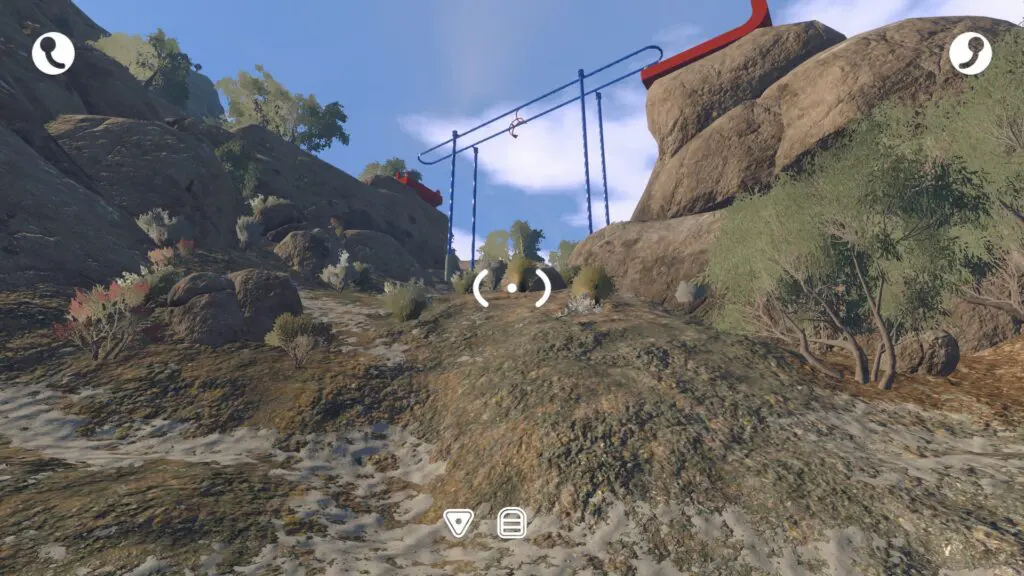
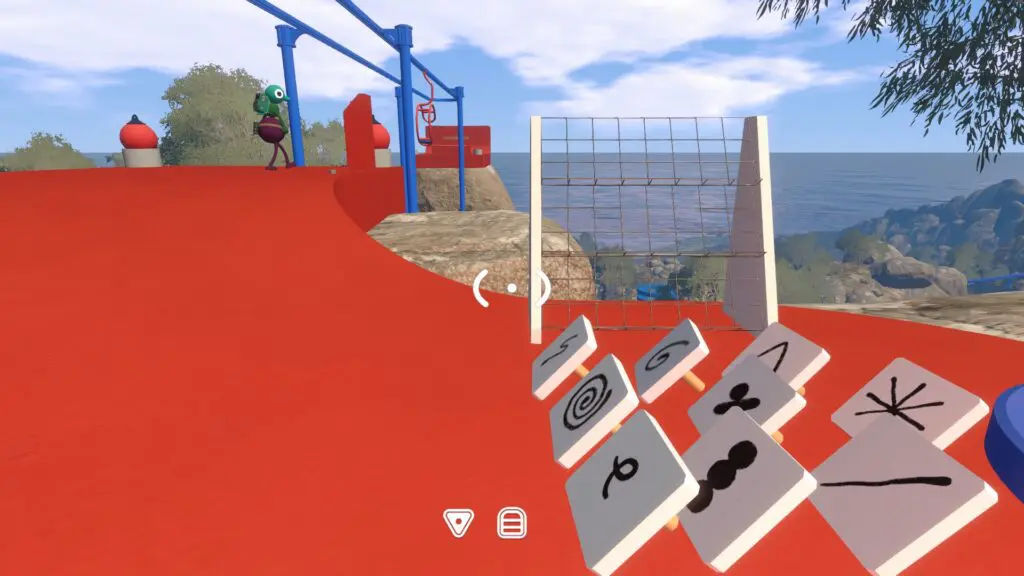
Find it: South of the Yellow Tunnel and nearby dark tower, around 3570, 1600. A crescent-shaped chair moves between two platforms.
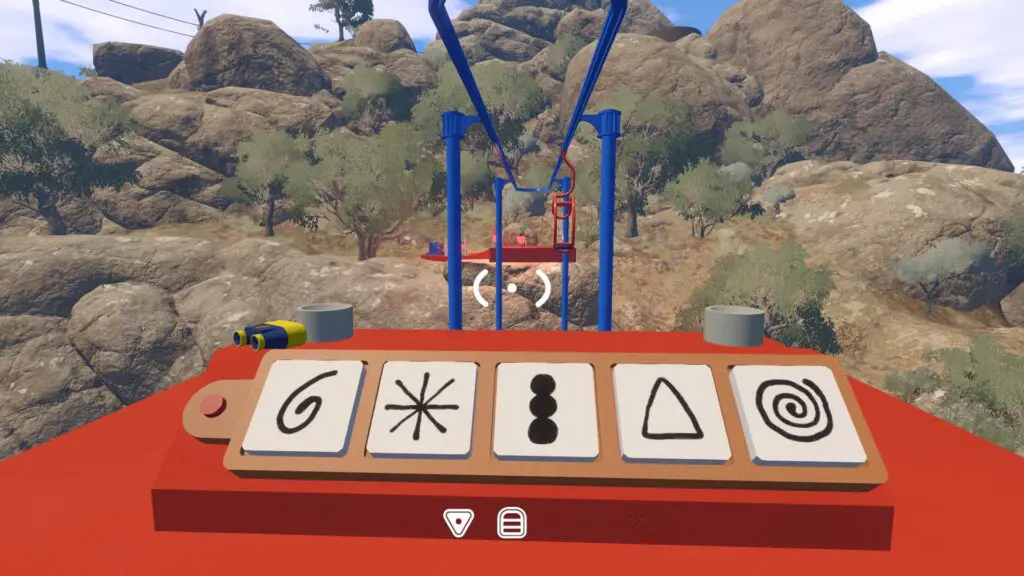
Nine symbol pieces begin on one side; a static five-symbol answer board is on the other.
Reliable method:
- Send the reader across to the answer board.
- The picker holds each candidate where the reader can inspect it through binoculars.
- After confirmation, put the chosen piece on the aerial chair or carry it across on the next ride.
- Place the five accepted pieces in displayed order and submit at the black screen.
Faster carrying method: both players first ride over and memorize or note the static sequence. Return together; with backpacks and free hands, two players can carry four pieces on one trip, then one player returns for the fifth.
Retry: the answer board does not change during the challenge. Correct only the disputed position rather than rebuilding the full sequence.
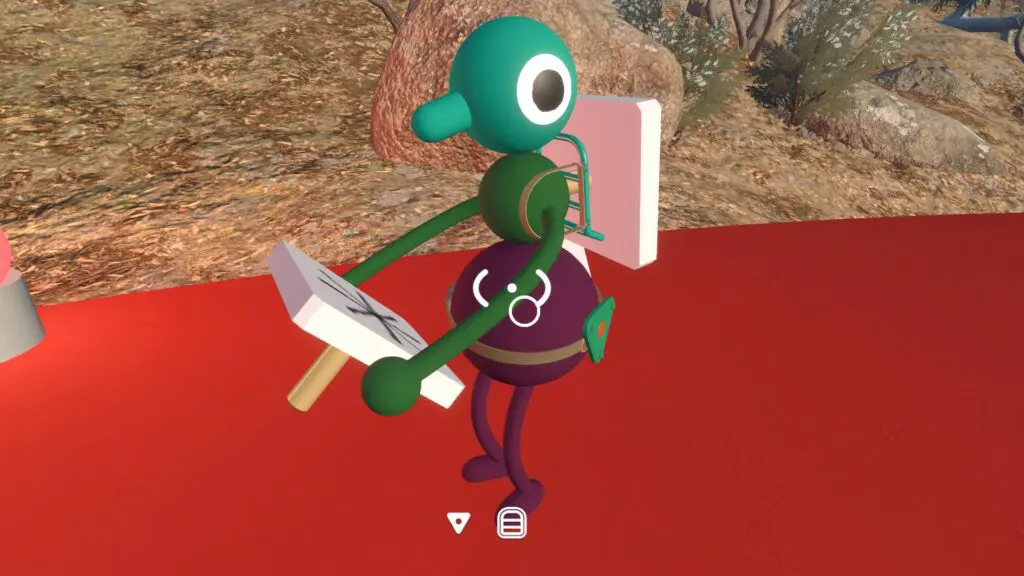
6. Lights and buttons across the cliffs
Use the focused Cliff Lights and Buttons guide for shared wall names, position patterns, and failed-description recovery.
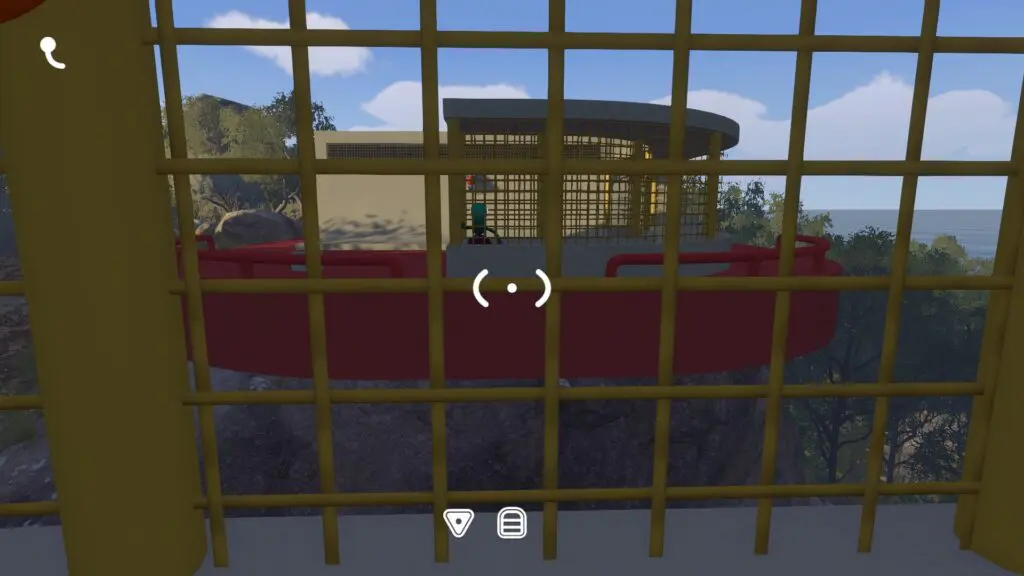
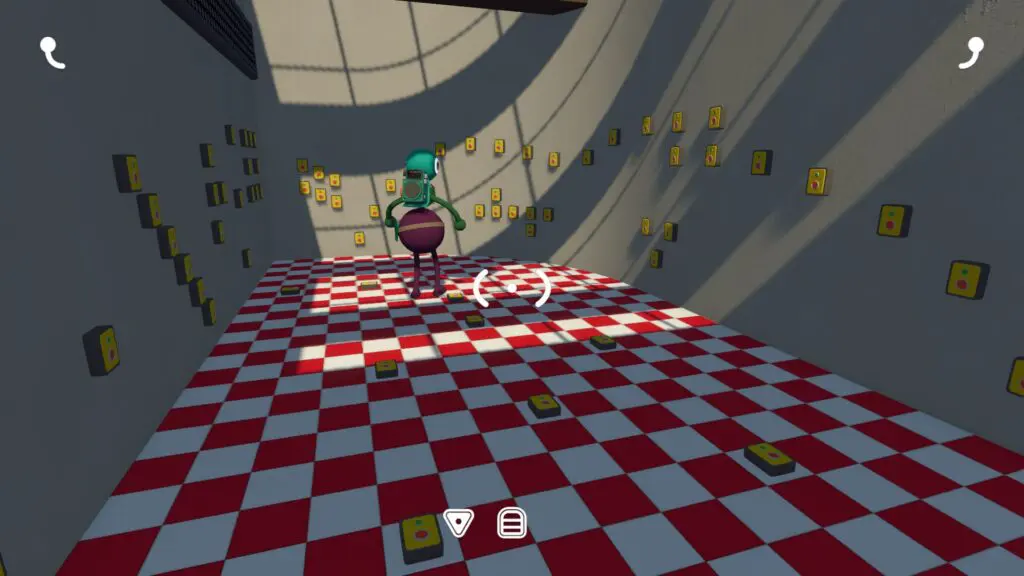
Find it: East of the Yellow Tower, behind the nearby chairlift station, around 3290, 1670. Two grey buildings face each other across separate cliffs, with yellow communication cages between them.
Do it:
- Put one player in the light room and one in the button room.
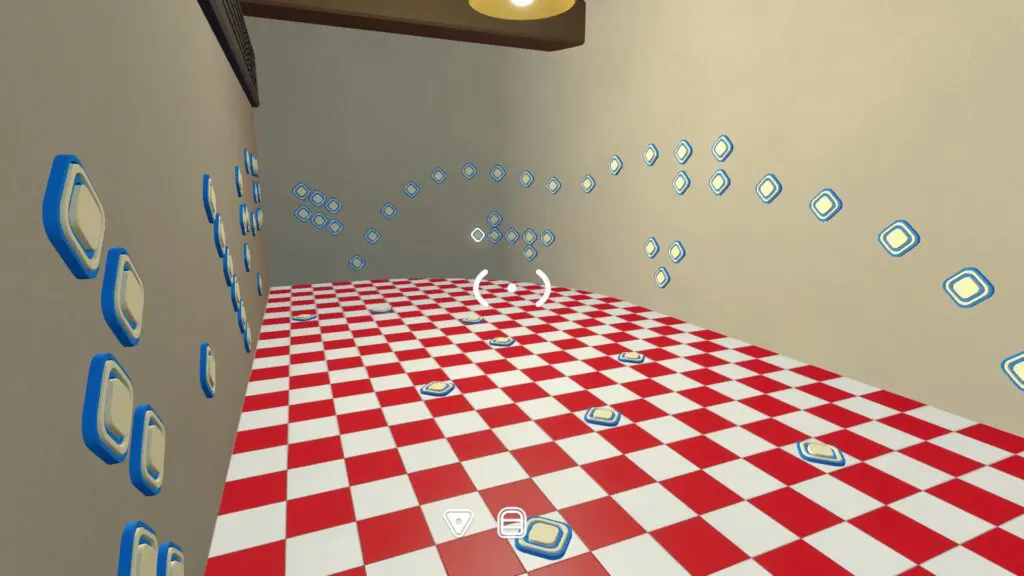
- Before activation, divide each wall into shared names: left, back, curved, right, and door-side.
- When one light turns on, the light-room player returns to the yellow cage and describes its wall, position, and surrounding pattern.
- The button-room player finds the matching layout and presses the corresponding red button.
- Repeat until the challenge finishes.
Retry: avoid vague directions such as “over there.” If the button is wrong, restate the wall name first, then count the light's position within that wall's pattern.
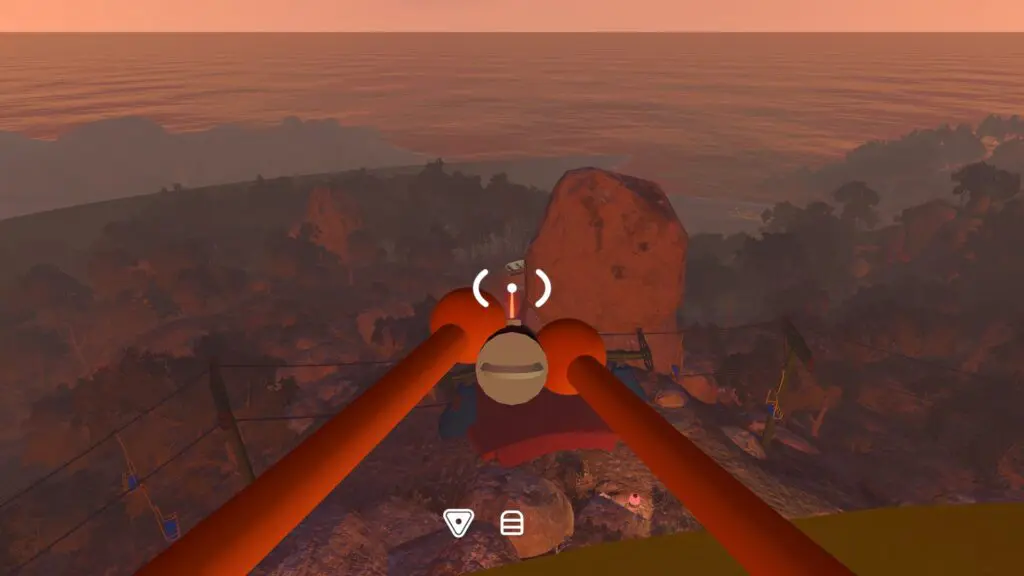
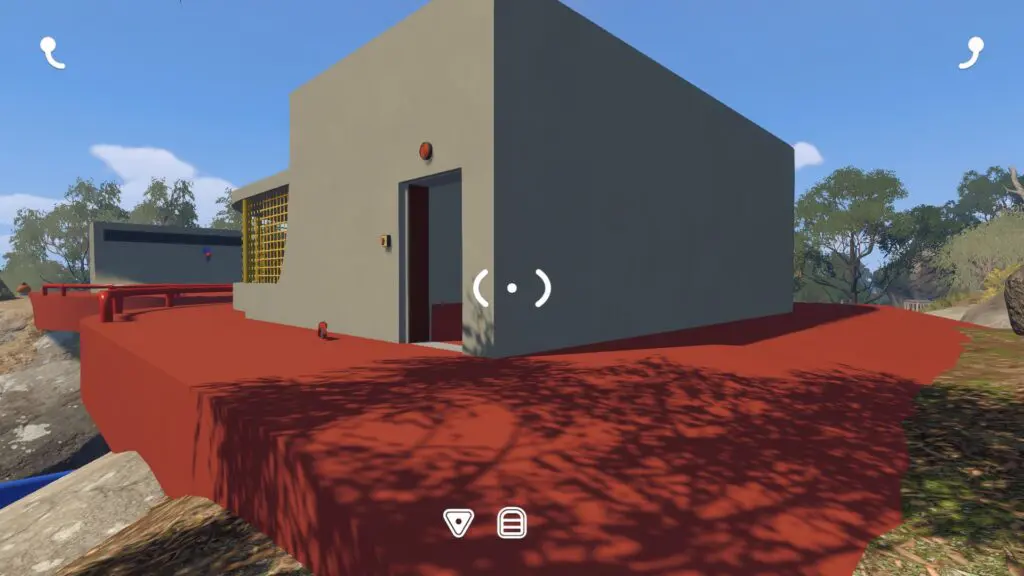
Shape the Yellow Tower key
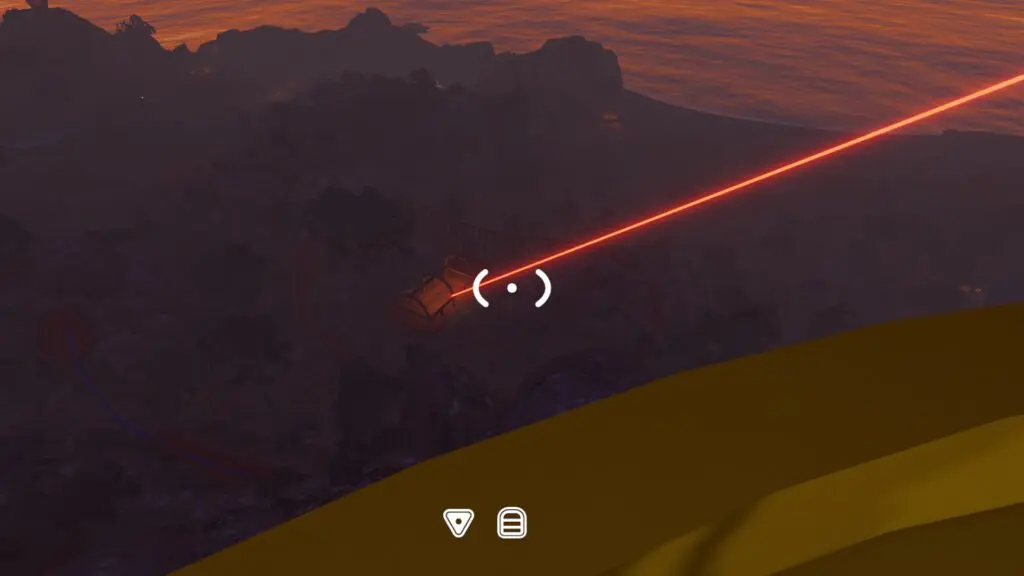
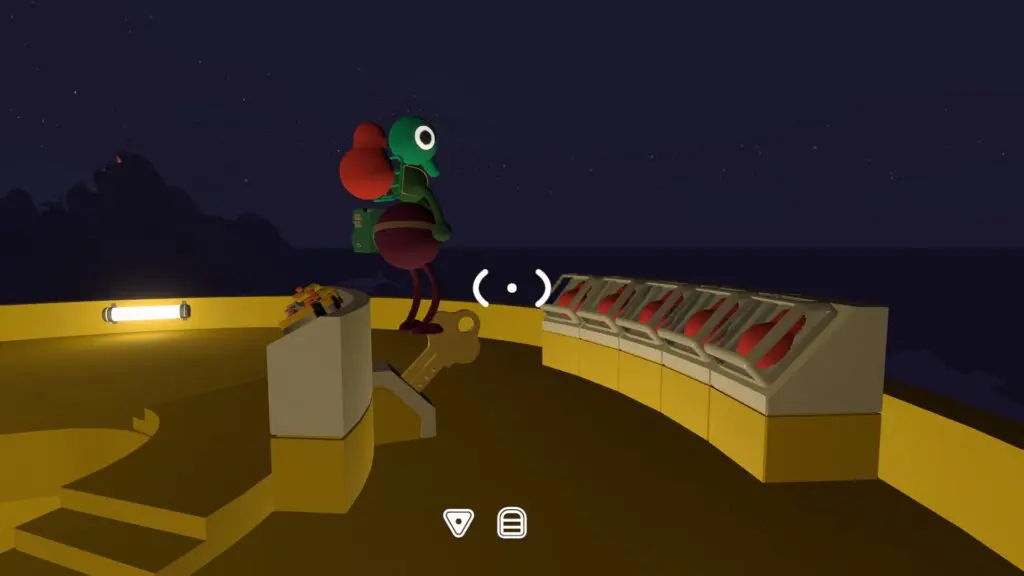
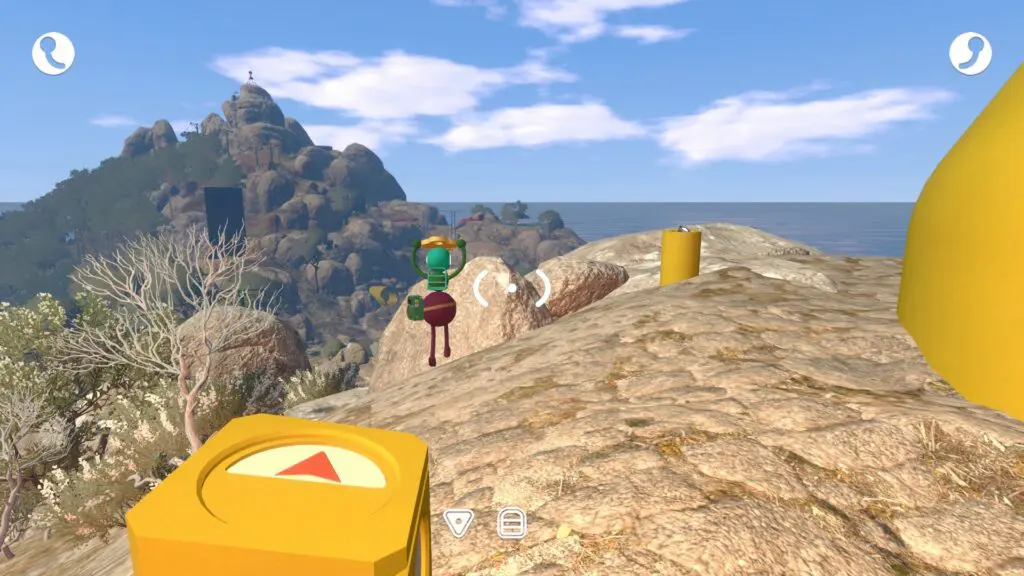
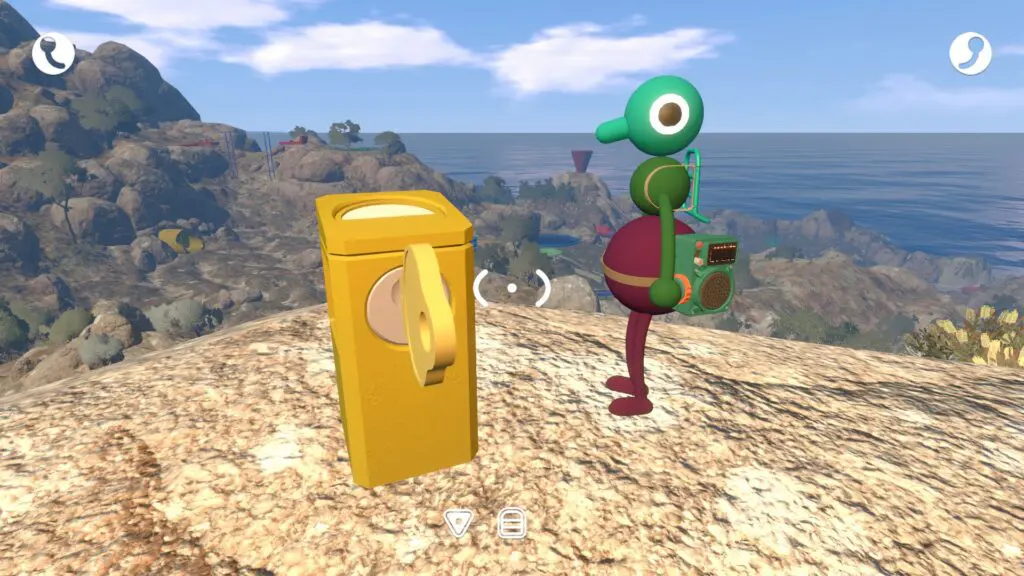
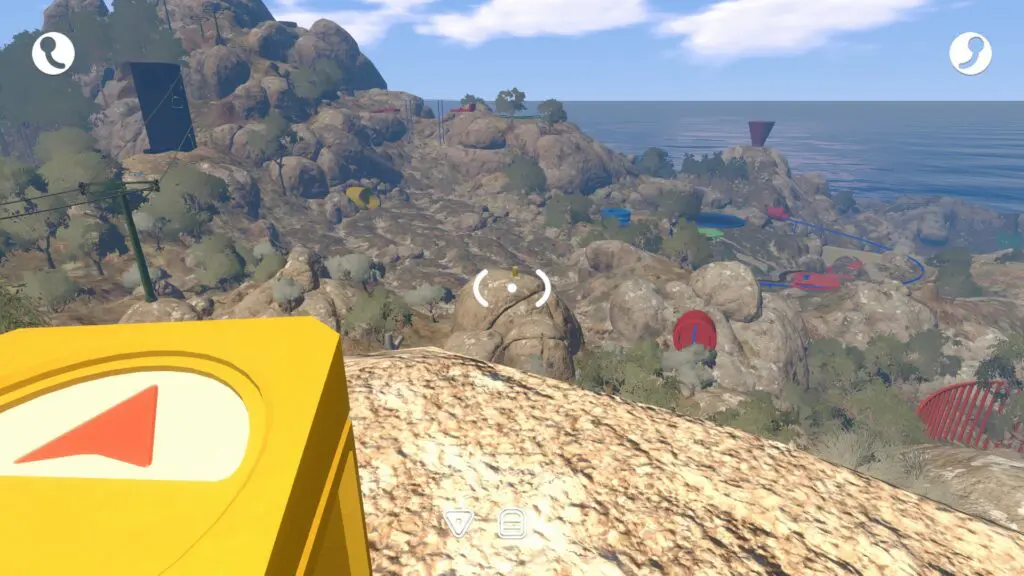
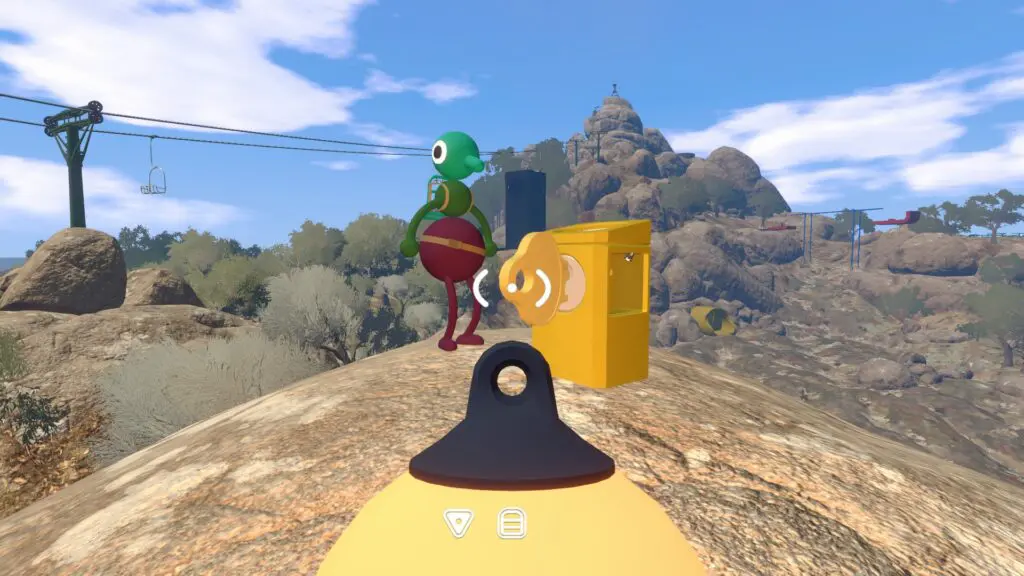
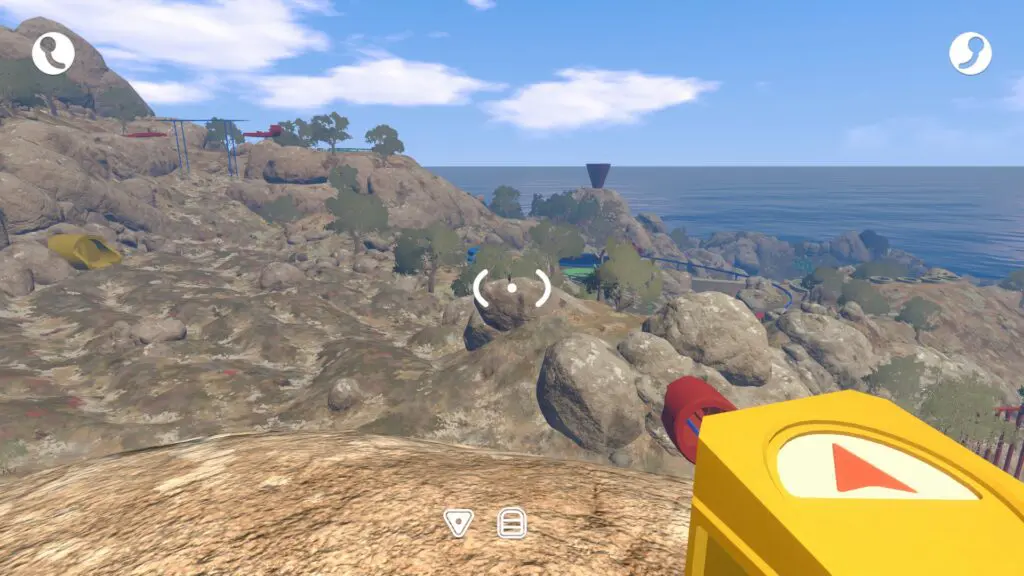
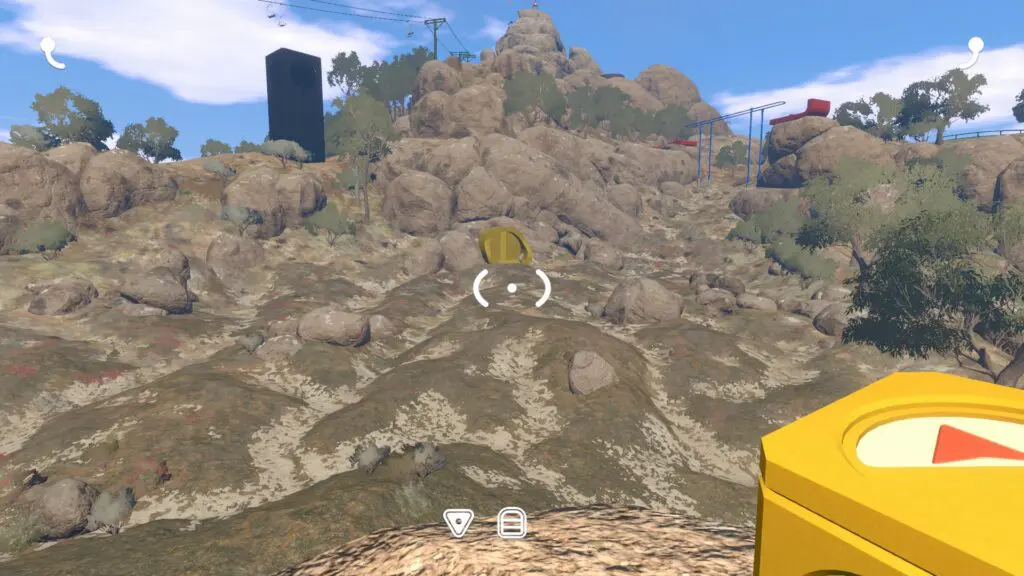
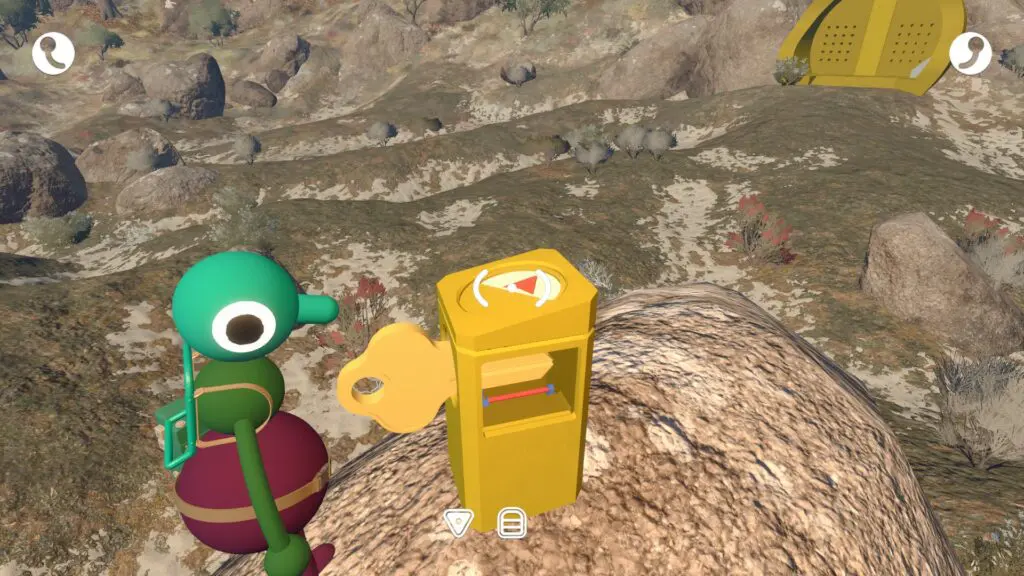
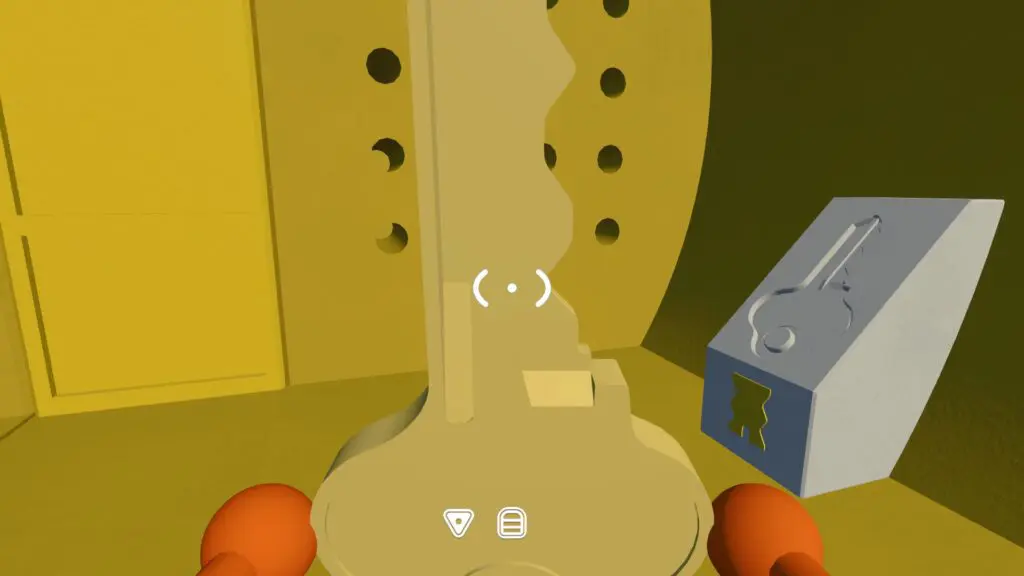
Install any five earned red pieces and take the golden key. Start at the cutter beside the tower door, then follow the revealed arrows:
- down the mountain to a nearby cliff;
- across toward a cutter on a boulder;
- toward the dark tower;
- to a distant boulder right of the Yellow Tunnel;
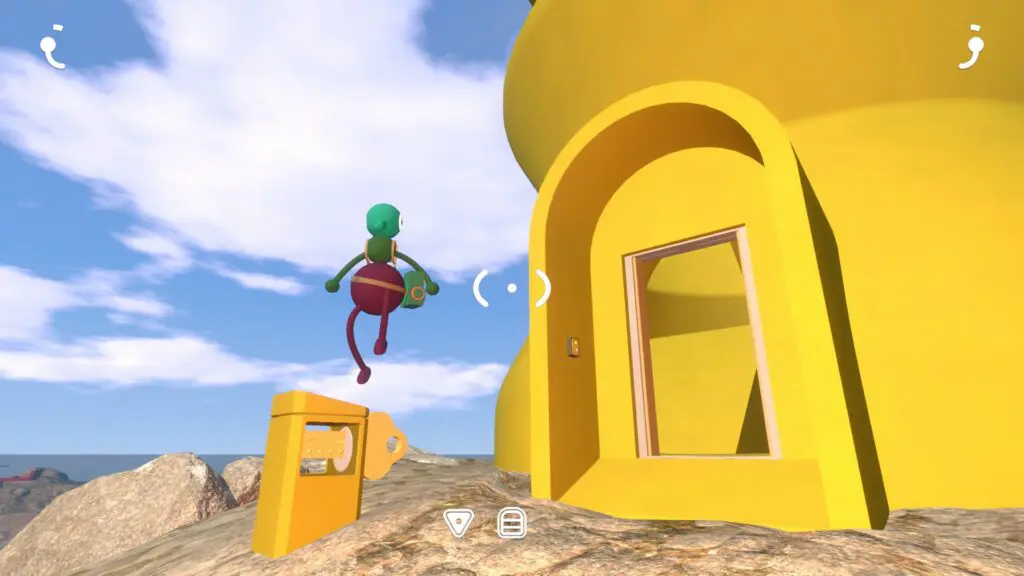
- finally to the cutter beside the tunnel entrance.
Insert the shaped key into the slot on the right side of the Yellow Tunnel. The route beyond is intentionally left to the separate spoiler-marked ending guide.
Related guides
Big Walk Four-Colour Wheel Puzzle
Search the tree, rock, central, rail, and tunnel-ledged zones, return every coloured piece, and recover a missing collectible.
Read guideBig Walk Six-Microphone Sound Check Puzzle
Number six microphone feeds, standardize the test phrase, identify the loudest unused feed, and repeat the listener sequence.
Read guideBig Walk Speaker Sound Matching Puzzle
Compare five reference sounds with movable speakers, describe rhythm and pitch, and isolate a bad booth match.
Read guideBig Walk Mirrored Stage Directions Puzzle
Convert seven mirrored booth positions into audience-side button numbers, signal one target at a time, and recover a wrong input.
Read guideBig Walk Aerial Chair Symbols Puzzle
Confirm five symbols across the moving crescent chair, transport the matching pieces, preserve order, and recover a disputed position.
Read guideBig Walk Cliff Lights and Buttons Puzzle
Name the walls in two cliff-separated rooms, describe one active light by pattern and position, and press the matching button.
Read guideBig Walk Chairlift Puzzles — Green Tower Solutions
Solve five Green Tower challenges, shape the station key, and start the chairlift for a reliable high route.
Read guideBig Walk Map & Landmarks — Scoped Route Guide
Navigate the opening area, Crosswalk, Map Room, tower routes, trains, chairlift, and tunnels without a false full-map claim.
Read guideBig Walk Communication Tools
Choose radios, walkie-talkies, megaphones, flares, cowbells, whiteboards, pointers, or gestures for the current constraint.
Read guide