
Big Walk Cliff Lights and Buttons Puzzle
A focused Yellow Tower communication guide for the facing grey rooms.
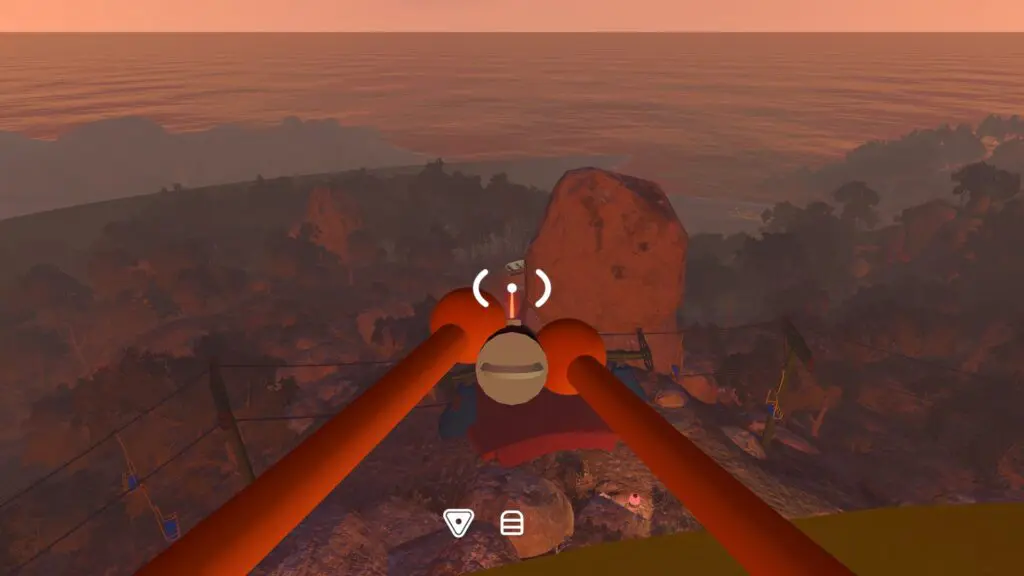
Table of contents
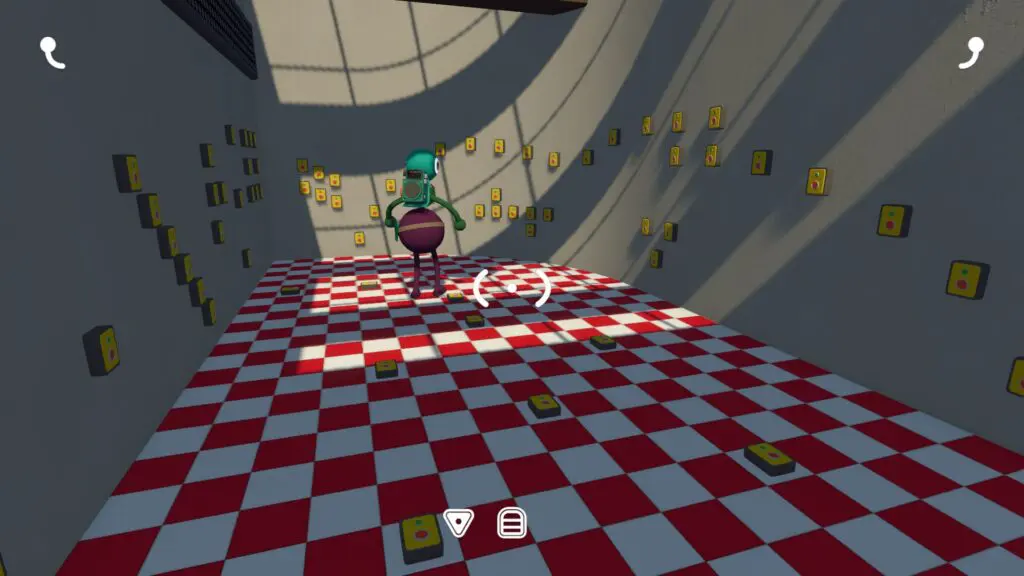
Two grey rooms face each other across cliffs. One player sees an active light; the other owns the matching wall of red buttons. Build shared wall and position names, then translate one target at a time through the yellow communication cages. The page name is descriptive.
Quick solution
- Find the two cliff rooms at approximately 3290, 1670.
- Put one player in the light room and one in the button room.
- Before starting, name the walls: left, back, curved, right, and door-side.
- The light player notes the active wall, local pattern, and position.
- Meet at the yellow cages and describe those three details.
- The button player presses the matching control and repeats until completion.
Find and orient the two rooms
The buildings sit east of Yellow Tower behind the nearby chairlift station. They occupy separate cliffs and each has a yellow barred communication cage. Walk each room before activation so both players understand which wall is door-side and how the curved section is counted.
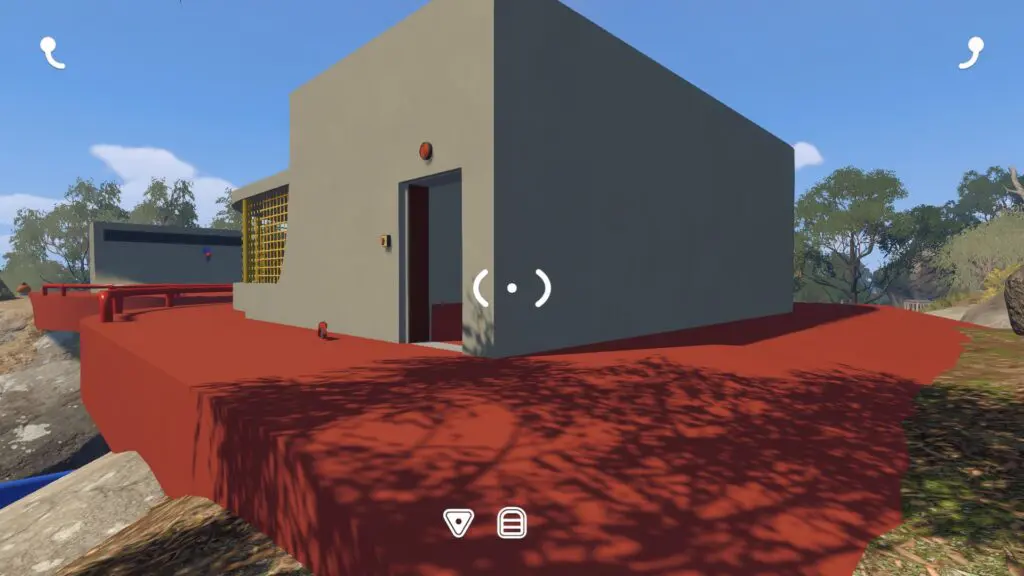
Create shared wall names
The two interiors can look reversed from opposite viewpoints. Name walls by their local relationship to the door and room shape, then divide repeated patterns into positions counted from one agreed edge.
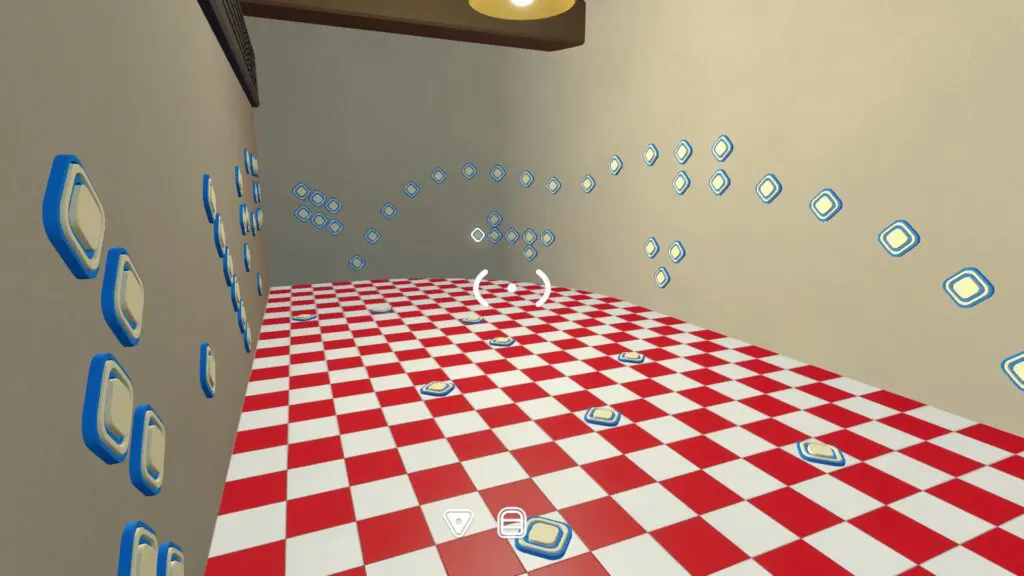
Describe one active light
When a light turns on, the reader records its shared wall name, surrounding pattern, and count within that pattern. Return to the cage and deliver all three details in the same order.
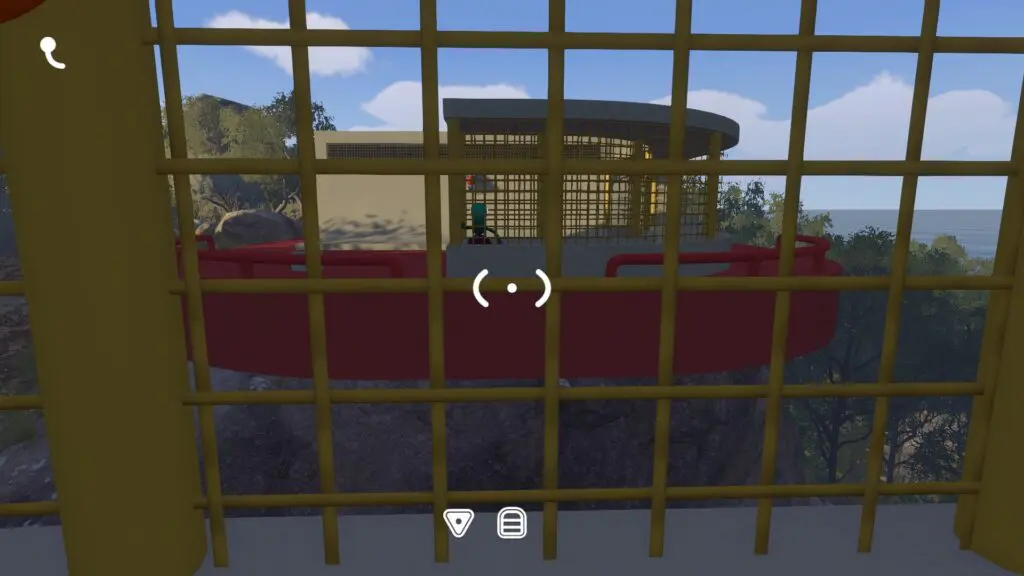
Press the matching button
The button player first finds the named wall, then the pattern, then the exact position. Press once and wait for the next light. The reverse faces of controls can change how the pattern appears, so preserve the agreed local orientation.
Recover a wrong description
| Problem | Recovery |
|---|---|
Left points to different walls |
Reset to door-side, back, and curved landmarks before trying again. |
| The correct wall has many similar buttons | Describe the surrounding pattern and position within it. |
| A press fails | Repeat the current light from wall name first; do not guess adjacent controls. |
| Players cannot communicate across the cliff | Return both players to the facing yellow cages before giving the description. |
Open the Yellow Tunnel
Take the reward to Yellow Tower. Only five of the six nearby challenge pieces are needed. The complete Tunnels route covers the panel, five cutters, and tunnel lock while keeping ending spoilers separate.
Related guides
Big Walk Tunnel Puzzles — Yellow Tower Solutions
Choose five of six nearby Yellow Tower challenges, shape the key, and open the Yellow Tunnel without ending spoilers.
Read guideBig Walk Aerial Chair Symbols Puzzle
Confirm five symbols across the moving crescent chair, transport the matching pieces, preserve order, and recover a disputed position.
Read guideBig Walk Tunnel Route — Unlock & Enter Safely
Open the Yellow Tunnel, gather the whole party at its entrance, assign light and radio roles, and avoid unwanted ending spoilers.
Read guideBig Walk Puzzle Teamwork
Choose a 2, 3, or 4+ world, divide observation jobs, and use in-game communication limits as part of the puzzle.
Read guide