
Big Walk Invisible Symbols Puzzle
A focused Green Tower memory guide that preserves the piece map across changing answers.
Table of contents
The nine pieces in the blue circular building look blank until held under the fixed lens. Map every physical piece to its revealed symbol before activating the changing five-symbol target. The name used here is descriptive.
Quick solution
- Find the blue circular building at approximately 3740, 2140.
- Number the nine physical pieces from 1 to 9.
- Hold each piece under the fixed viewer and record its revealed symbol.
- Keep the inspected pieces in the same numbered layout.
- Activate the puzzle and read the current five-symbol target outside.
- Retrieve the five matching indexed pieces, place them in order, and submit.
Find the blue memory building
The structure sits northwest of the coastal crane and southeast of Blue Tower, inside a large blue circle. The five target positions are displayed outside; the lens and loose pieces are inside.
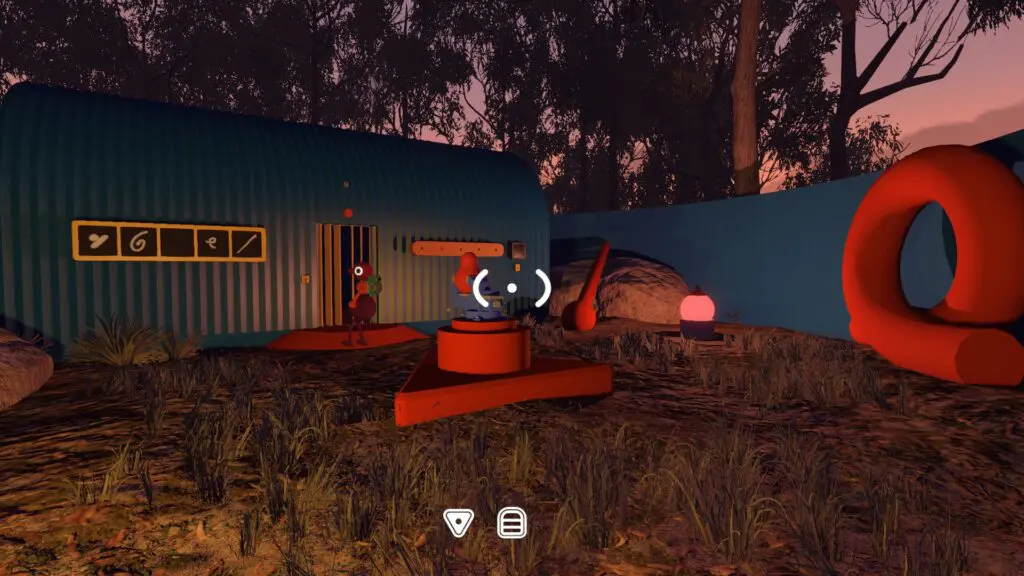
Map all nine pieces before activation
One player holds a piece beneath the fixed viewer while the other names the revealed mark and records its index. Keep the piece layout stable after every inspection. A moved piece breaks the map even when the remembered symbol is correct.
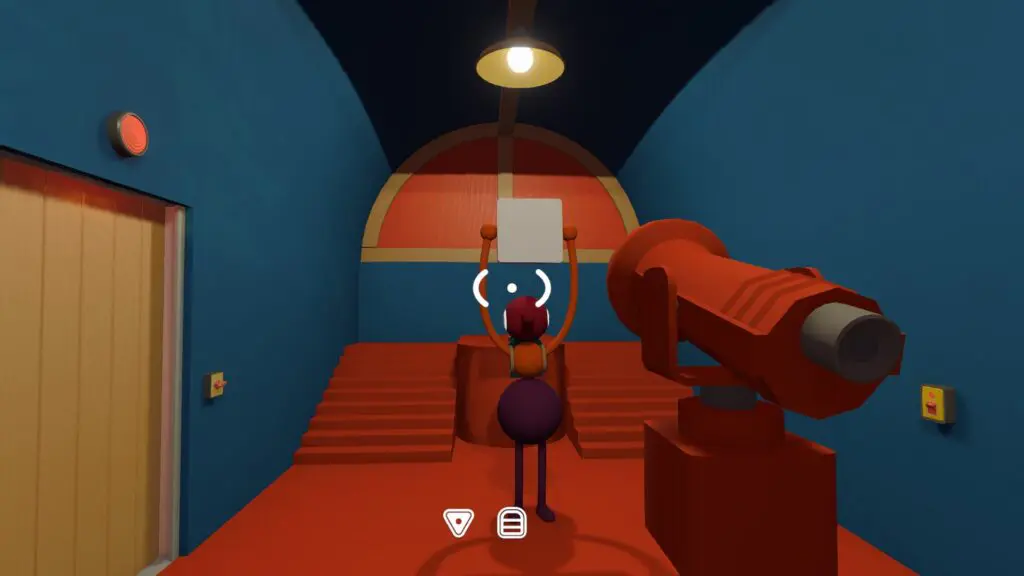
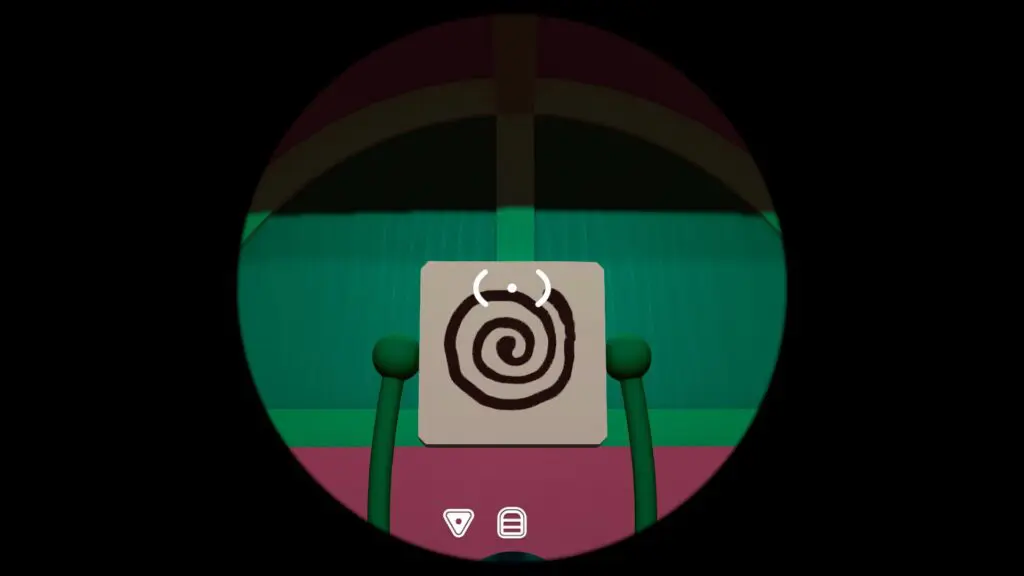
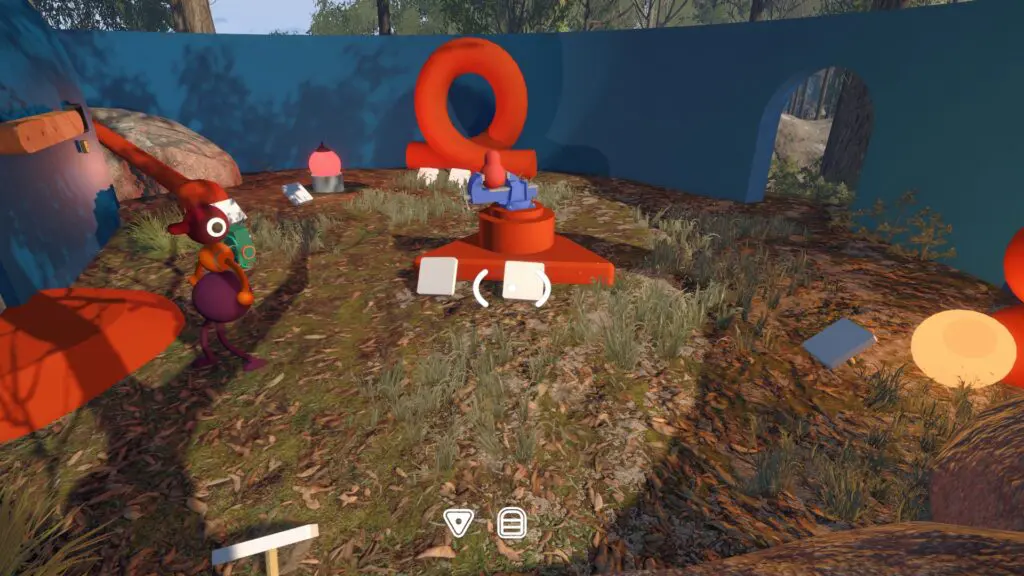
Rebuild the current target
After activation, read the five outside positions from left to right. Convert each visible symbol back into its mapped piece index, retrieve those pieces, and place them in the same order.
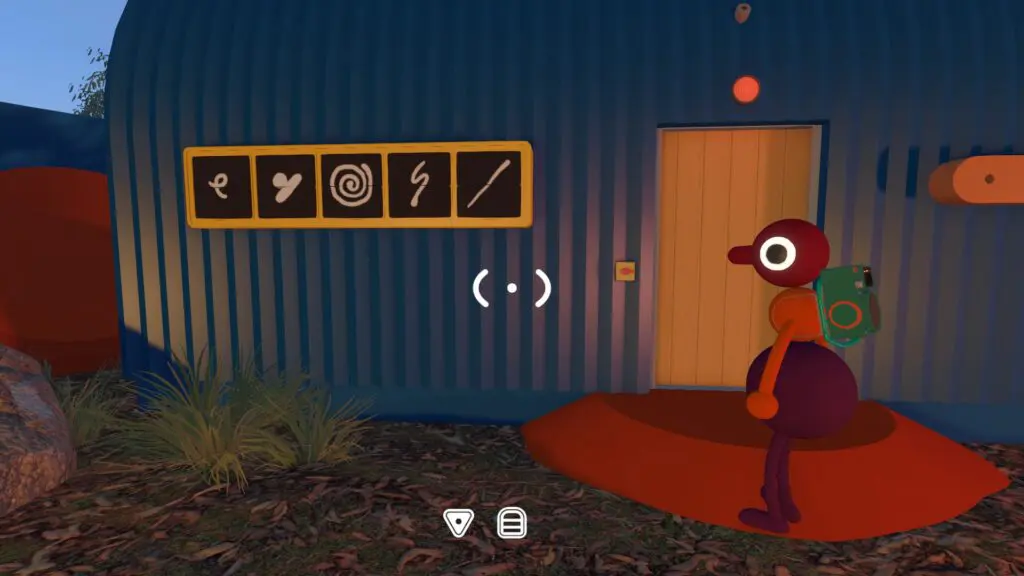
Confirm and recover
A correct five-piece sequence releases the red reward.
| Failure | Recovery |
|---|---|
| A piece looks blank | Return it to the fixed lens and check orientation before assigning its index. |
| The current target differs from a screenshot | Use the newly activated outside display; targets can change. |
| One mapped index retrieves the wrong symbol | Restore the physical nine-piece layout and reinspect that piece. |
| Submission fails | Recheck positions one through five without discarding the full piece map. |
Continue the Green Tower route
Return the reward to Green Tower and use the complete Chairlift route. Continue to Hidden Red Lamps for the next focused challenge.
Related guides
Big Walk Chairlift Puzzles — Green Tower Solutions
Solve five Green Tower challenges, shape the station key, and start the chairlift for a reliable high route.
Read guideBig Walk Coastal Crane Puzzle
Staff every active distant switch, use one visible cue, press nearly together, and recover a mistimed crane attempt.
Read guideBig Walk Hidden Red Lamps Puzzle
Test lamps in a stable order, mark every persistent red-star hazard, and complete a run using only the required green positions.
Read guideBig Walk Puzzle Teamwork
Choose a 2, 3, or 4+ world, divide observation jobs, and use in-game communication limits as part of the puzzle.
Read guide