
Big Walk Communication Tools
Match distance, obstruction, speech, visibility, or regrouping problems to a useful in-game tool.
Table of contents
Big Walk has 25 distinct portable or fixed tool types. Some solve a specific challenge; others help the group communicate, navigate, carry rewards, or stay visible. This field guide identifies each object, where to look for it, what it actually does, and the limitation that matters during a run.
Carrying tools
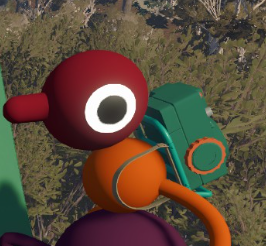
Backpack
Equip a backpack to carry one object on your back while keeping both hands available. Choose one inside a giant blue basket-shaped bag building. A friend can still remove or use the carried item, so treat it as shared route storage, not a private inventory.
Control-panel piece carrier
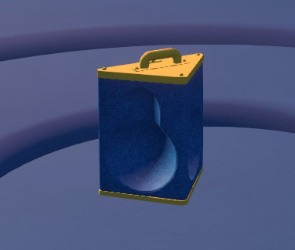
The blue handled carrier beneath the weather balloon is made for transporting two red control-panel pieces together. Use it when the group wants one player to consolidate rewards for the trip back to a tower. It is specialized puzzle transport rather than a general-purpose bag.
Hip bag
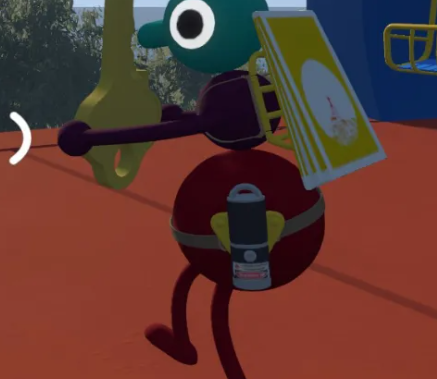
Hip bags come from the same blue bag buildings as backpacks. They hold an item at the player's side, keeping it visible and available to teammates. Assign the bag to a navigation, light, or communication carrier before the group splits.
Navigation and observation
Binoculars
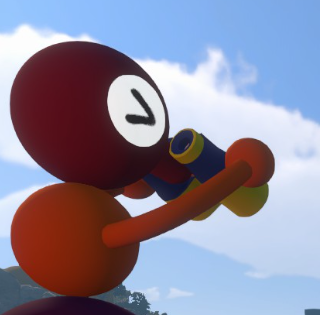
Find binoculars on top of the control-panel towers. Use them to identify a distant colour, platform, train, or player before choosing a descent. They show the target—not the safe walking route—so pair the sighting with a map or landmark call.
Compass
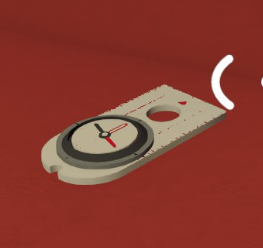
The compass is inside the Map Room beside the other navigation tools. Agree on a heading and landmark before moving; a compass direction without a visible target is easy to misread after the terrain bends.
GPS / coordinate tracker
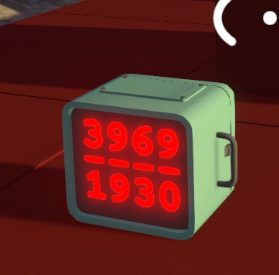
Find the coordinate tracker in the red square structure below Green Tower near the chairlift station. Its two-number display gives the carrier's current grid position. Read both numbers aloud and confirm the target coordinate before walking.
Handheld map
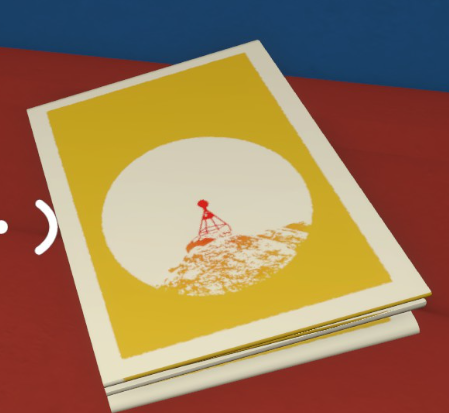
Pick up the folded handheld map from a table inside the Map Room. Use it to relate coordinates and major shapes to the surrounding terrain. It is a route aid, not proof that every pickup or challenge is marked.
Item scanner
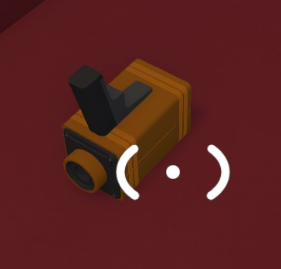
One scanner is near the tutorial-route flare point; more sit inside control-panel towers. Aim it around the nearby space to mark usable objects with a yellow X. It finds interactions, not the full order of a puzzle.
Light and visual signalling
Directional torch
Directional torches are inside the control-panel towers. Their focused beam is best for revealing one distant or dark object. It does not replace a lantern when the whole party needs broad light.
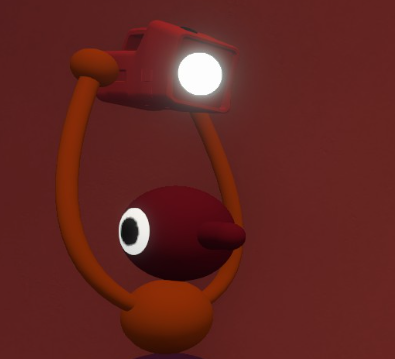
Flare
Fixed flare controls appear on the tutorial exit path, beside the Map Room, and on the control-panel towers. Press the red button to create a bright location marker. Always name the surrounding landmark too, because the flare does not communicate a coordinate by itself.
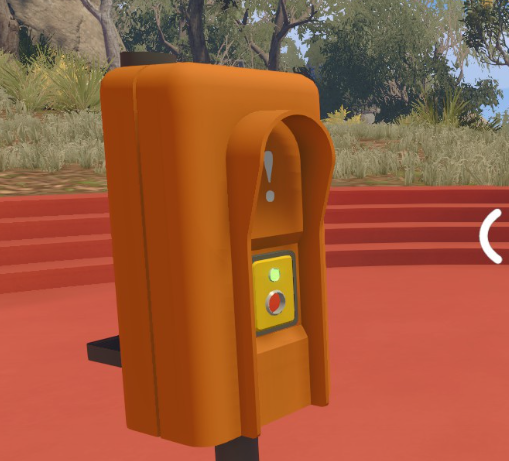
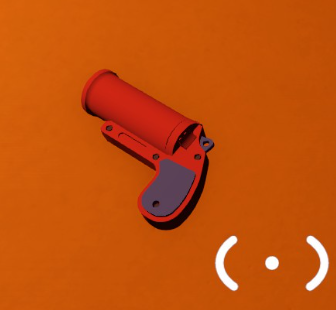
Flare gun
Flare guns sit at the bases of later ring buildings, including yellow, purple, and green variants. Fire one to place a large coloured smoke-and-light marker. After firing, wait for its visible cooldown before relying on a second shot.
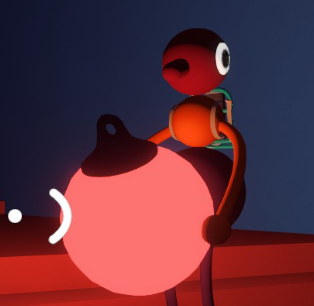
Lantern
Lanterns appear in the tutorial, beside points of interest, and around the island. Carry or place one for a broad amber pool of light. If it becomes a rally marker, pair it with a named structure so another loose lantern cannot mislead the group.
Laser pointer
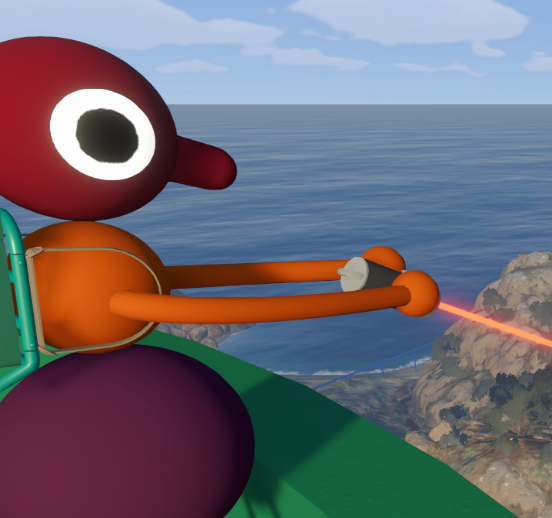
Laser pointers are available on control-panel towers and inside the Map Room. Use the visible dot to mark a ledge, doorway, or route for teammates who can still see it. The signal fails through terrain and around blind corners.
Voice, text, and message tools
Cowbell
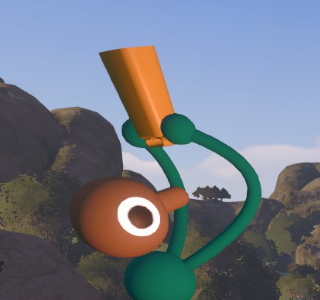
Pick up the cowbell in the tutorial area. Ring it for a simple audible signal such as “stop” or “come back.” Agree on that meaning first; a bell cannot carry a detailed puzzle instruction.
Handheld radio
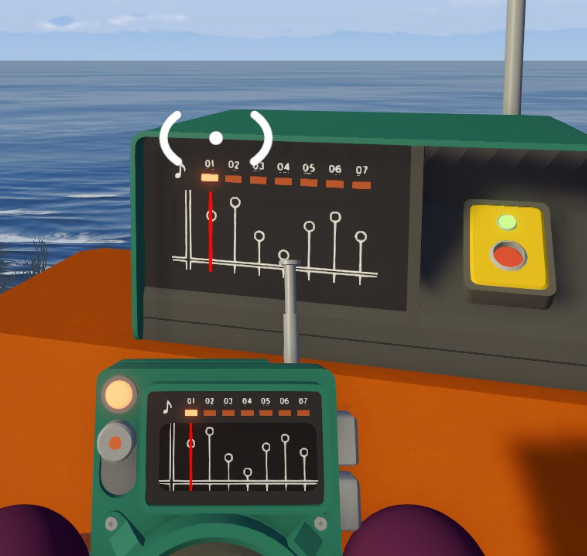
The handheld music radio sits by the first full-sized radio past the Crosswalk. It plays only the numbered channels the group has found and activated. Press the button at each full-sized receiver before expecting that channel to appear.
Megaphone
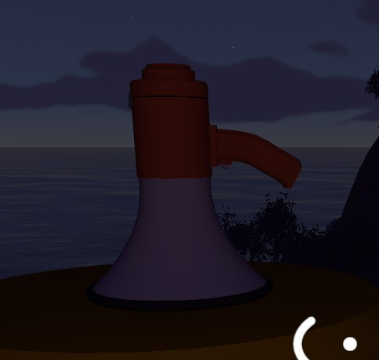
One megaphone is on yellow cubes near Yellow Tower; another is beyond Purple Tunnel. Use it for a short rally call or countdown across a larger local area. It extends voice reach but does not guarantee contact through every wall or distance.
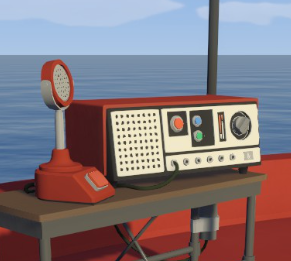
Radio transmitter / receiver
Fixed radio pairs appear near towers, the Map Room, trains, and other major landmarks. Hold the microphone button for the entire outgoing message. The other player must stand near a receiver to hear it, so name both the sending station and the proposed reunion point.
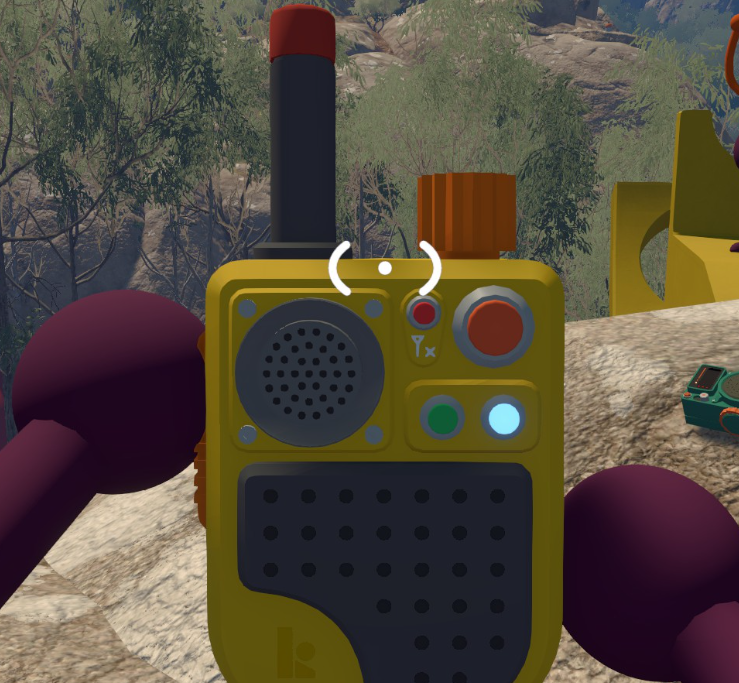
Walkie-talkies
Look below Red Tower on the yellow ravine frame, near the red-tunnel ravine, and on the central mountainside frame visible from Blue Tower. Match the participants and test a short call before separating. Voice and text retain the game's radio-like signal behaviour rather than becoming an unlimited outside channel.
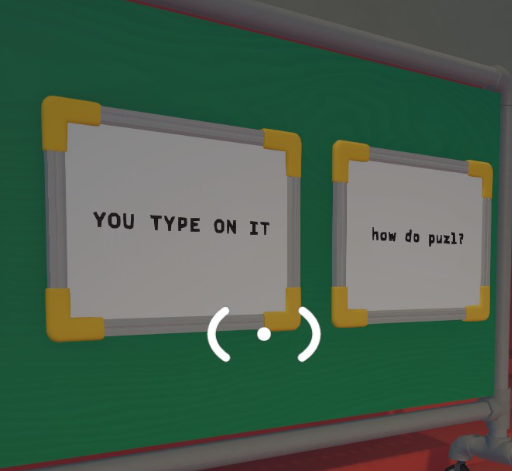
Whiteboard
Three whiteboards are near the Map Room and another sits behind the coordinate tracker below Green Tower. Type or draw a persistent visual instruction for a player who can reach the board. It cannot help someone who never sees the location.
Puzzle and social objects
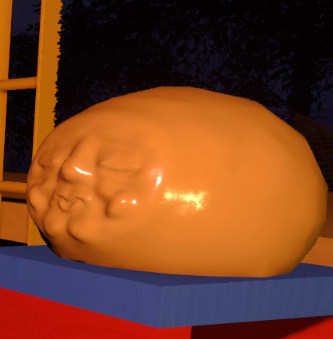
Golden head
The golden head rests outside the guided obstacle-course challenge near Blue Tower. The wearer loses most normal vision but retains limited colour cues, so the partner must give calm, stepwise directions and stop the wearer before each hazard.
Golden key
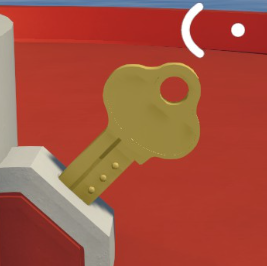
A completed control panel releases a large golden key from its back. Carry it through the five key cutters linked to that tower, then use the shaped key at the matching building, transport system, or tunnel. Keys are destination- specific.
Paintbrush
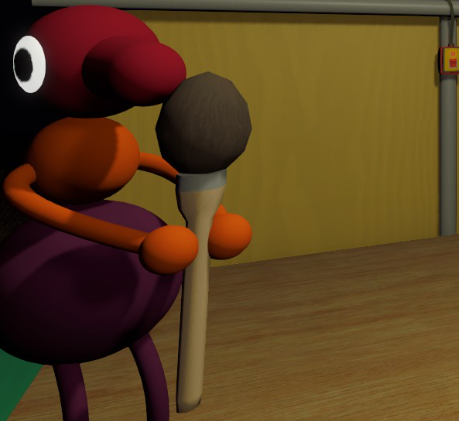
The paintbrush is inside the customization station. Dip it into a wall colour, aim at a friend's head, upper-body, or lower-body zone, and apply the paint. Players customize one another; the holder cannot paint their own character.
Red control-panel piece
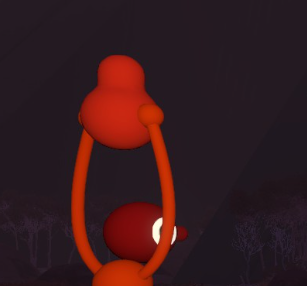
Cooperative challenges release red pieces used to fill tower control panels. The opening beach panel needs its four nearby fixed rewards; later tower panels accept valid challenge rewards from the wider island. Once a panel is full, it releases its golden key.
Telescope
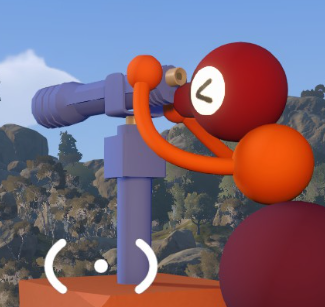
Fixed telescopes stand on raised platforms around the island. Inspect the distant target or signal connected to that local challenge, then relay what you see to the teammate at the controls. They are puzzle stations, not a portable full-map replacement.
Timer
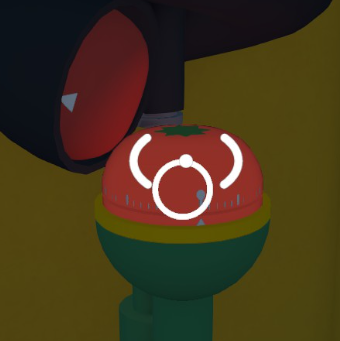
Timers appear inside the puzzles that use them. Carry, place, throw, or wait on the device only as that room's feedback requires. Do not assume every timer is a simple race countdown; first observe what starts it and what counts as a reset.
Before the group carries equipment away
- identify the item and say which task it supports;
- test its effect while the group is still together;
- assign one carrier and one fallback communication method;
- name the reunion landmark before splitting up;
- leave nonessential toys at a shared, recognizable point rather than hiding them in an unnamed patch of terrain.
Related guides
Big Walk Voice & Text Chat
Use proximity voice or parity text chat, understand distance and walls, and keep communication inside the game.
Read guideBig Walk Map & Landmarks — Scoped Route Guide
Navigate the opening area, Crosswalk, Map Room, tower routes, trains, chairlift, and tunnels without a false full-map claim.
Read guideBig Walk Puzzle Teamwork
Choose a 2, 3, or 4+ world, divide observation jobs, and use in-game communication limits as part of the puzzle.
Read guide