
Big Walk Train Puzzles — Blue Tower Solutions
A route through symbol rooms, a timed wait, two obstacle courses, charades, and the main station lock.
Table of contents
Three trains sit paused on the island until the Blue Tower key is shaped and used at the main station. This route covers five nearby puzzle rewards, the station location, and what to do once the trains begin moving.
The labels are visual descriptions, not official in-game names. Later control panels accept pieces earned from other completed challenges, so use this set as an efficient route rather than a claim that only these five count.
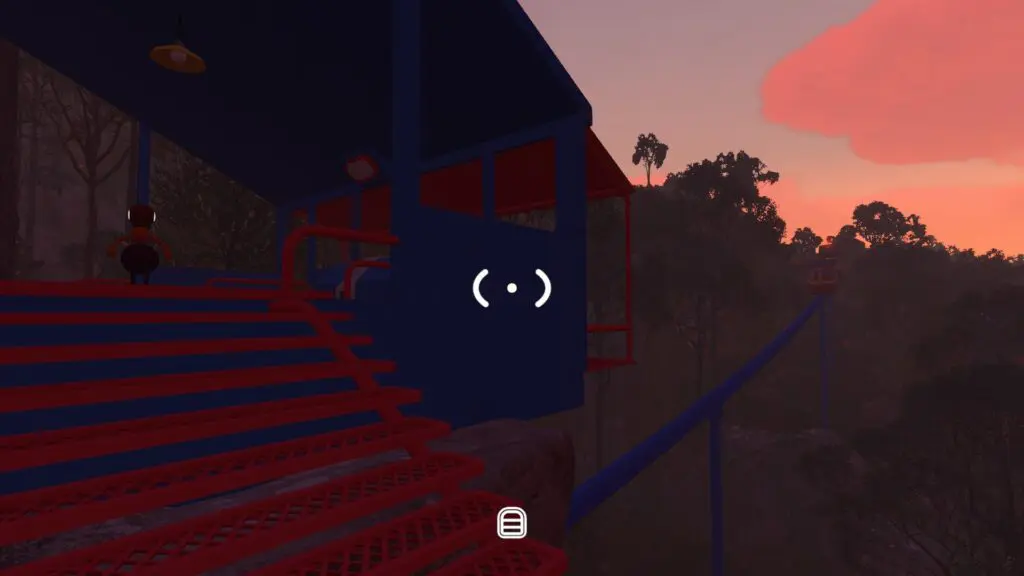
Find the Blue Tower and main station
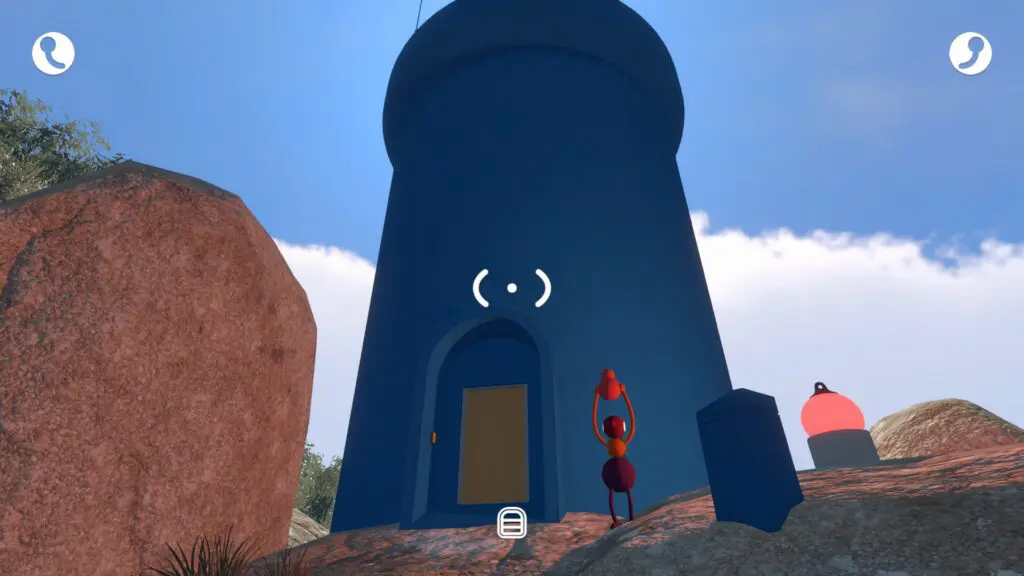
- Blue Tower: approximately 3540, 1850.
- Main train station lock: approximately 3380, 1740, northwest of the tower and set into the mountainside.
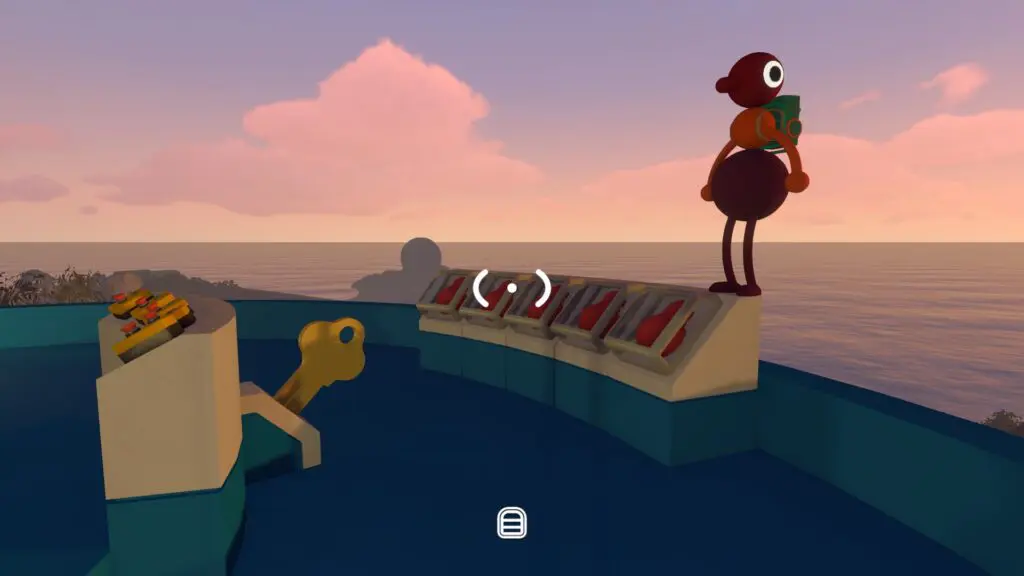
The control panel at the top of the Blue Tower releases its key after five pieces are installed. In larger world versions, assign every additional input shown on site; do not assume the 2-player target count is universal.
1. Turnstile symbol house
Use the focused Turnstile Symbol House guide for the reader-builder split, five-position order, and rejected-row recovery.
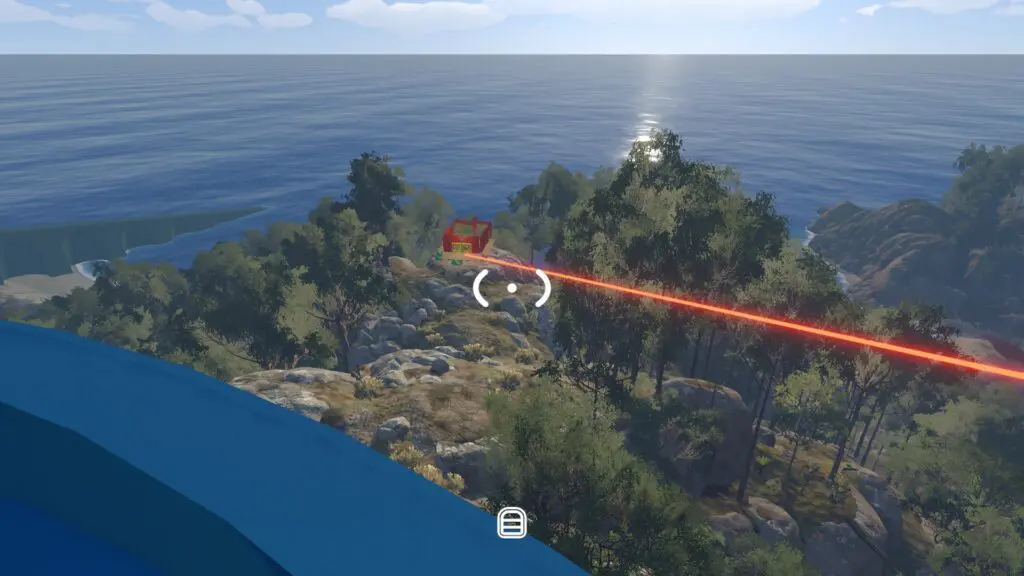
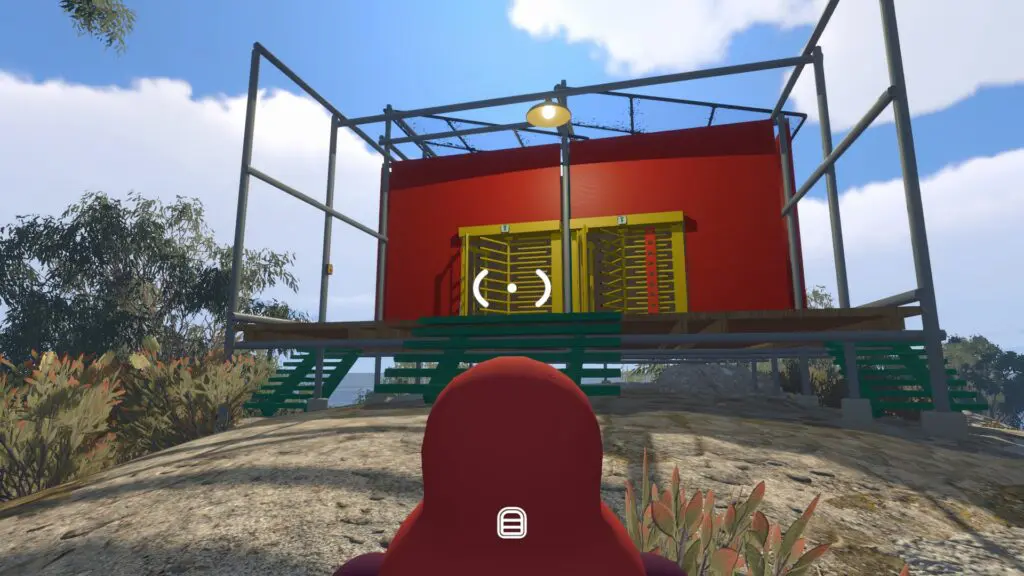
Find it: Look for the red building with two yellow turnstiles near the Blue Tower, around 3505, 1960.
Do it:
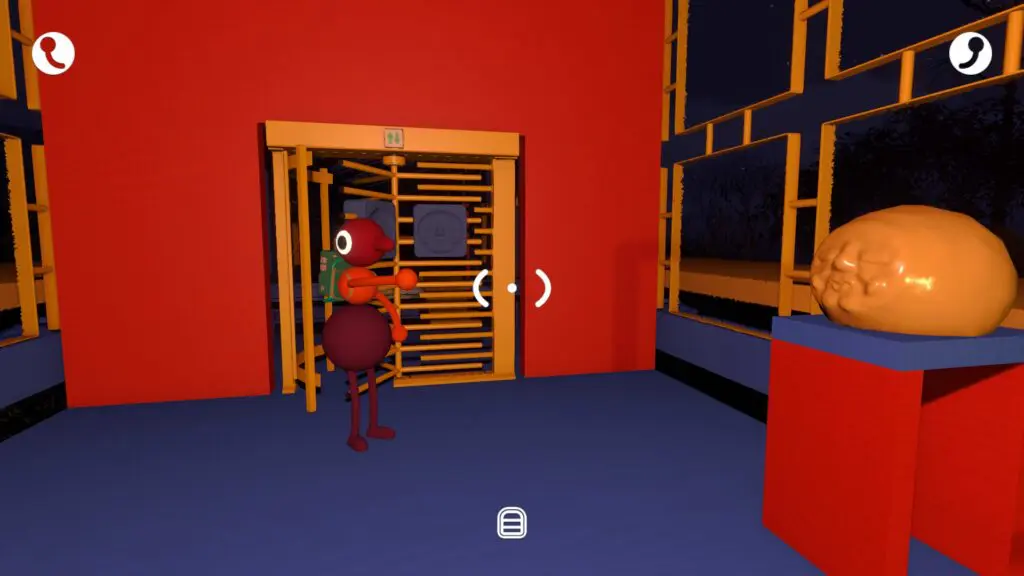
- Enter through separate turnstiles. Carried items drop at the entrance, so put essential tools somewhere visible before committing.
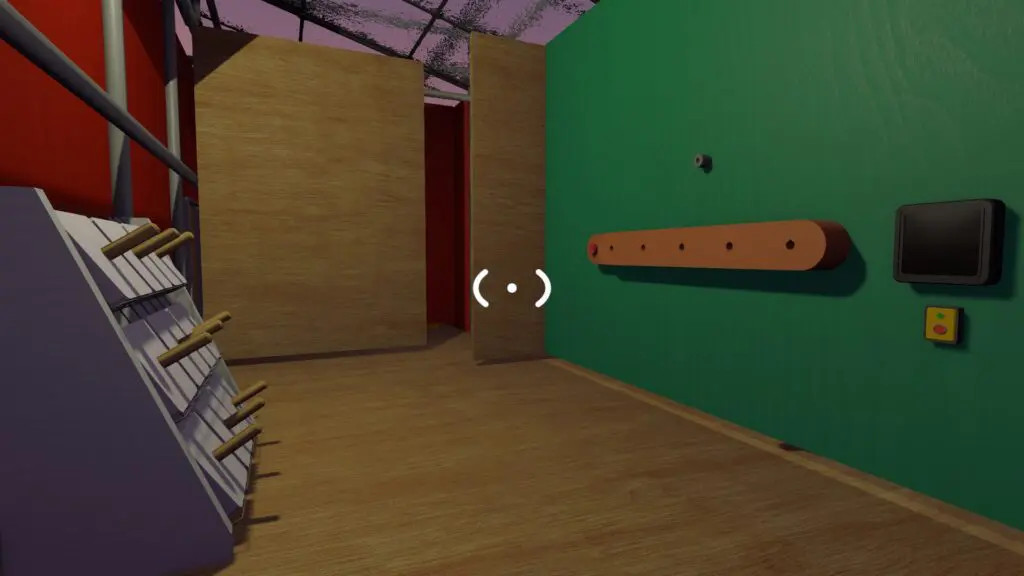
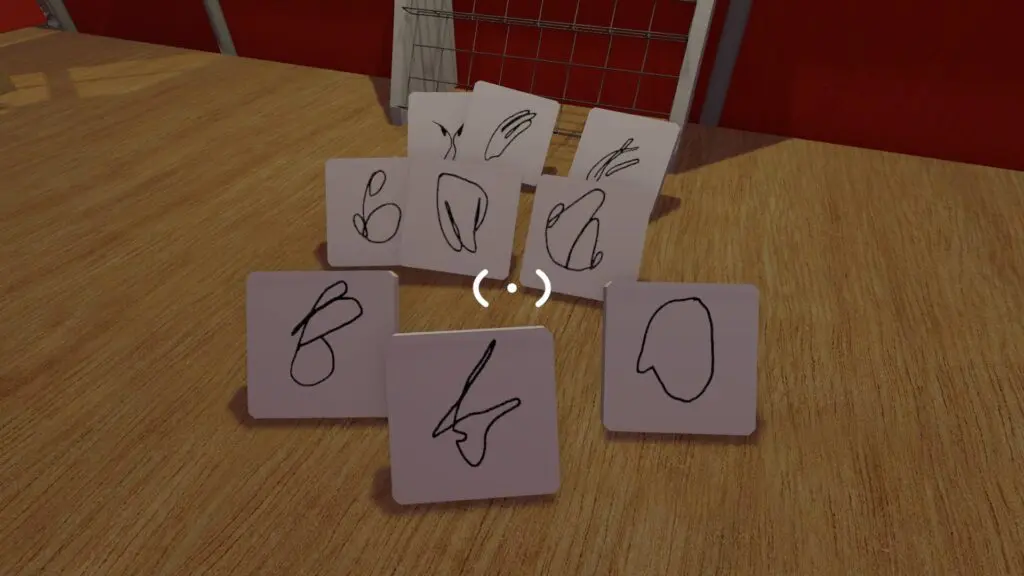
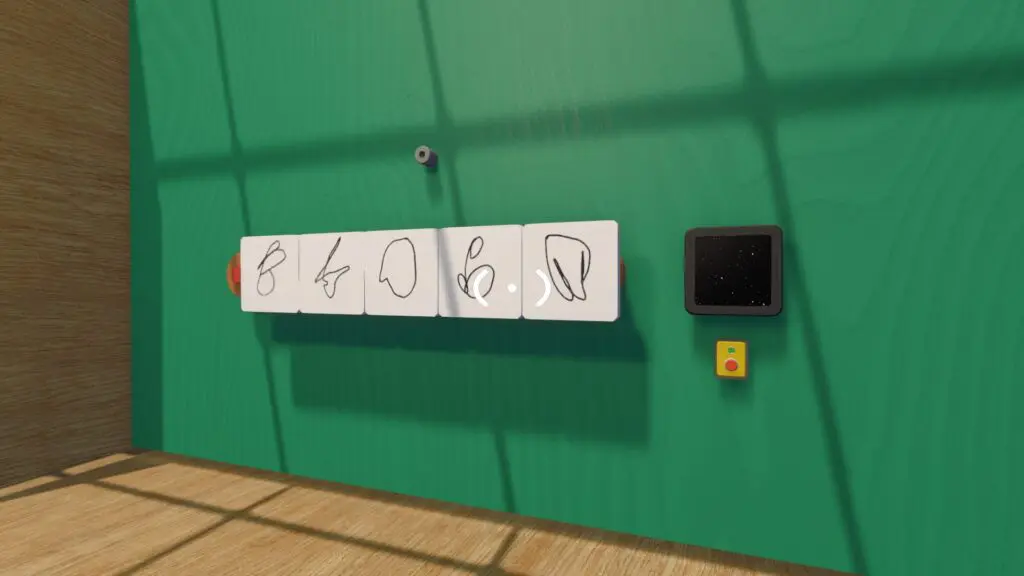
- One side displays five target symbols. The other has nine handled pieces and a board with five positions.
- The target-side player describes the symbols from left to right.
- The builder selects and places the matching pieces in that order.
- Communicate through the wall, the canvas opening behind the rooms, or walkie-talkies; use whichever keeps the sequence clearest.
- Press the button below the black screen to submit.
Completion signal: the control-panel piece releases in the target room.
Retry: if the piece stays locked, recheck the first uncertain symbol and submit again. The displayed combination can vary, so do not reuse a screenshot answer from another session.
2. Five-minute locked room
Use the focused Five-Minute Room guide for active control setup, the no-hidden-switch answer, and a timer that will not start.
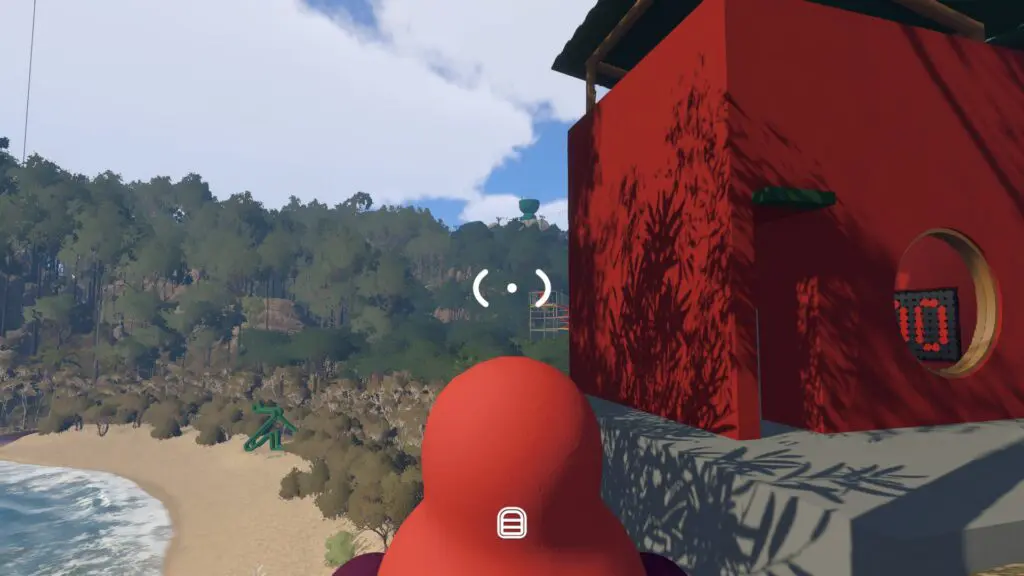
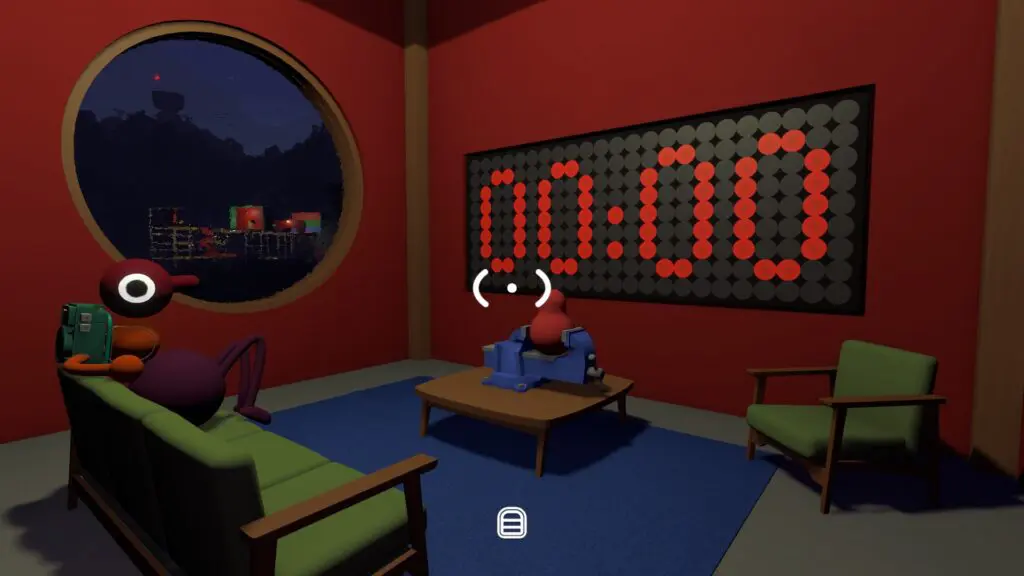
Find it: Descend through the trees toward the beach to the red house with a large black countdown display, around 3590, 2020.
Do it:
- Bring the whole required group inside.
- Press and hold every active button until the doors lock and the countdown starts.
- Stay in the room. The solution is waiting out the full five-minute timer, not searching for a hidden switch.
Completion signal: the reward unlocks when the countdown reaches zero.
Retry: if the timer never starts, one required button is not active. Check the current 2-, 3-, or 4+-player layout and put a player on every lit input.
3. Cooperative obstacle course
Use the focused Cooperative Obstacle Course guide for each gate, the final timer handoff, and segment-by-segment recovery.
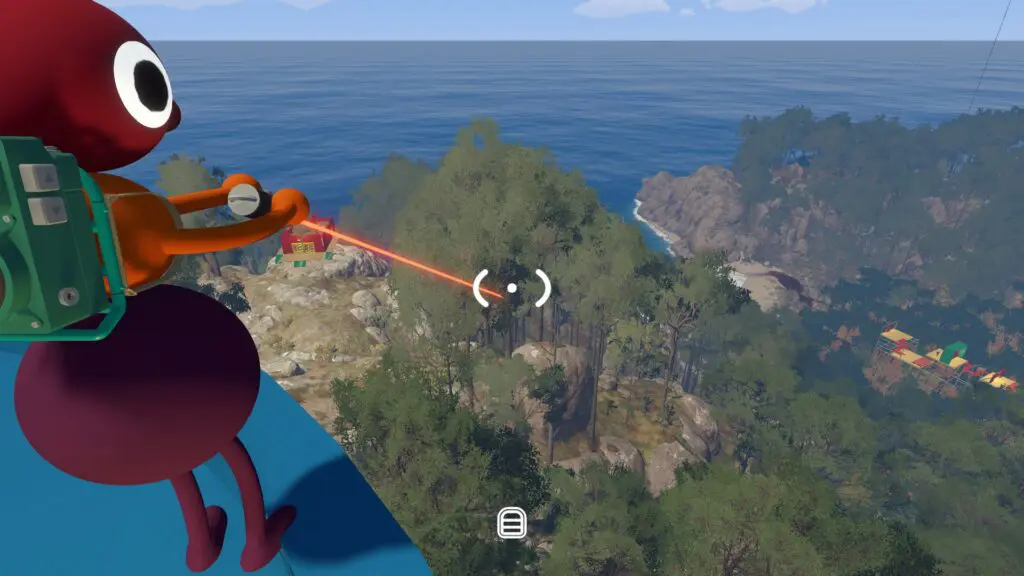
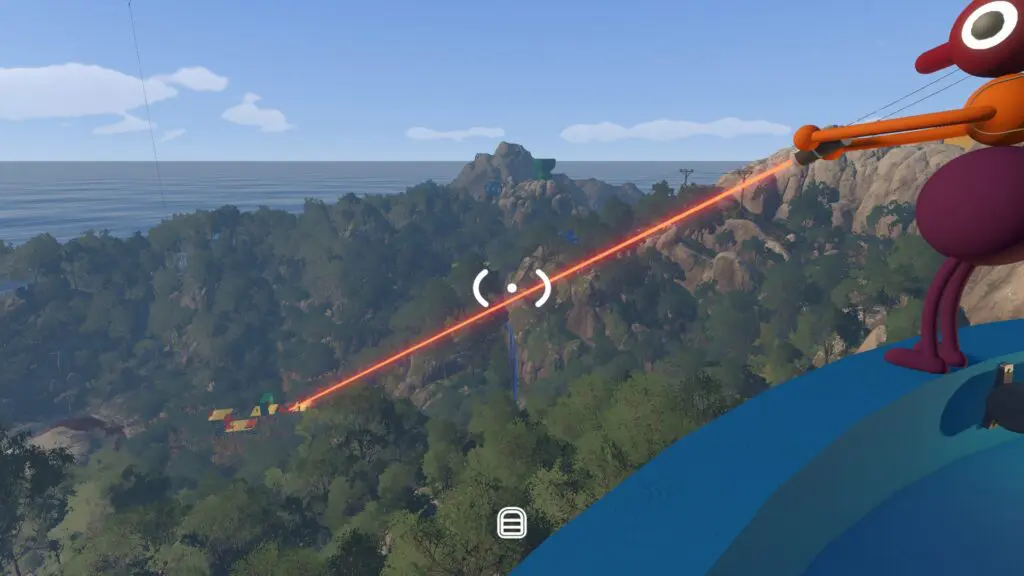
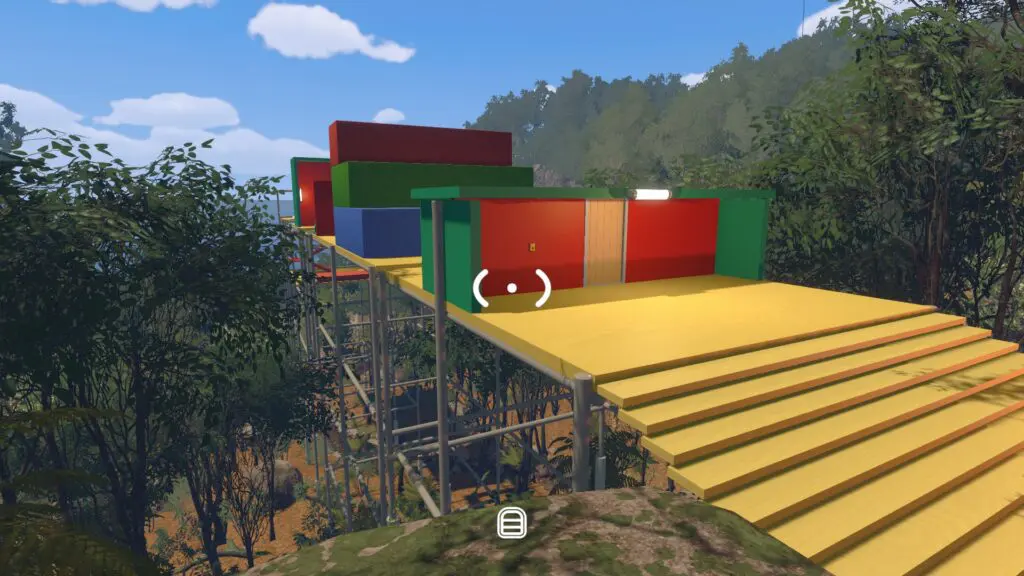
Find it: Look for the course on the slope around 3700, 1950.
Do it:
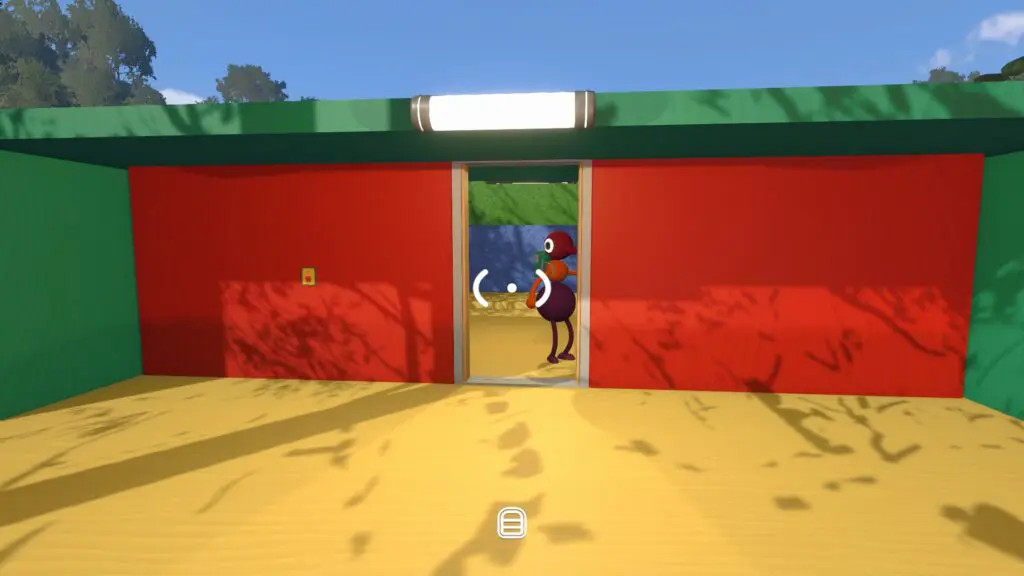
- Stack one player on another to clear the first wall and open the door from inside.
- Keep the door button held until the rest of the group enters.
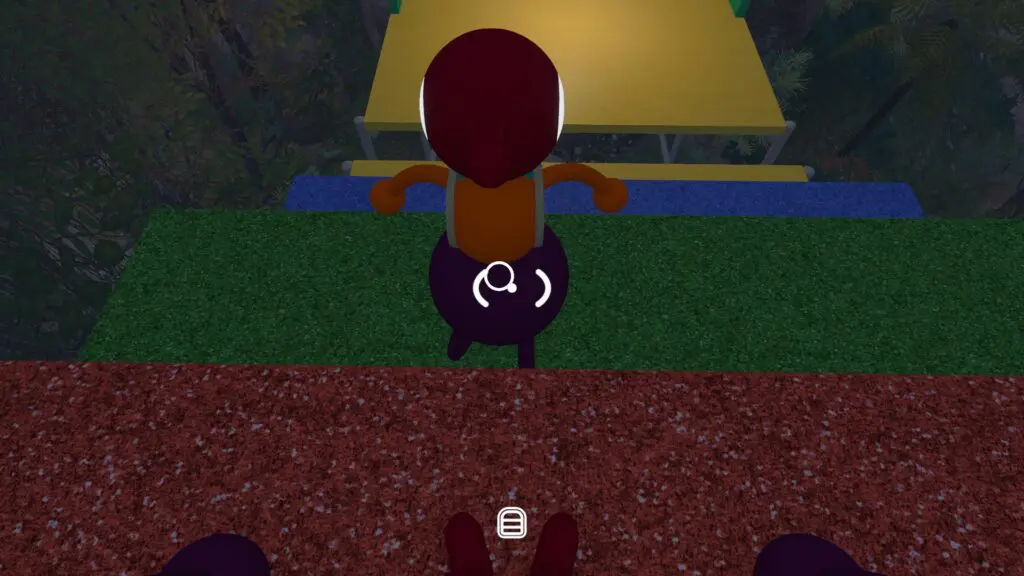
- Leapfrog up the large block steps by catching and lifting one another.
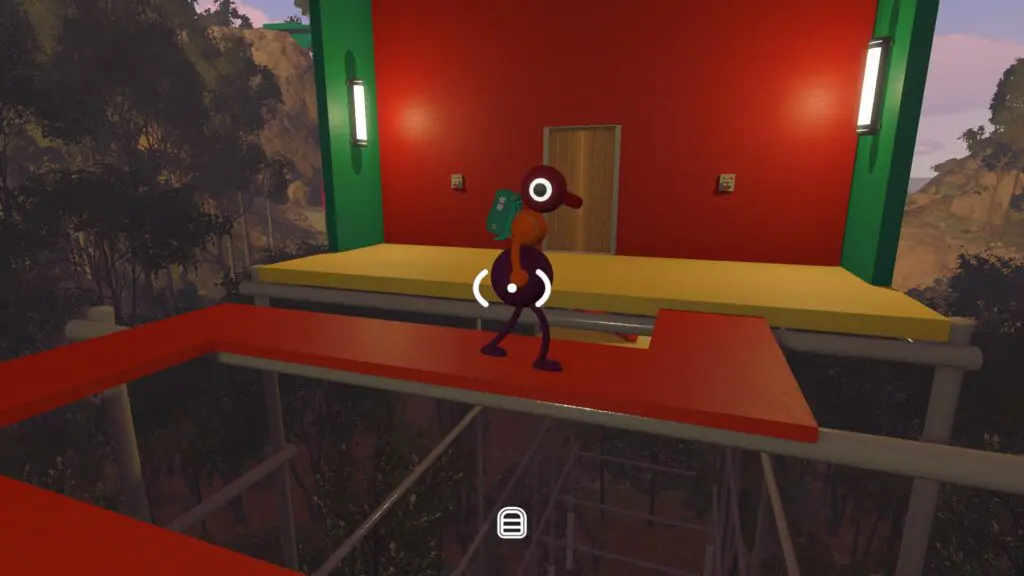
- Crouch under the low wall, cross the red planks, and press the far switches together.
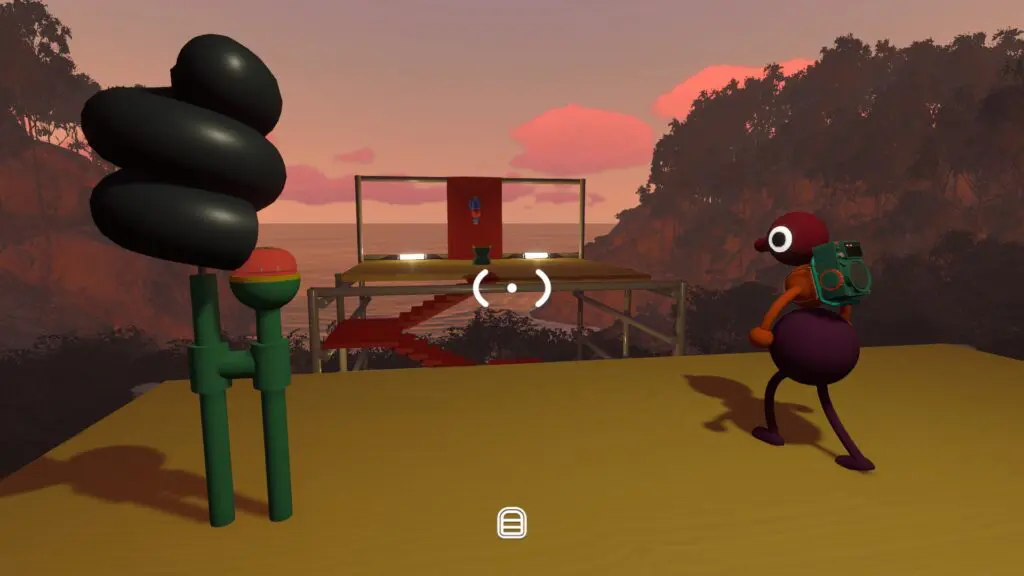
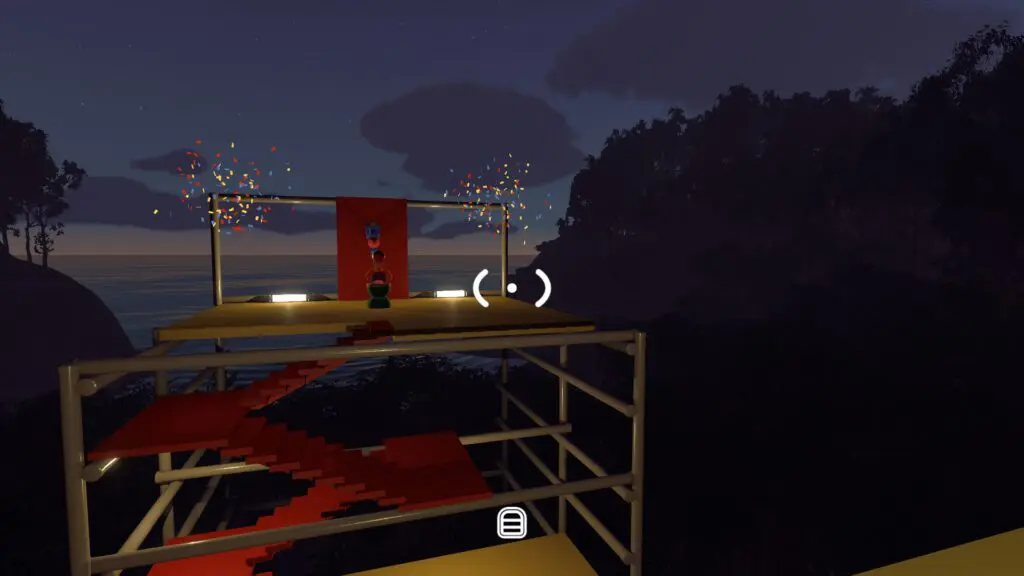
- At the final split, leave one player on the upper platform with the tomato-shaped timer. Another player goes down the red stairs to the distant holder.
- Throw the timer across; the receiver catches it and seats it in the holder.
Completion signal: the final door opens and the red piece becomes available.
Retry: reset only the failed segment. Hold doors for trailing players, reform the stack on flat ground, or return the timer to its upper holder before another throw.
4. Golden-head guided course
Use the focused Golden-Head Course guide for the wearer-guide command loop and lost-orientation recovery.
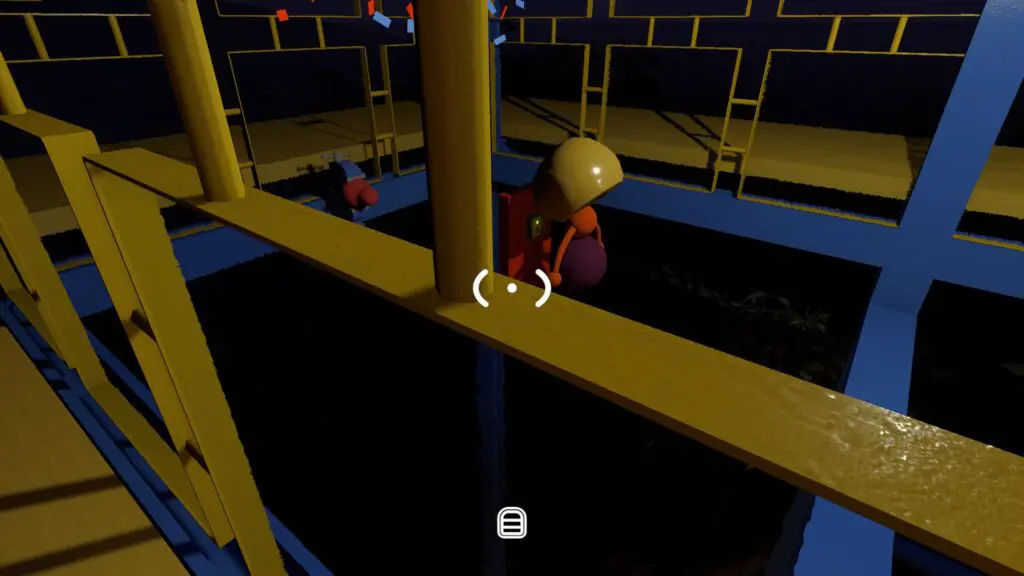
Find it: The walled obstacle course is around 3360, 1930. A golden head rests outside its turnstile.
Do it:
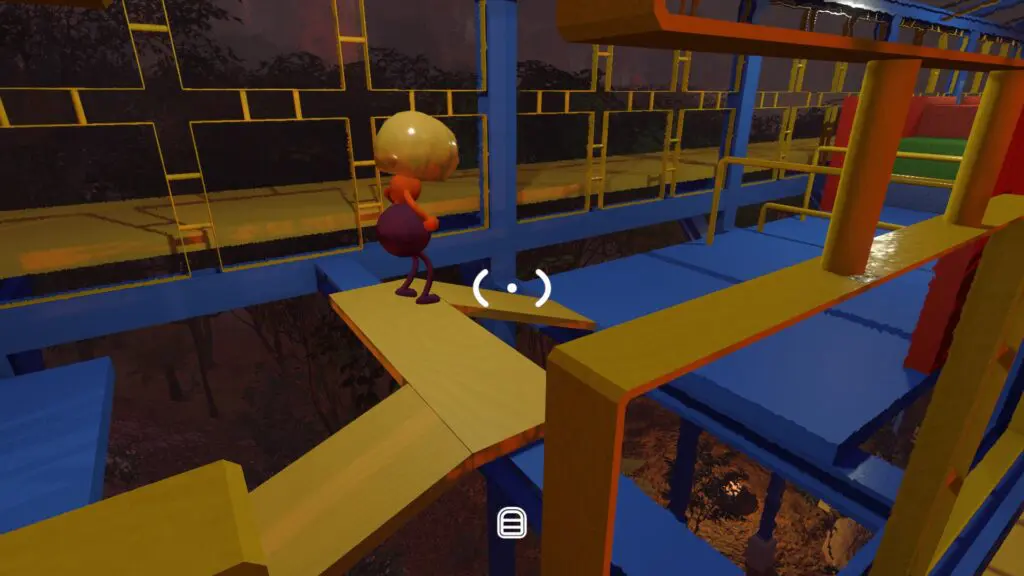
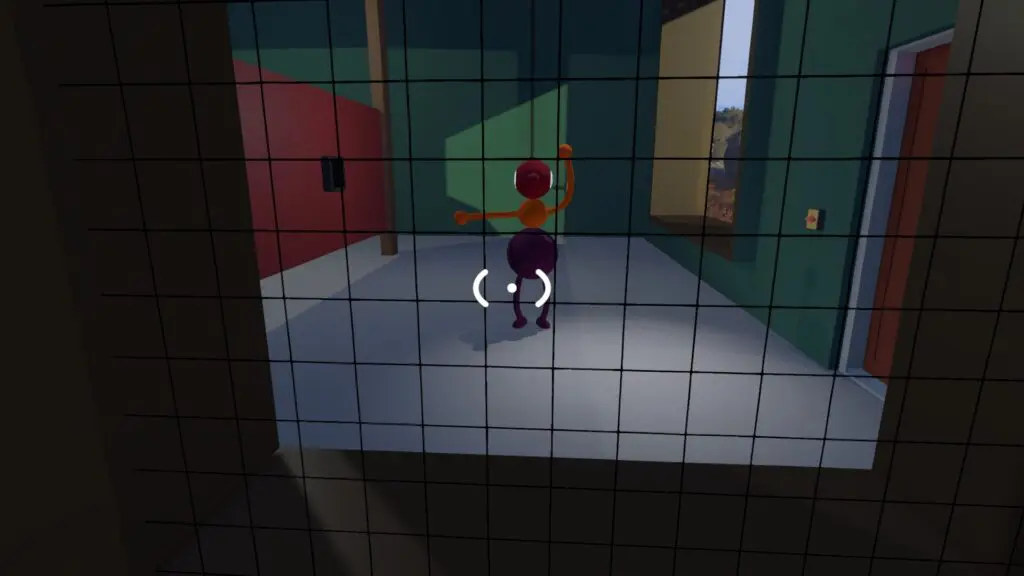
- One player wears the golden head and enters. Their view becomes mostly blurred colour.
- A guide stays outside and moves along the wall to maintain a useful angle through its openings.
- Give short commands: face left or right, walk, stop, jump, or crouch. Add a simple description of the obstacle directly ahead.
- Guide the wearer to the red button at the far end.
Completion signal: pressing the far button releases the piece.
Retry: if the wearer loses orientation, stop all movement. The guide should move to the nearest wall opening, re-establish which way the avatar faces, and resume with one action per instruction.

5. Charades symbol room
Use the focused Charades Symbol Room guide for pose boundaries, piece order, and a rejected sequence.
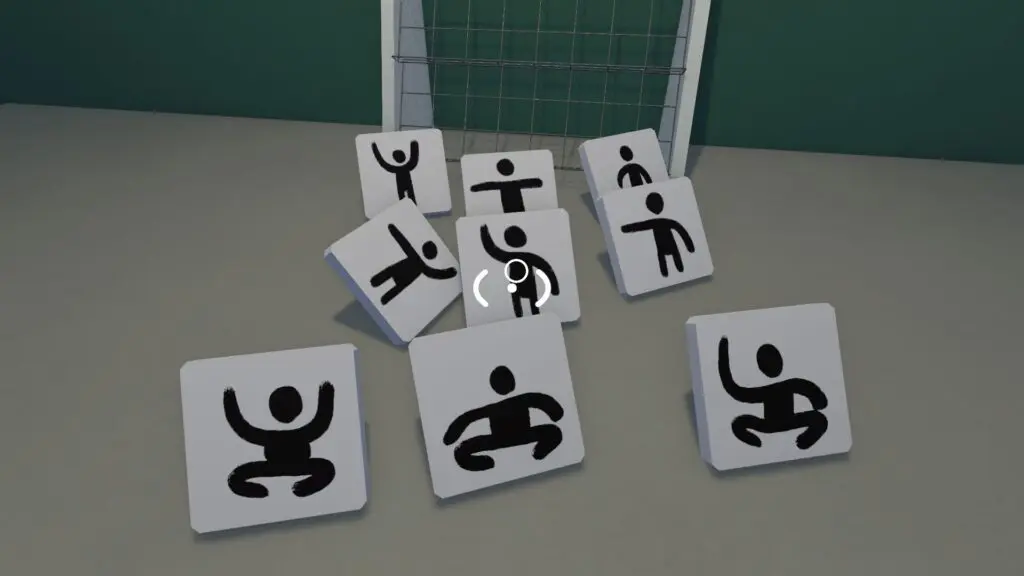
Find it: Search around 3250, 1940 for the split room with nine action pieces and a viewing window.
Do it:
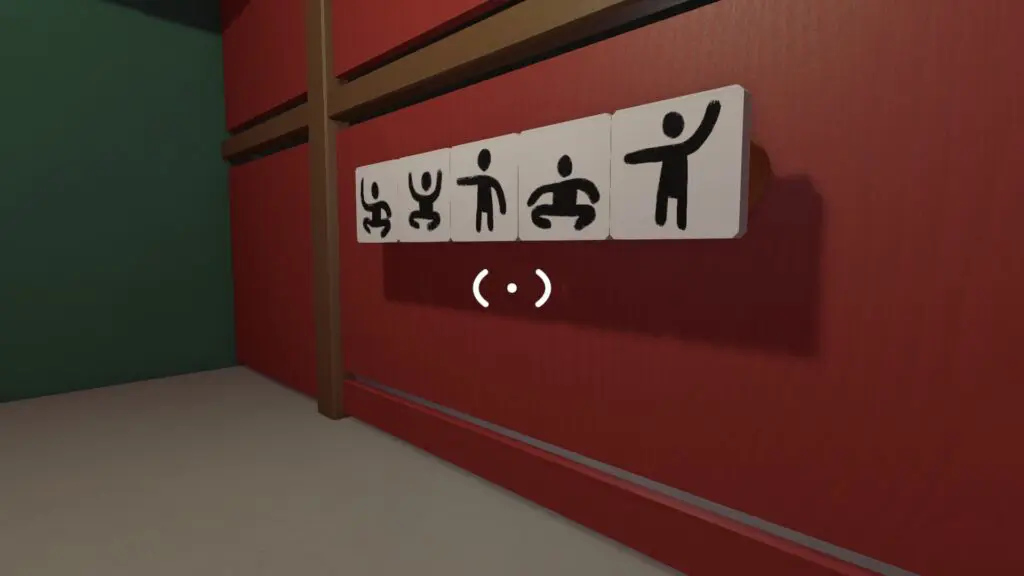
- Lock one player in the target room to reveal a sequence of five poses or arm movements.
- That player stands by the glass and performs each pose in order.
- The builder matches every performed action to one of the nine outside pieces and places five on the panel.
- The target sequence remains available for another attempt, so work slowly enough to distinguish similar gestures.
Completion signal: submit the five-piece sequence and collect the released reward.
Retry: repeat the sequence from the first disputed pose. Use a clear neutral stance between gestures so the builder can see where one ends.
Shape the Blue Tower key
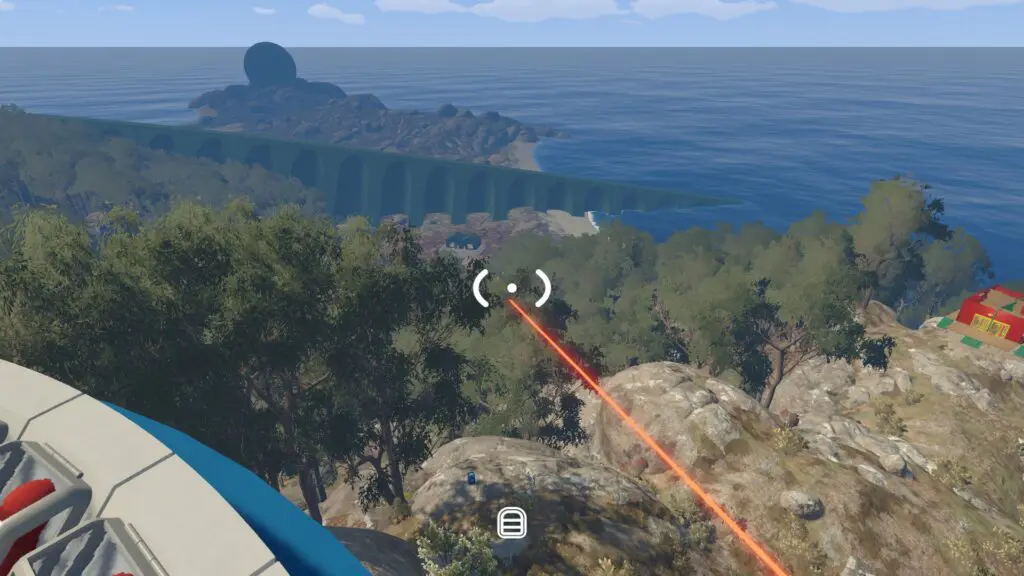
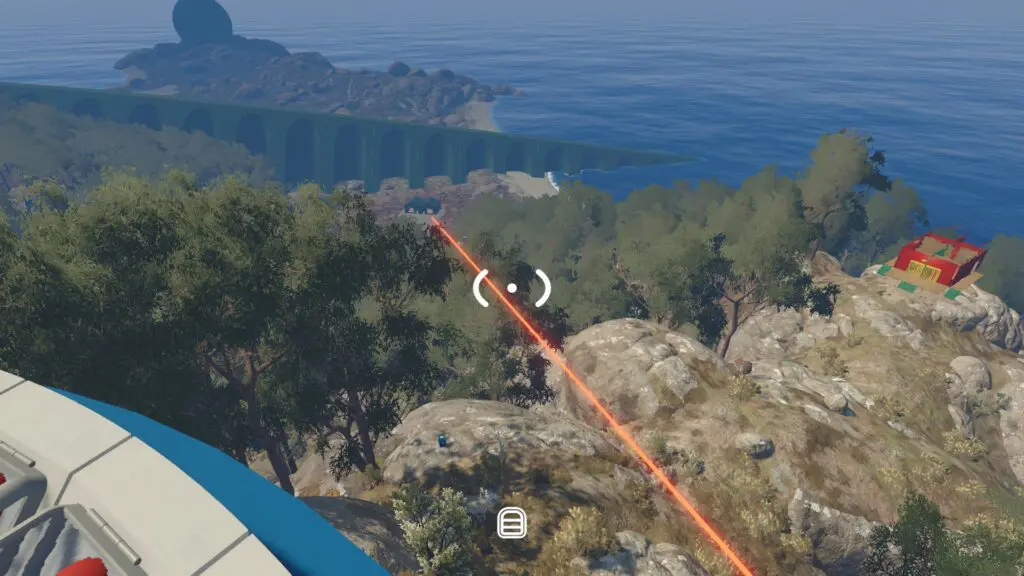
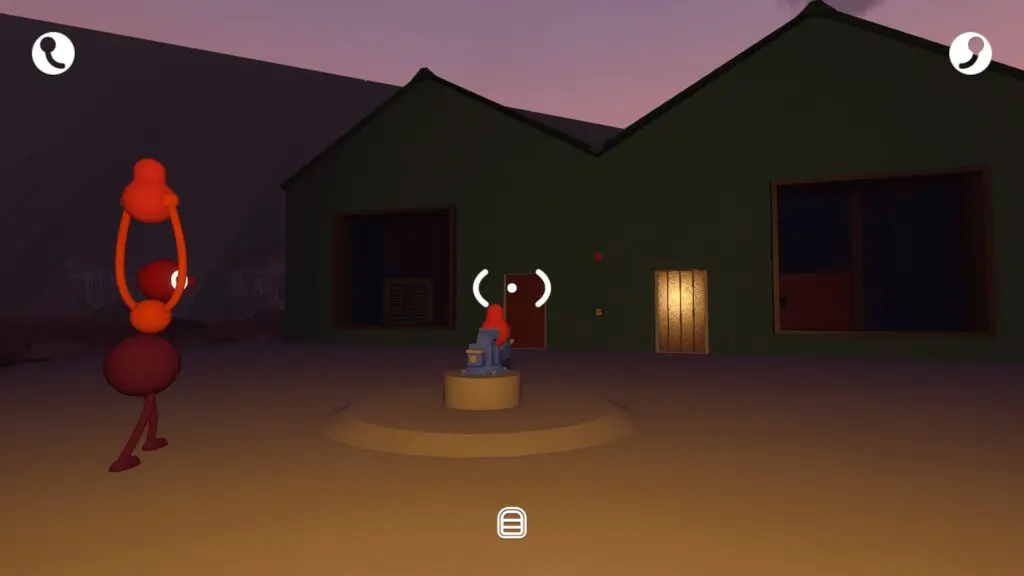
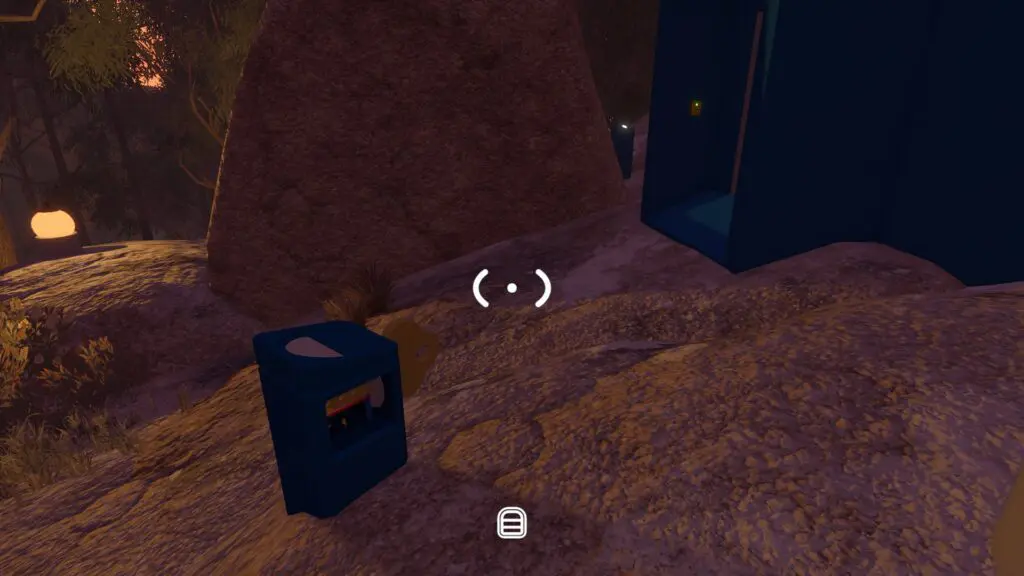
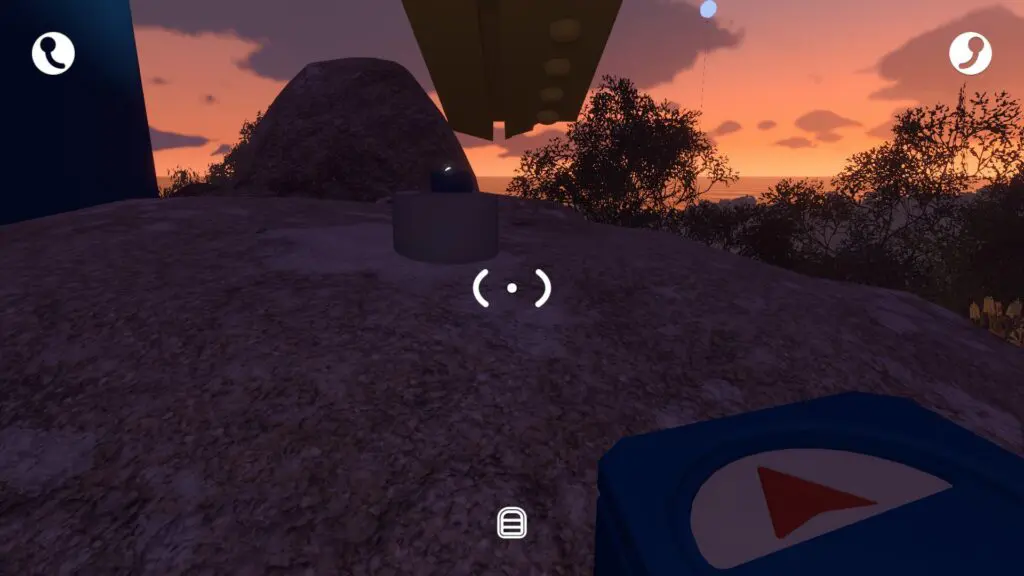
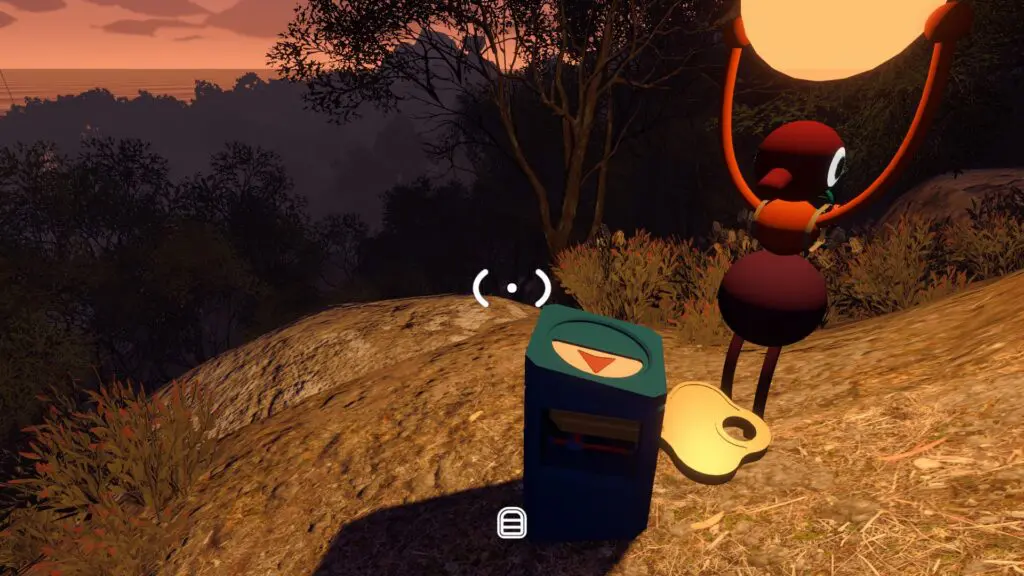
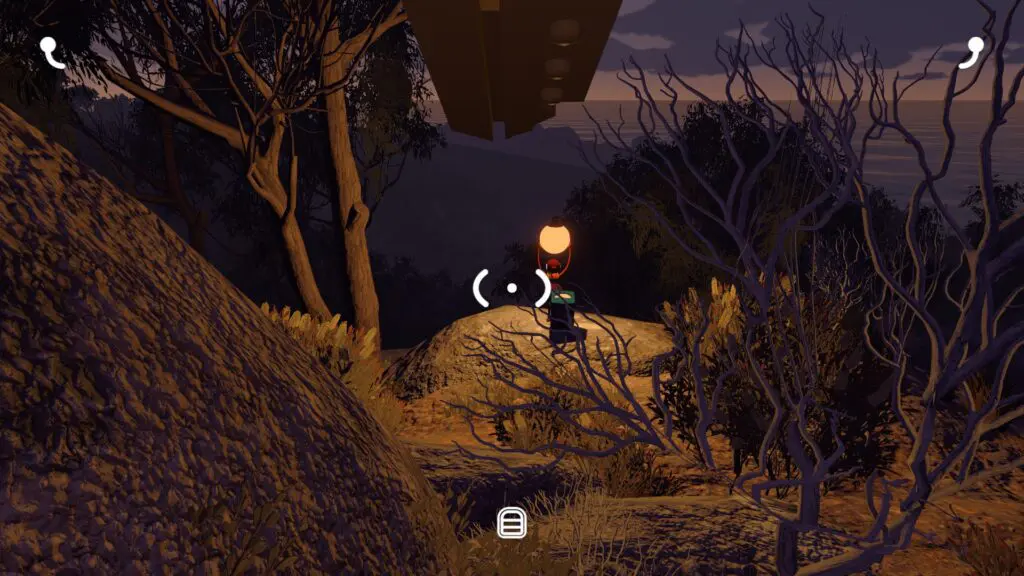
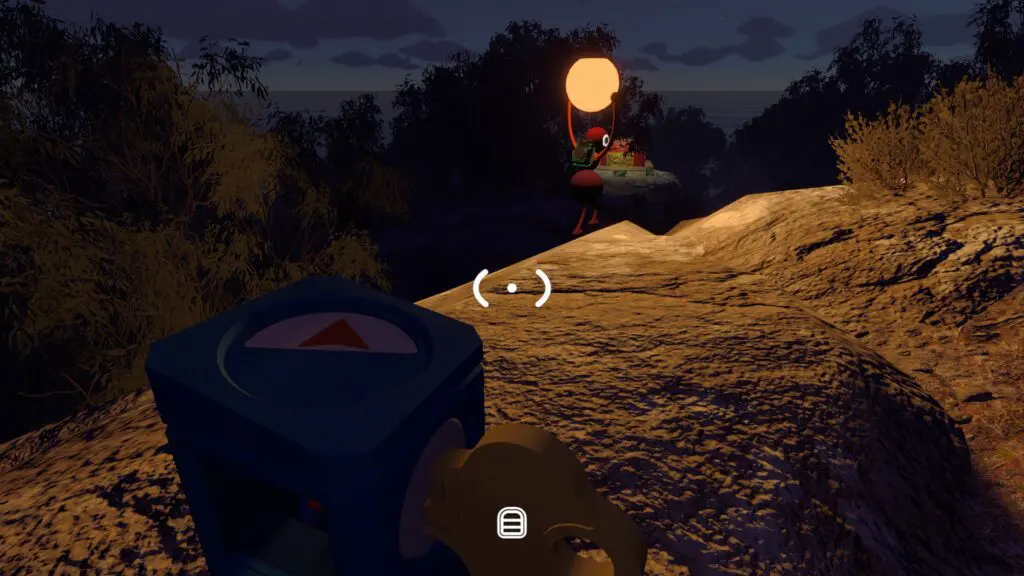
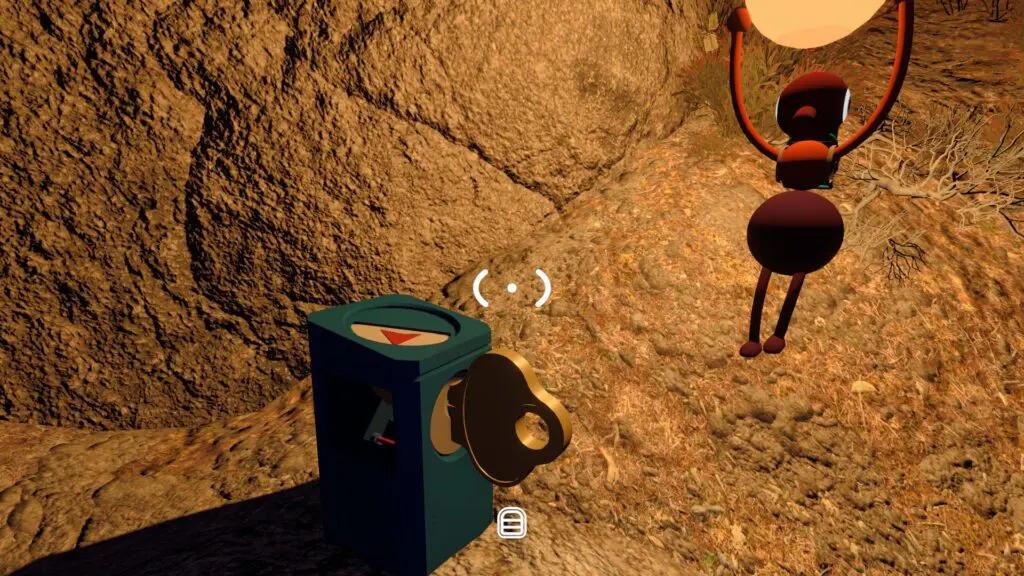
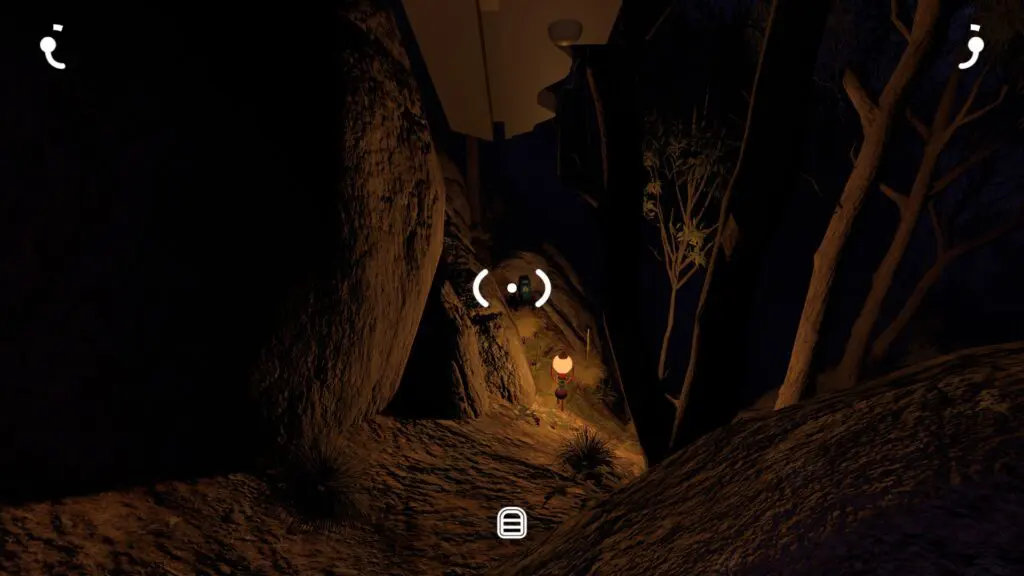
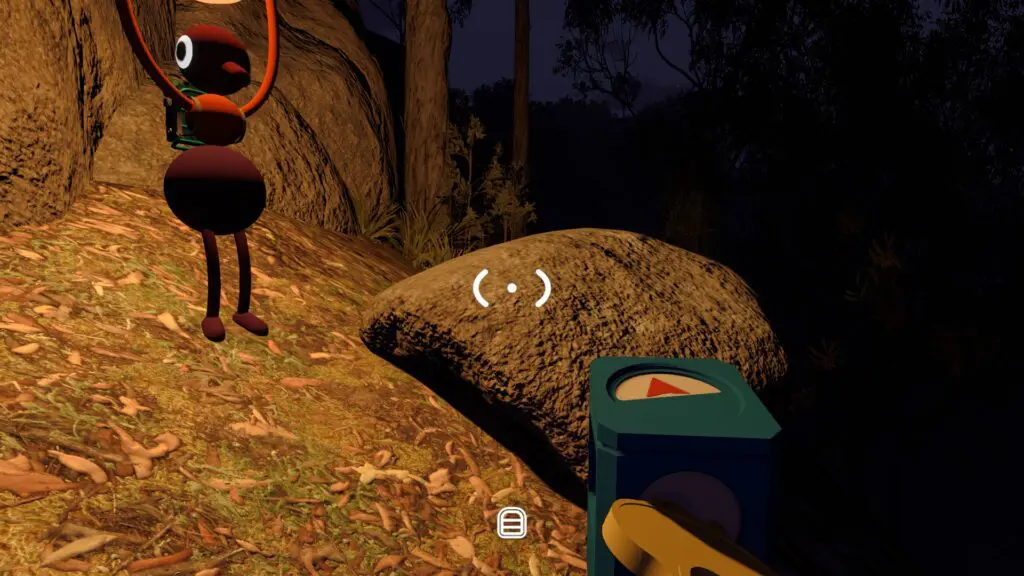
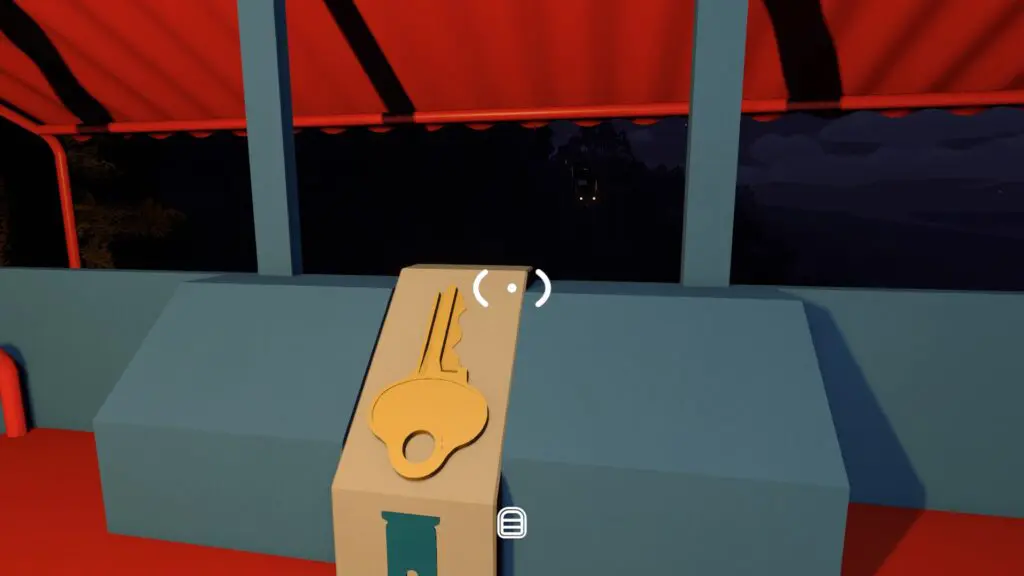
Install five pieces at the Blue Tower and take the released golden key. Use the cutter by the tower door, then follow each newly revealed arrow down the mountain through four more cutters. The fifth points to the main station lock.
Insert the shaped key at the station. The red, yellow, and green trains begin continuous loops around the island. To board safely, wait on a station platform; once aboard, a player can hold the lever in the first carriage to stop that train for the rest of the group.
Related guides
Big Walk Turnstile Symbol House Puzzle
Read the current five-symbol target, build it from nine handled pieces, submit in order, and recover without copying an old code.
Read guideBig Walk Five-Minute Room Puzzle
Start every active control, let the room lock, remain inside for the full countdown, and fix a timer that never begins.
Read guideBig Walk Cooperative Obstacle Course Puzzle
Stack, hold doors, lift the group, synchronize controls, and complete the final tomato-timer handoff without restarting cleared segments.
Read guideBig Walk Golden-Head Course Puzzle
Guide a wearer with a blurred view through the walled course using one movement command at a time until they press the far control.
Read guideBig Walk Charades Symbol Room Puzzle
Perform five current poses behind the viewing surface, match them to nine handled pieces, preserve order, and fix a rejected pose.
Read guideBig Walk Map Room Puzzles — Red Tower Solutions
Complete five useful Red Tower challenges, shape the golden key, and open the Map Room for navigation tools.
Read guideBig Walk Map & Landmarks — Scoped Route Guide
Navigate the opening area, Crosswalk, Map Room, tower routes, trains, chairlift, and tunnels without a false full-map claim.
Read guideBig Walk Achievements & PS5 Trophies — All 12
Complete all 12 Steam objectives, understand the 13-trophy PS5 difference, and reveal the two hidden ending descriptions deliberately.
Read guide