
Big Walk Chairlift Puzzles — Green Tower Solutions
A route through split-room signals, crane switches, invisible symbols, hidden lamps, and a group head count.
Table of contents
The main chairlift station sits beside the Green Tower, but it remains stopped until the tower key has been shaped for its lock. This page uses five nearby challenges that cover signalling, memory, synchronized inputs, safe path finding, and group counting.
These labels describe the visible puzzle, not an official name. Any five valid challenge rewards can power a later tower panel; this route is selected because the locations form a practical loop.
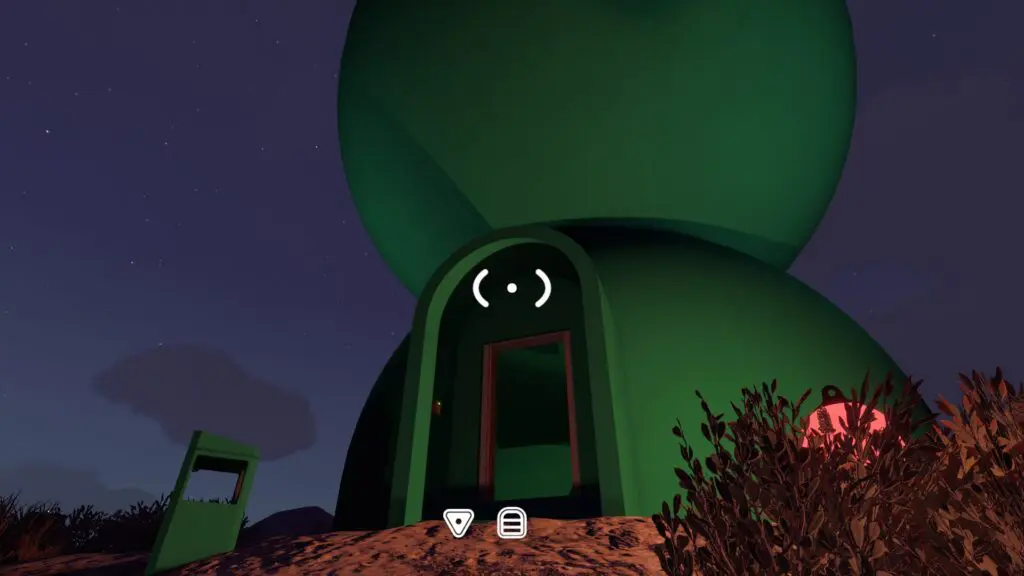
Find the Green Tower and chairlift
- Green Tower: approximately 3930, 1900.
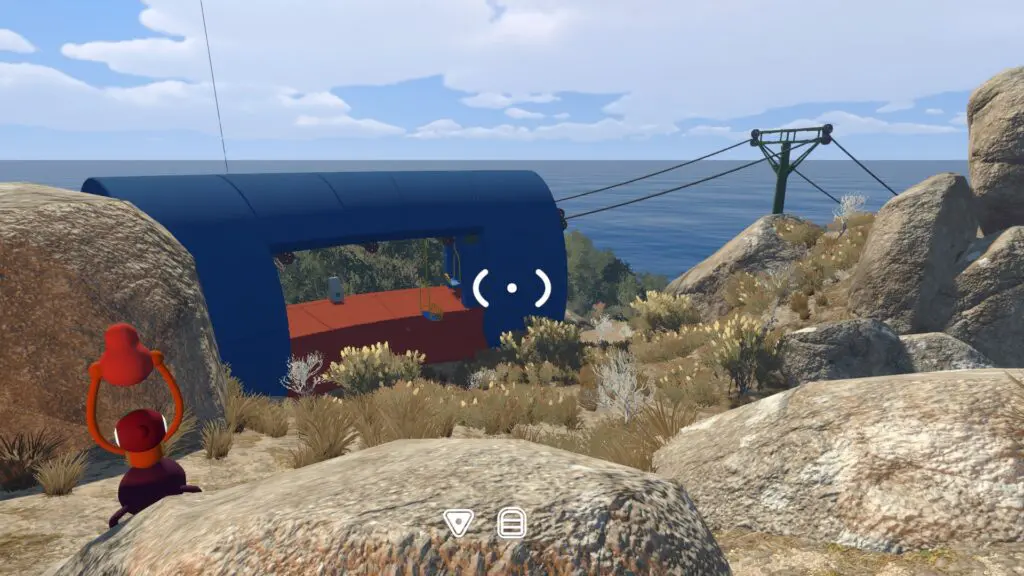
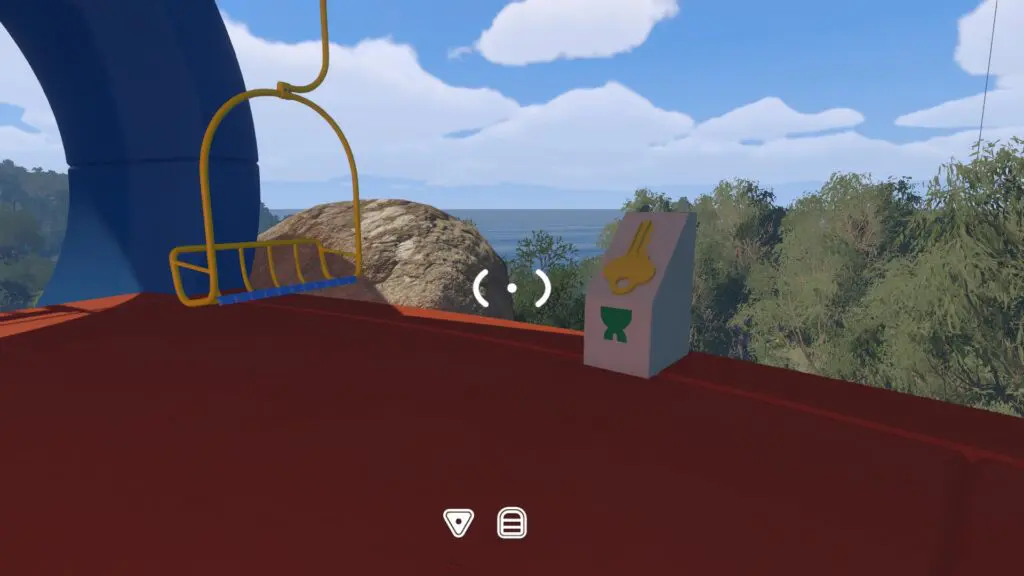
- Main chairlift station: approximately 3950, 1950, directly beside the tower. Look for a blue structure with a red floor and an empty key slot.
Player-count variants may add targets or increase a meter. Follow the active objects in your own 2-, 3-, or 4+-player world rather than forcing a memorized count.
1. Split rooms — combine a speaker and signal light
Use the focused Split Rooms guide for shared piece numbering, speech, counted flashes, and submission recovery.
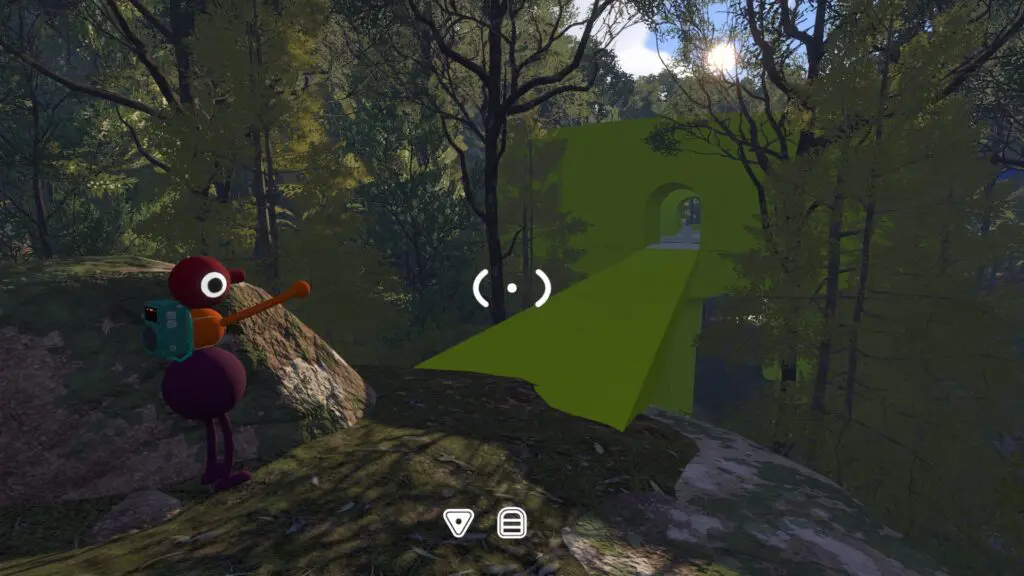
Find it: North of the Green Tower, enter the yellow-green building around 3825, 1930.
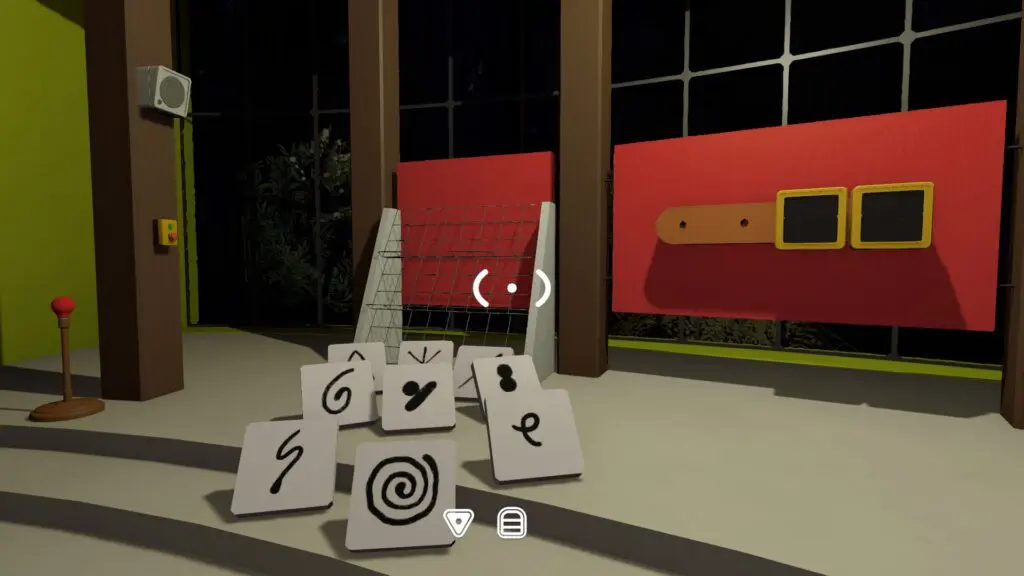
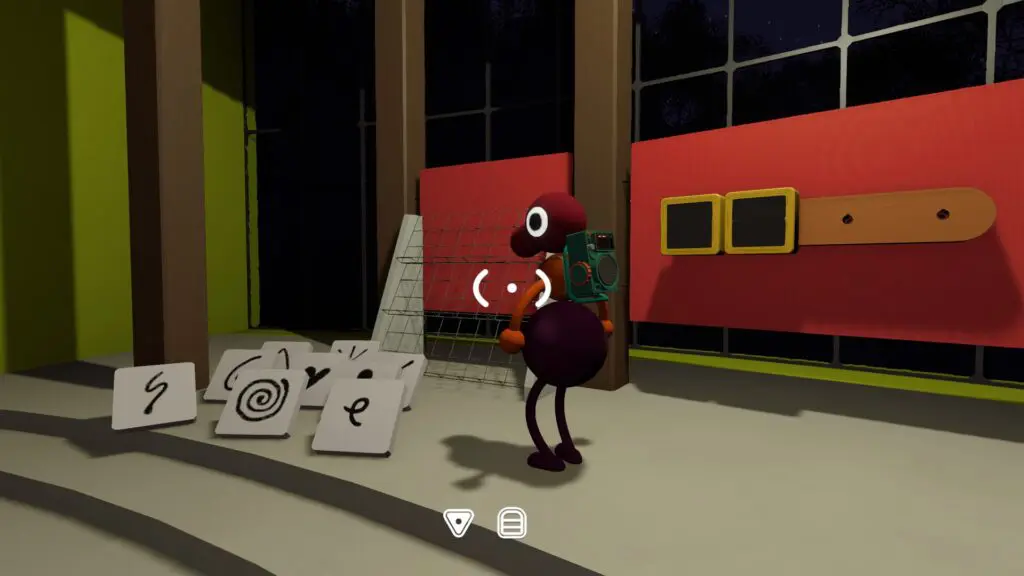
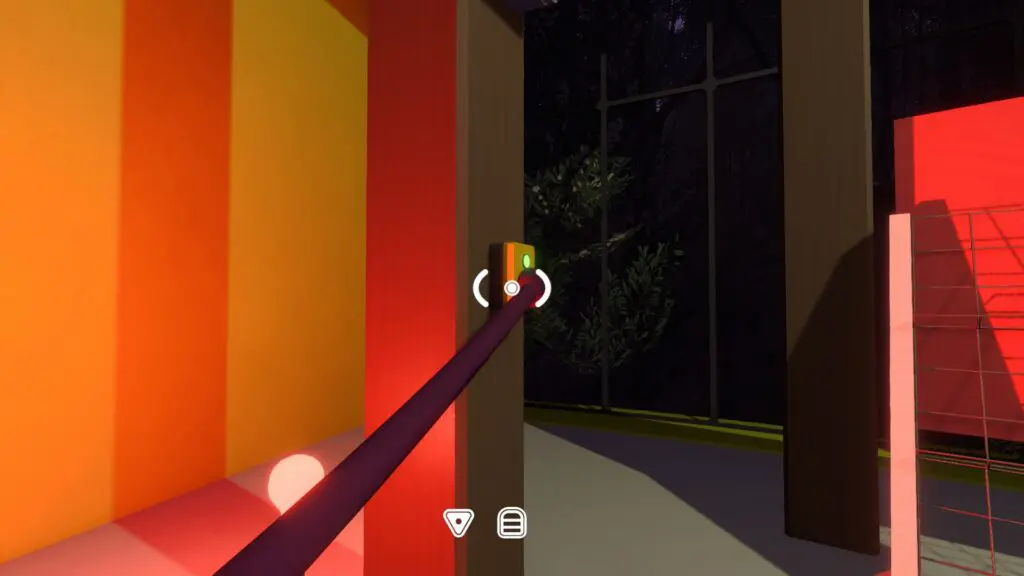
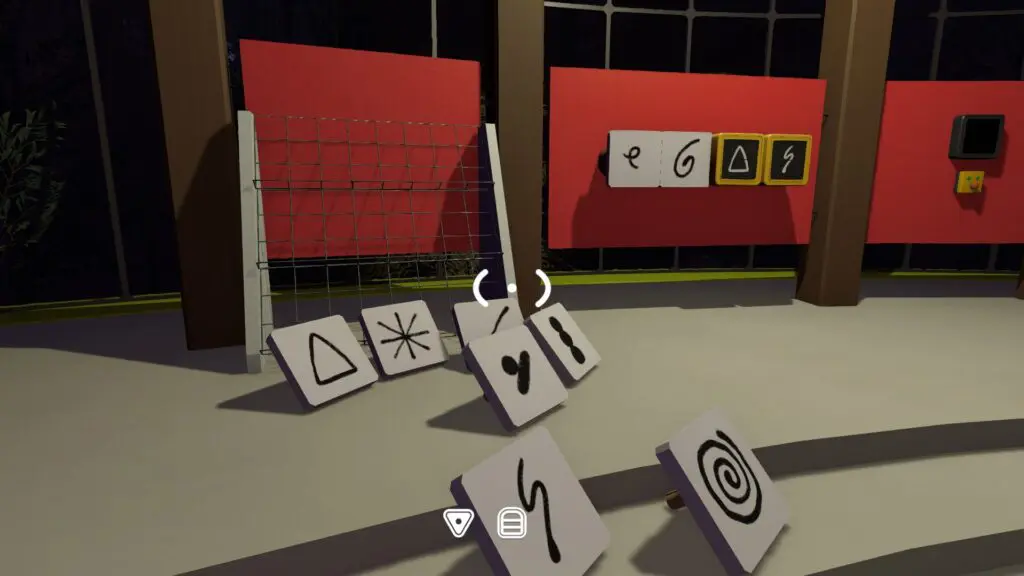
The building has two locked rooms. Each contains the same nine symbol pieces, but the displays hide different parts of the answer. The right room can speak to the left through a loudspeaker; the left room can answer only by flashing a red light.
Do it:
- Before locking in, agree that one light flash means piece 1, two flashes means piece 2, and so on. Number both nine-piece sets in the same visual order.
- The right-room player tells the left player which pieces fill the left display's missing slots.
- The left player places those pieces, then flashes the index numbers needed for the right player's missing slots. Pause clearly between numbers.
- The right player places their pieces.
- The left player presses the red submit button below the black screen.
Completion signal: confetti appears and the reward releases.
Retry: if submission fails, verify the shared numbering before repeating the whole answer. Most errors come from counting the nine-piece set in a different direction.
2. Coastal crane — synchronize distant switches
Use the focused Coastal Crane guide for active-switch counting, the visible cue, and a clean mistimed retry.
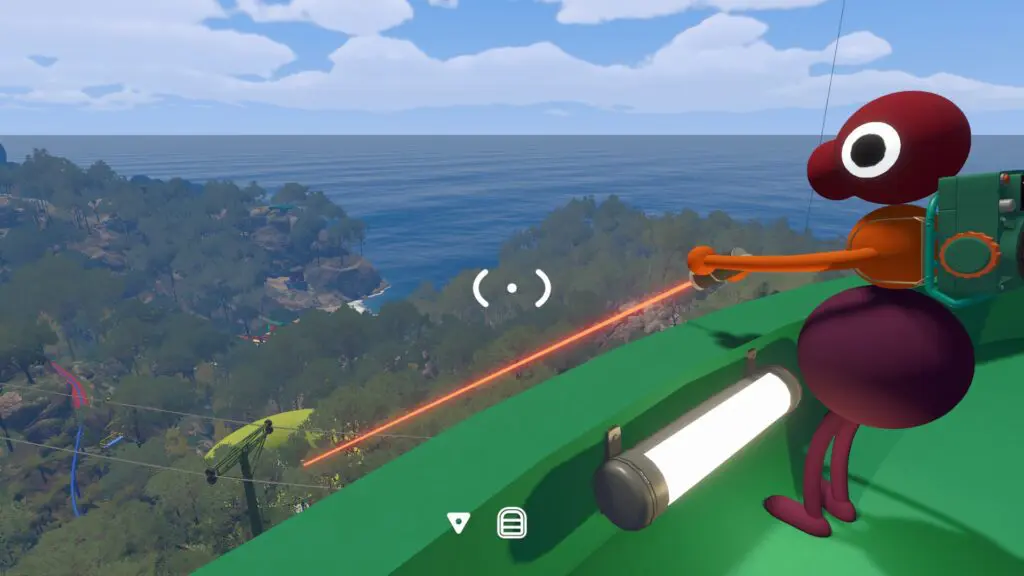
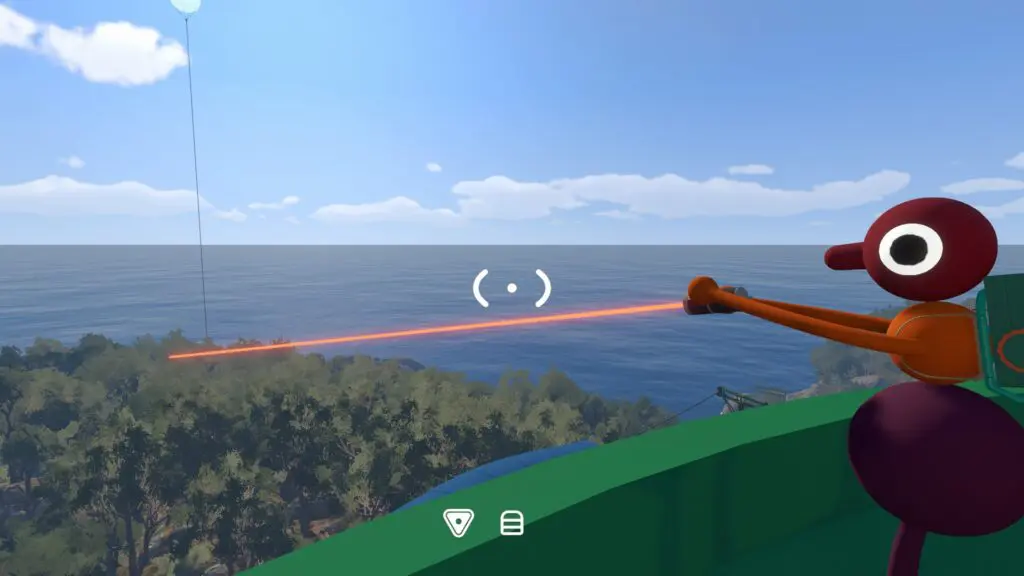
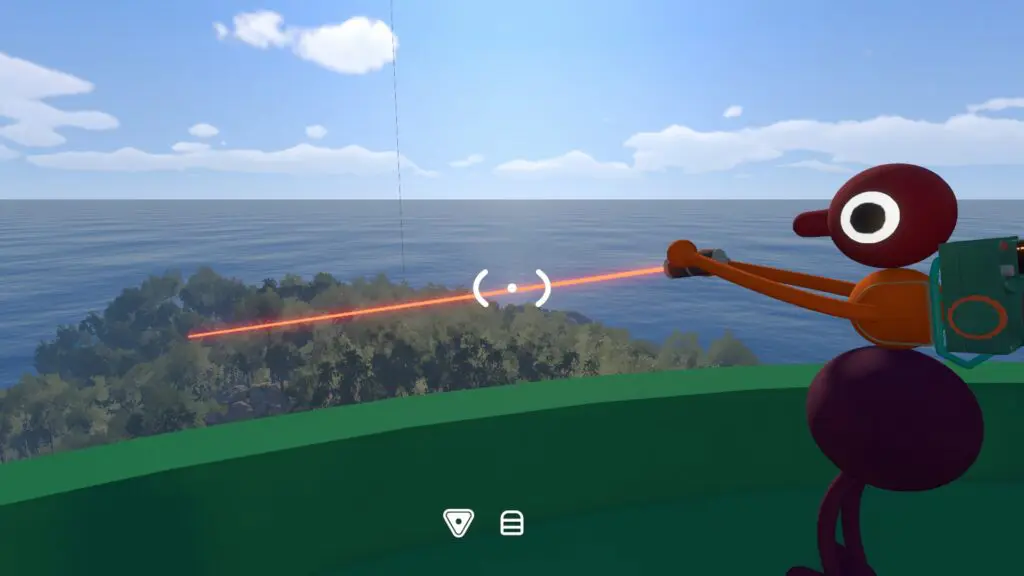
Find it: On the coast southeast of the Blue Tower, between two sections of land, around 3790, 2250. A large crane stands between a north and south switch station.
Do it:
- Put one player at each switch before starting.
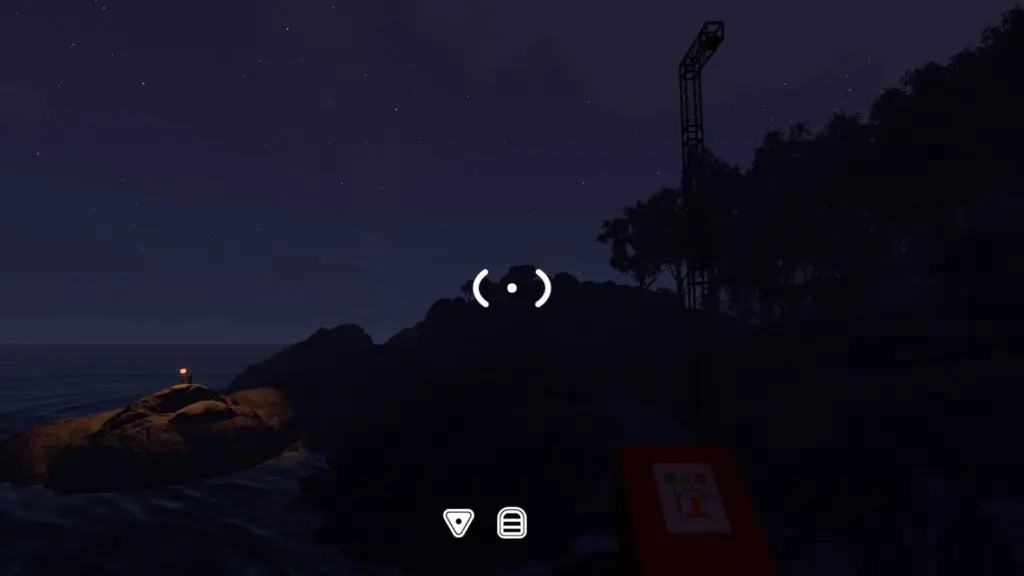
- Give the less visible station a lantern or another obvious visual signal.
- The signalling player raises the light; the other presses immediately, and the signalling player presses their own switch within the short window.
- In a larger world, assign every additional active switch before the signal.
Completion signal: the crane drops/releases the control-panel piece.
Retry: if nothing moves, return to a ready state and use a single visible cue. Repeated uncoordinated pressing makes the timing harder to diagnose.
3. Invisible symbols — map all nine before activation
Use the focused Invisible Symbols guide for the nine-piece index, viewer pass, and changing-target recovery.
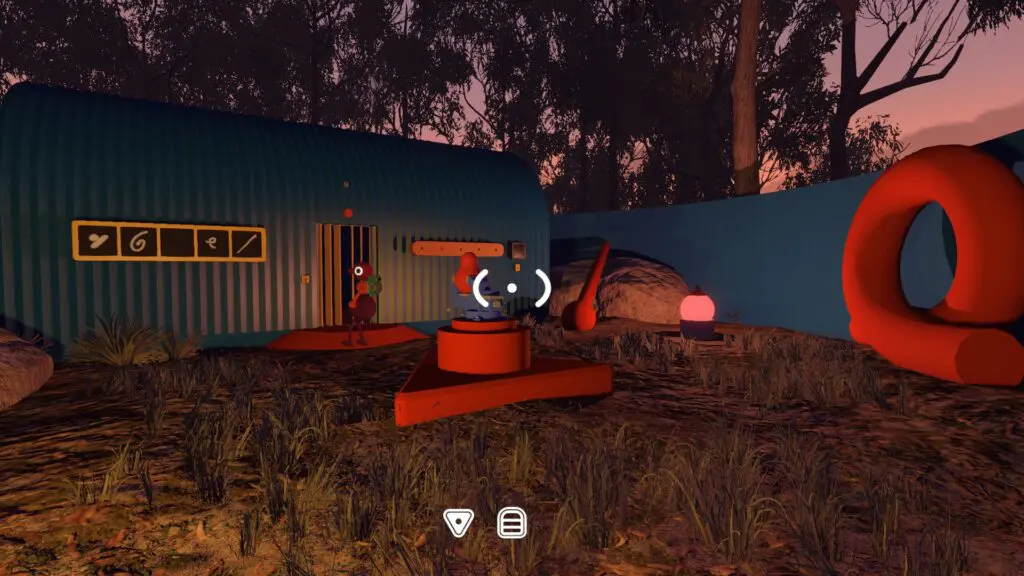
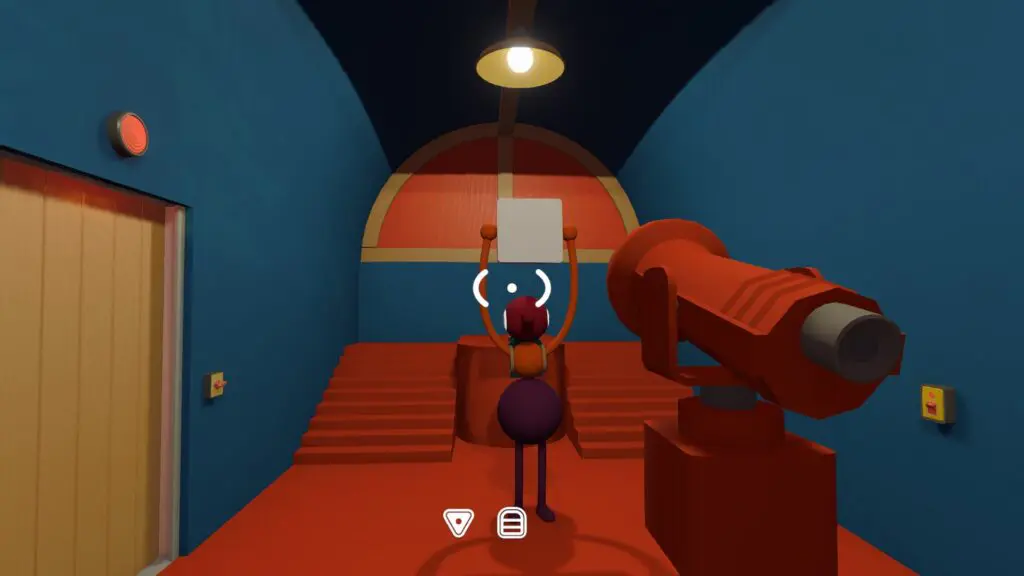
Find it: Northwest of the coastal crane, or southeast of the Blue Tower, look for the blue building inside a large blue circle around 3740, 2140.
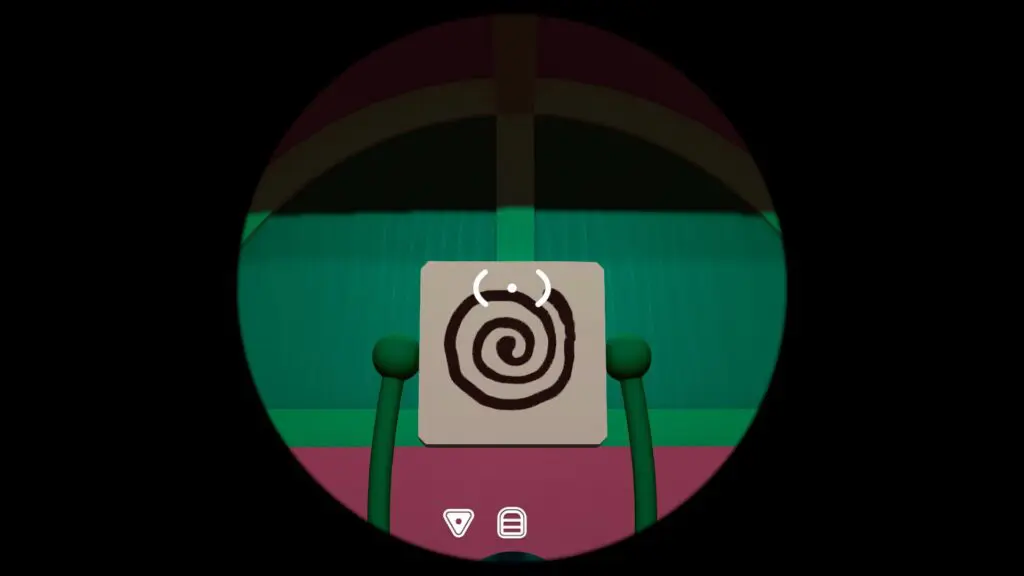
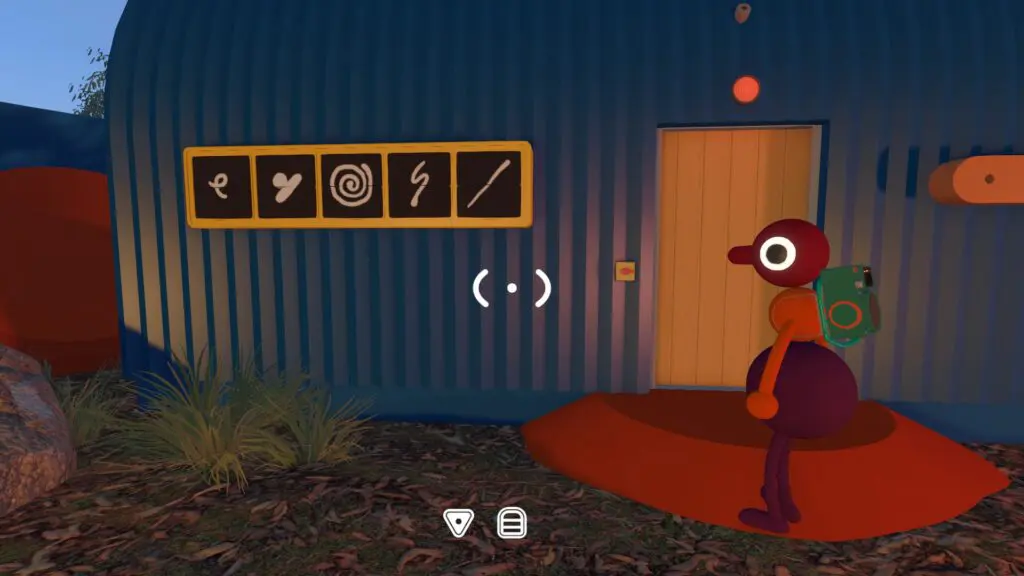
The nine pieces use invisible ink. Their symbols appear only through the fixed lens inside, while the outside target board changes when a new attempt begins.
Do it:
- Bring two players inside. One holds each piece under the lens while the other names the visible symbol.
- Give every piece a stable index from 1 to 9. Memorize the mapping or arrange the inspected pieces outside in that numbered order before activation.
- Start the attempt and read the five symbols on the outside target board.
- Select the indexed pieces that match those symbols and place them on the panel in order.
Completion signal: a correct five-piece sequence releases the reward.
Retry: the target board can change between activations. Reuse the piece-to-symbol index, not the previous five-symbol answer.
4. Hidden red lamps — mark hazards between attempts
Use the focused Hidden Red Lamps guide for the stable arena index, hazard markers, and safe-run recovery.
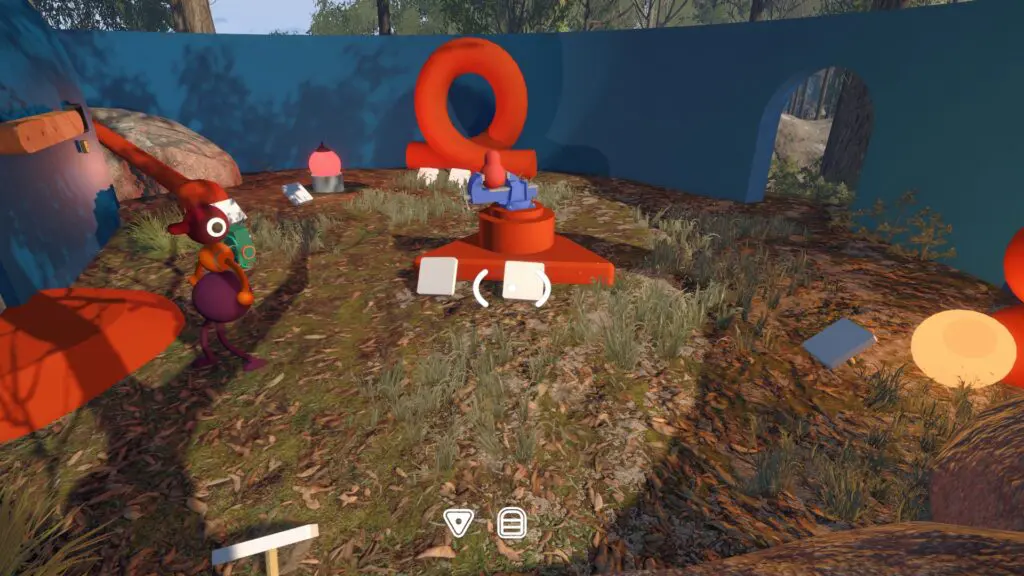
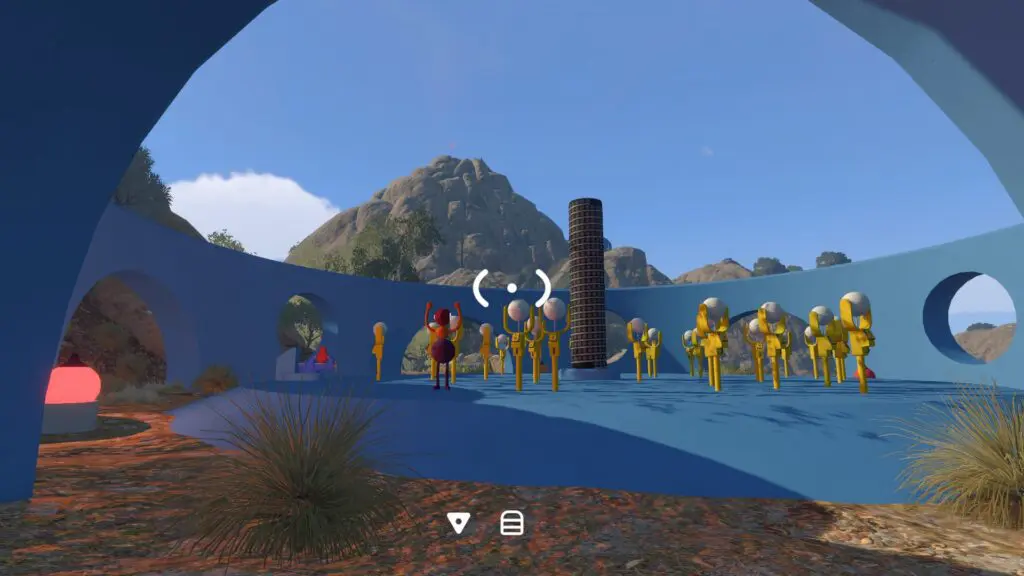
Find it: In the blue circular arena near the Green Tower, around 4020, 1870.
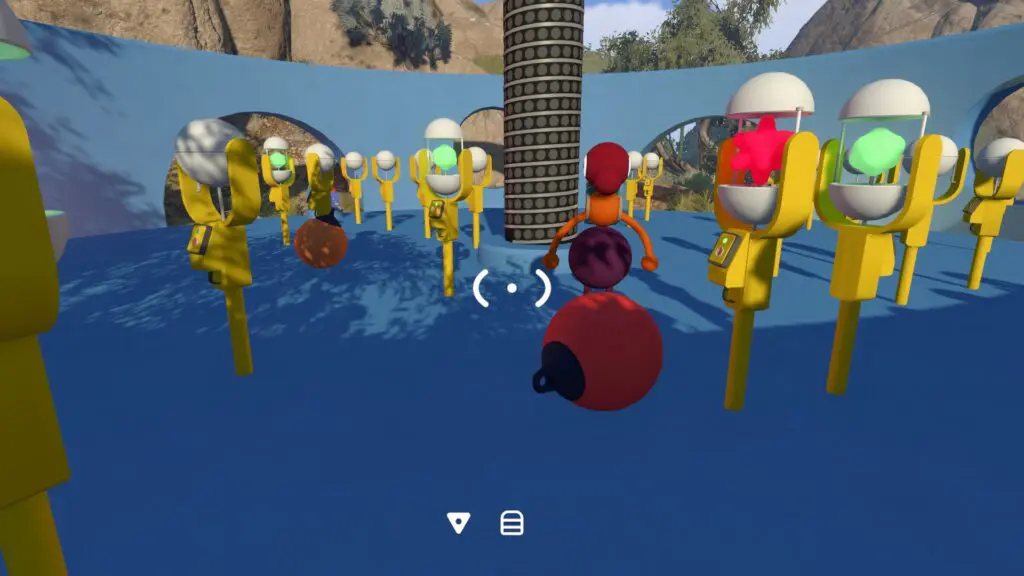
Each yellow lamp hides either a safe green light or a red star. The red positions stay fixed through repeated attempts.
Do it:
- Press the arena's start button.
- Test lamp buttons methodically rather than running randomly around the circle.
- When a red star ends the attempt, leave a lantern or spare object beside that lamp as a hazard marker.
- Start again, skip every marked red lamp, and activate only the green ones.
Completion signal: an attempt containing only the required green lamps completes the arena.
Retry: preserve the red markers. If an object is moved, walk the circle in the same direction and retest one uncertain lamp at a time.
5. Head total — split the ten lamps
Use the focused Head Count guide for lamp ownership, subtotal calls, and a rejected current total.
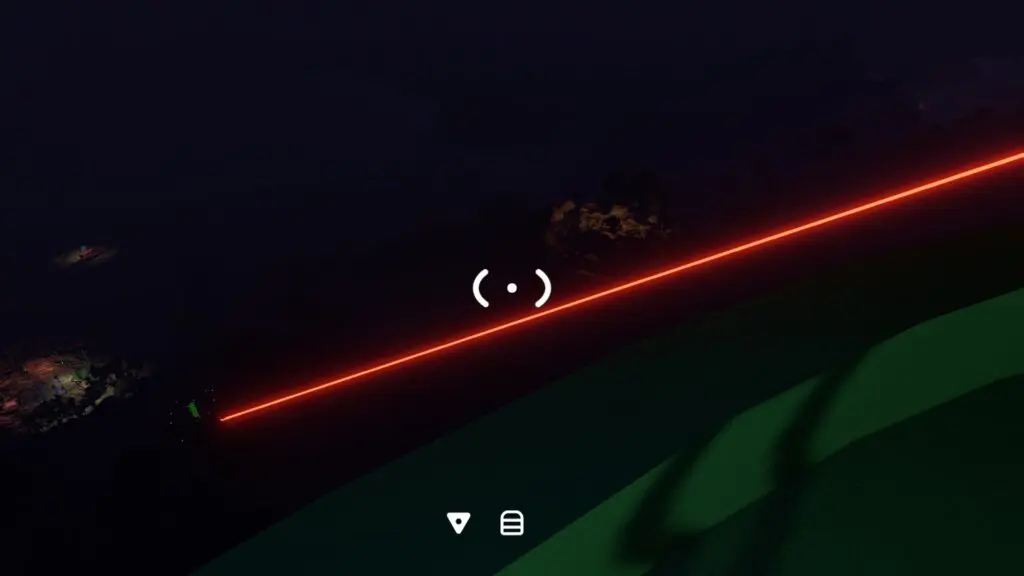
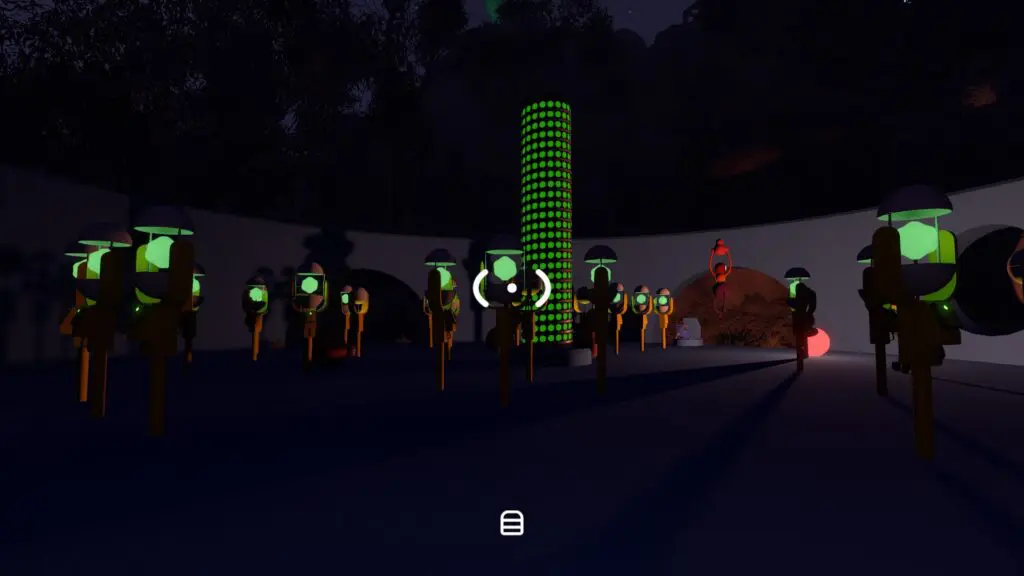
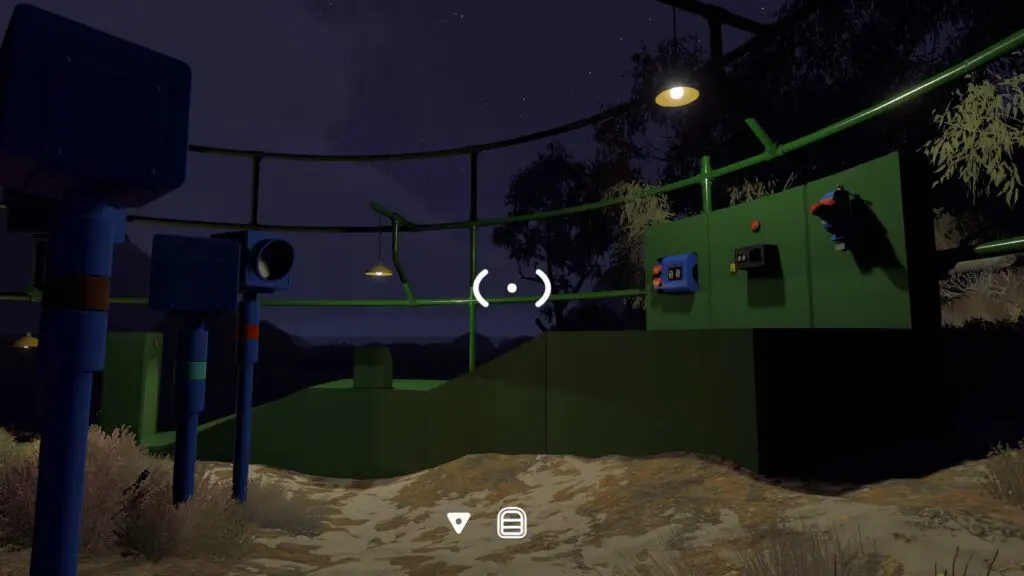
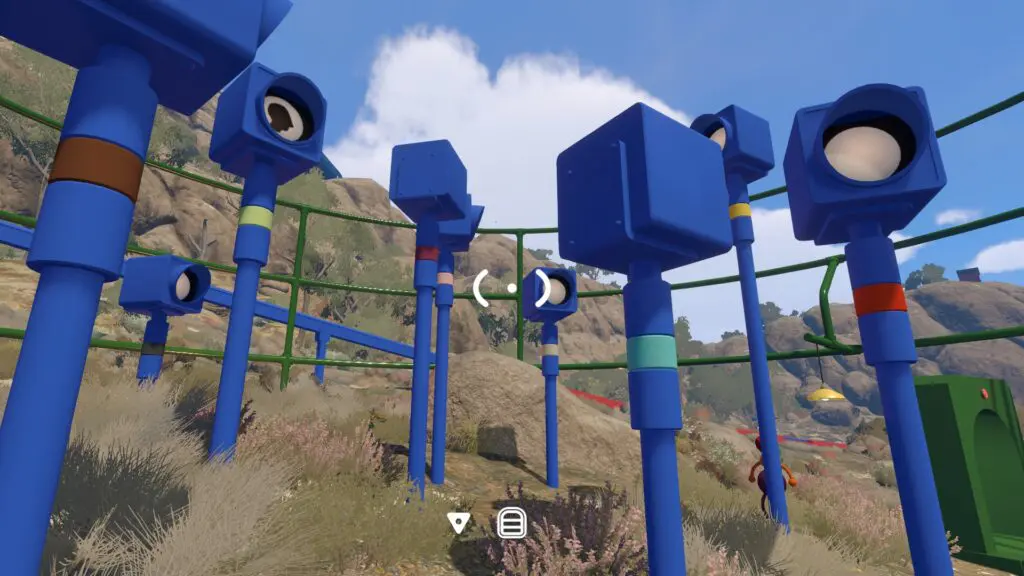
Find it: Directly south of the hidden-lamp arena, inside the green arena around 4100, 1880. It contains ten blue lamps and a blue number counter.
Do it:
- Divide the ten lamps so each player owns a non-overlapping group. With two players, five each is the simplest split.
- Check the coloured stripes around the lamp tops so both players can name exactly which set they are watching.
- One player activates the puzzle and returns to their viewing position.
- Count every black head silhouette that appears across your assigned lamps.
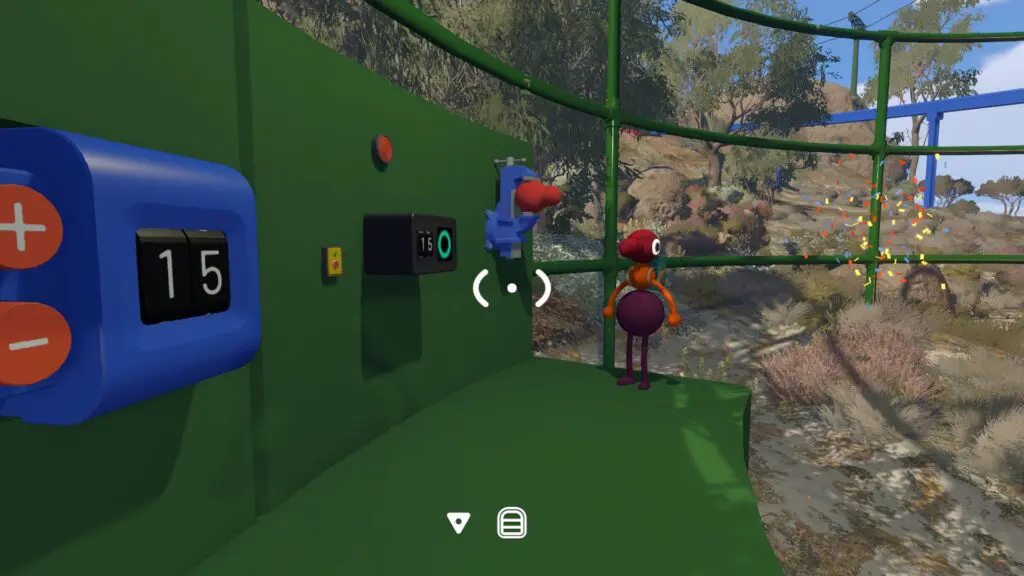
- Add the players' subtotals and enter the combined number at the counter.
Completion signal: the correct total releases the piece.
Retry: the total is not a fixed answer. If rejected, repeat the run with each player calling their subtotal before anyone approaches the counter.
Shape the Green Tower key
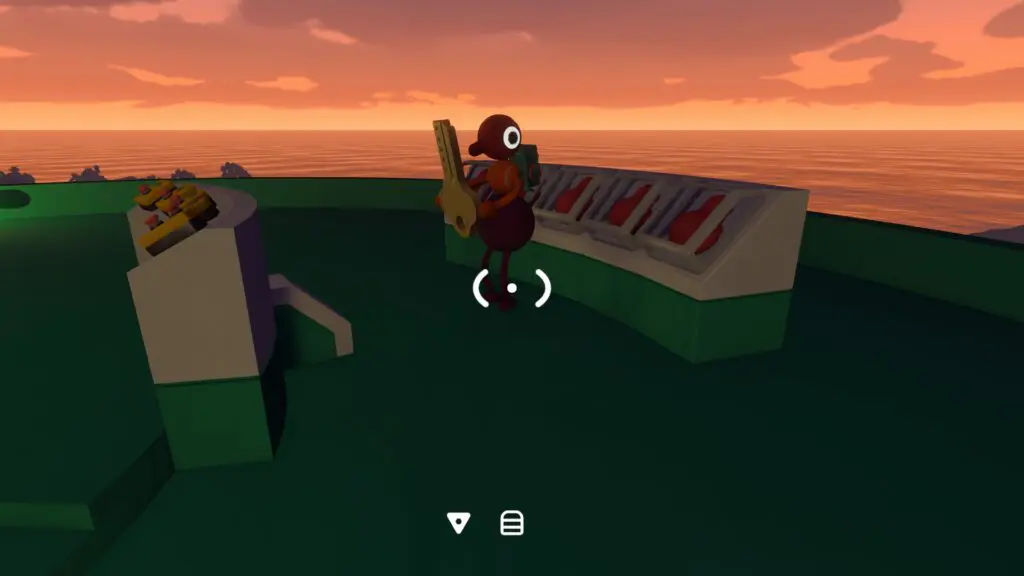
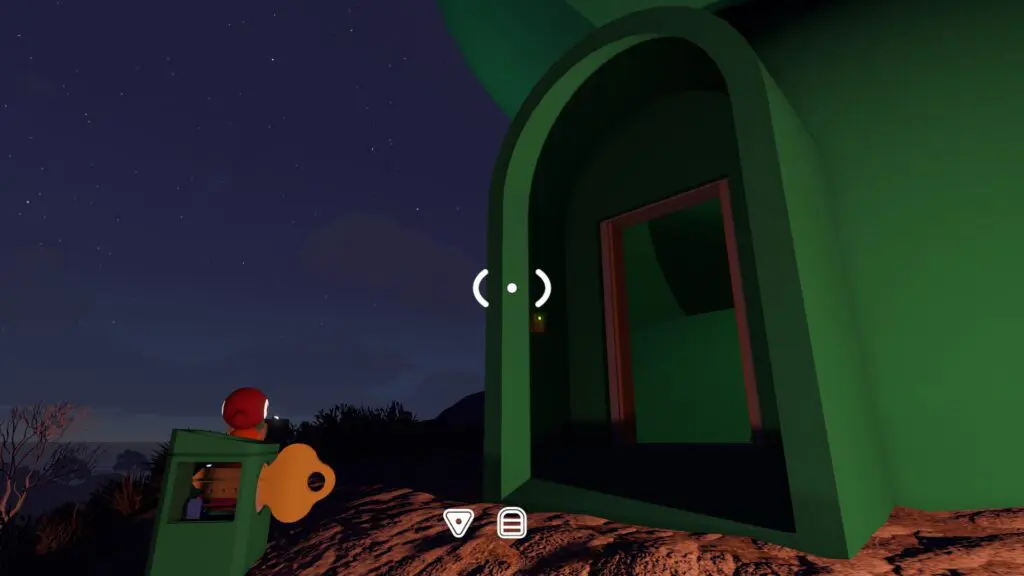
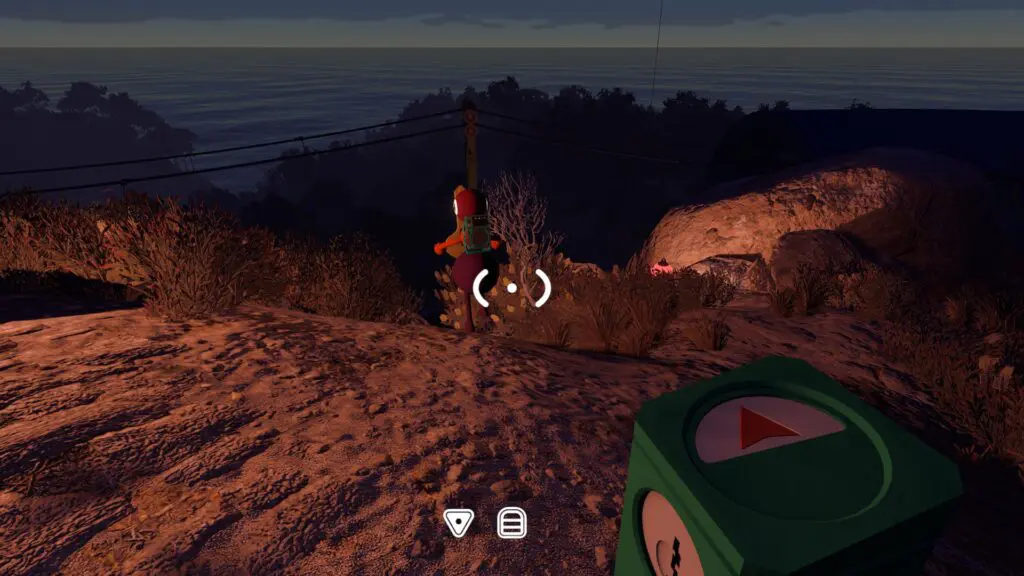
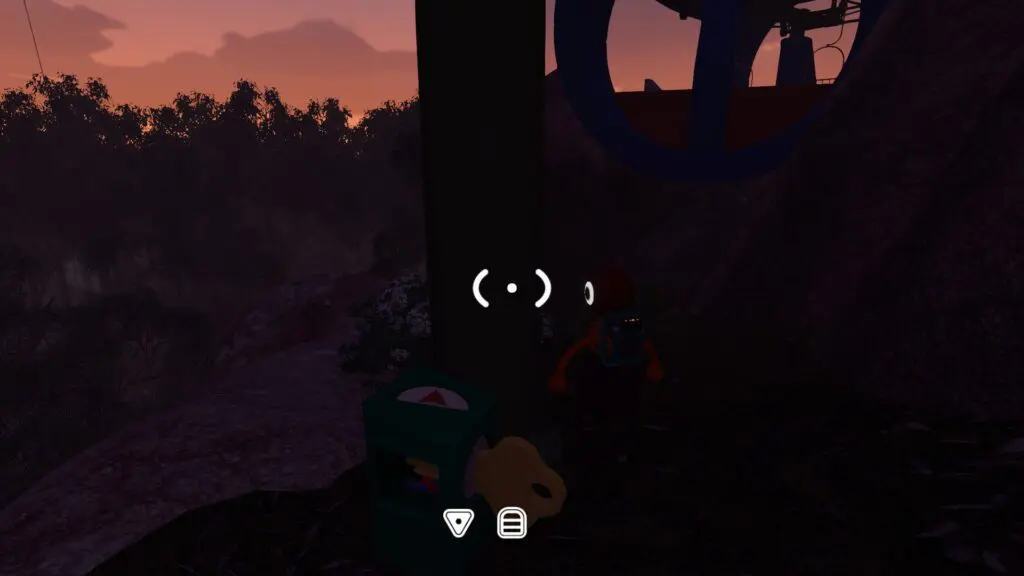
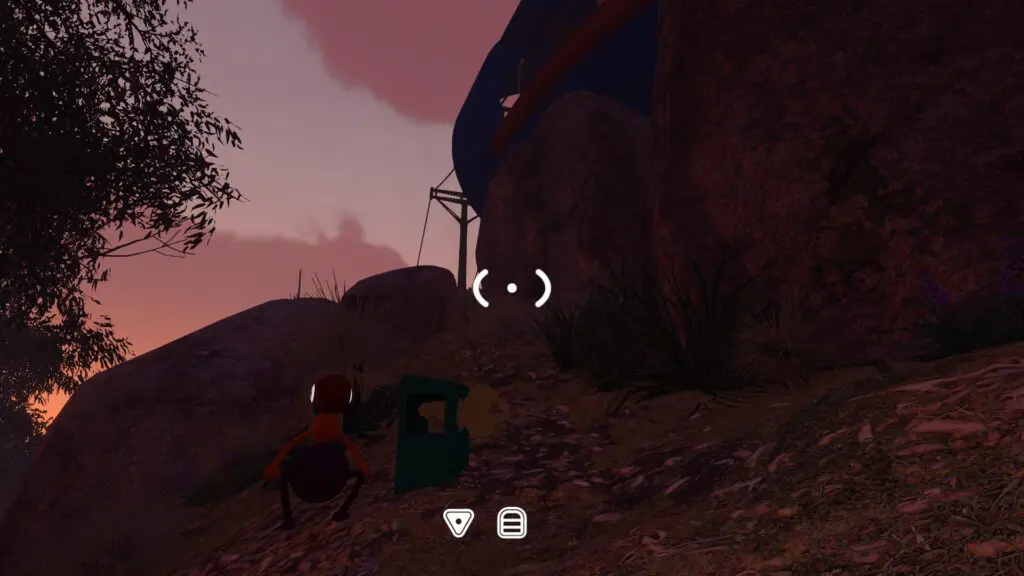
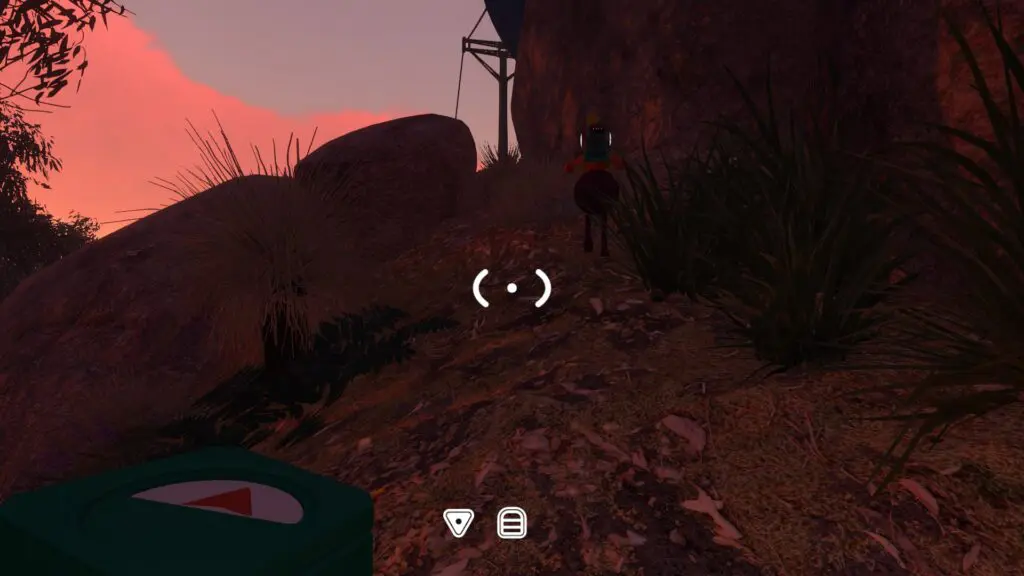
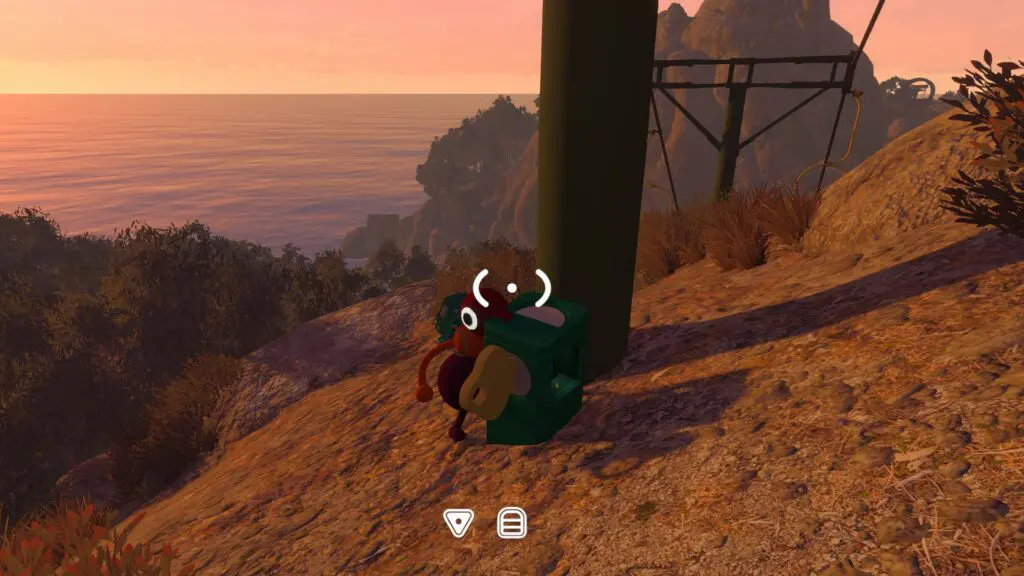
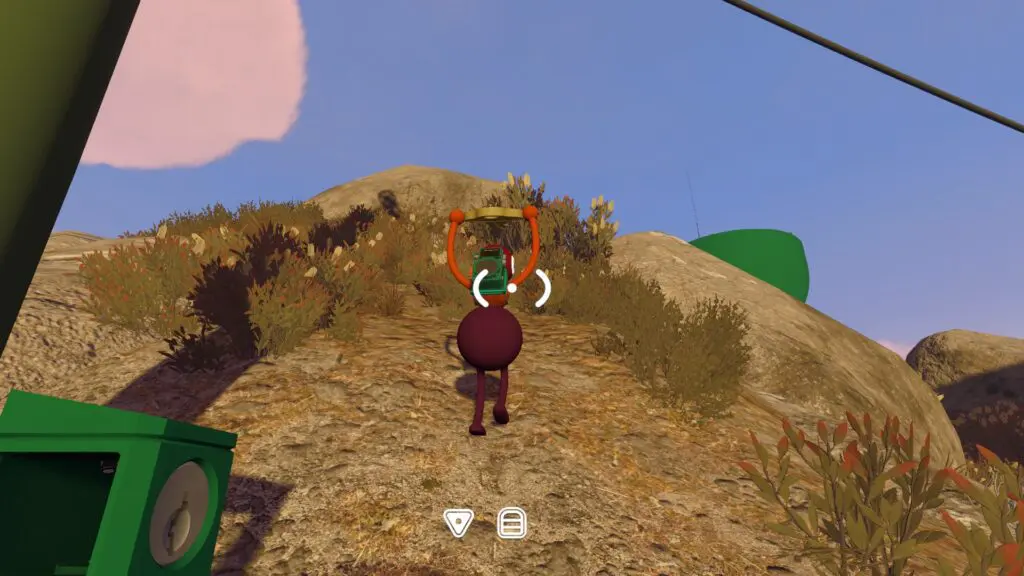
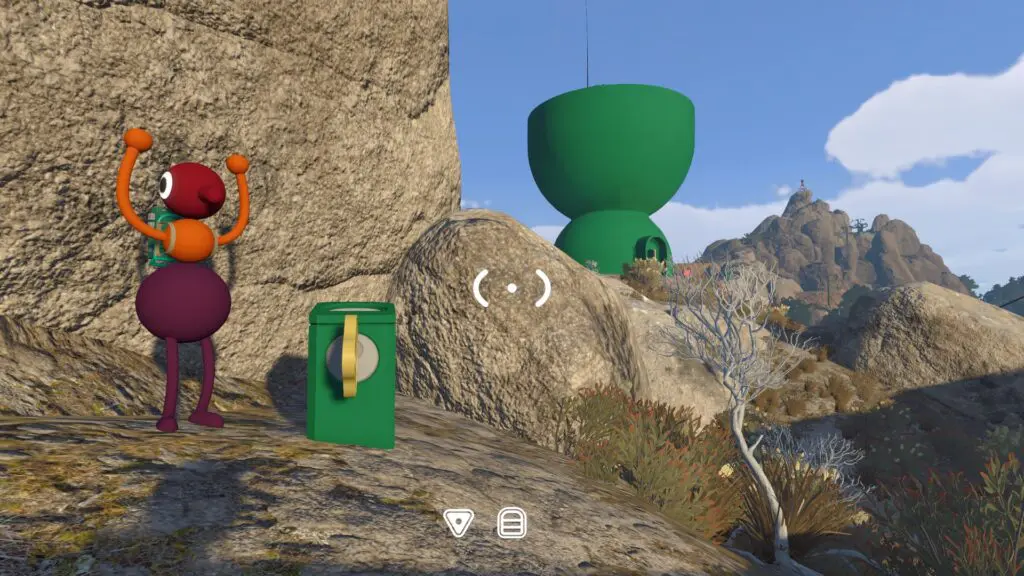
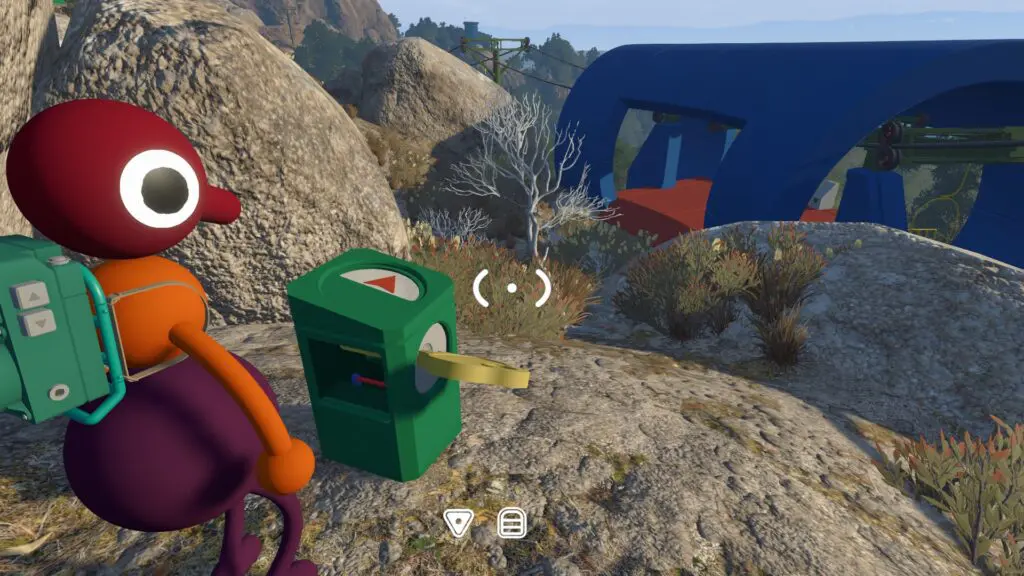
Install five red pieces at the tower panel and carry the released key down to the first cutter beside the tower door. Follow the revealed arrows through:
- the tower-door cutter;
- a cutter beside one of the station legs;
- the path climbing between the station and tower;
- another large station leg;
- the rocks overlooking the chairlift.
After the fifth cut, enter the station and place the key in its lock. The chairs begin moving, opening a repeatable high route across the island. Let the whole group board from the platform instead of trying to jump onto a chair from the surrounding slope.
Related guides
Big Walk Split Rooms Signal Puzzle
Number both symbol sets, send missing indices by speech and counted light flashes, submit the two partial answers, and recover a mismatch.
Read guideBig Walk Coastal Crane Puzzle
Staff every active distant switch, use one visible cue, press nearly together, and recover a mistimed crane attempt.
Read guideBig Walk Invisible Symbols Puzzle
Reveal and index all nine invisible pieces through the fixed lens, then rebuild the current five-symbol target in order.
Read guideBig Walk Hidden Red Lamps Puzzle
Test lamps in a stable order, mark every persistent red-star hazard, and complete a run using only the required green positions.
Read guideBig Walk Head Count Puzzle
Divide ten lamps, count the black silhouettes in non-overlapping groups, combine subtotals, and enter the current total.
Read guideBig Walk Train Puzzles — Blue Tower Solutions
Solve five useful Blue Tower challenges, shape the station key, start all three trains, and stop one for your group.
Read guideBig Walk Map & Landmarks — Scoped Route Guide
Navigate the opening area, Crosswalk, Map Room, tower routes, trains, chairlift, and tunnels without a false full-map claim.
Read guideBig Walk Achievements & PS5 Trophies — All 12
Complete all 12 Steam objectives, understand the 13-trophy PS5 difference, and reveal the two hidden ending descriptions deliberately.
Read guide