
Big Walk Crosswalk Puzzles — Opening Solutions
A complete opening route through the crane, telescope, blue house, green scaffold, and five key cutters.
Table of contents
The raised Crosswalk is the first hard gate after the tutorial. You cannot replace these four rewards with pieces from elsewhere because the wider island is still on the other side of the bridge.
The location labels below describe what each place looks like; they are not official puzzle names. Map-grid readings are route aids, so use the landmark description when your position falls near an edge of a grid square.
Before you leave the tutorial
- Use the large open archway, take both sets of stairs, and keep the group together on the beach-side slope.
- Find the low circular control platform on the sand behind the customization structure, close to the Crosswalk stairs. Its approximate grid reading is 3550, 1100.
- Look at the four glass-covered slots and the golden key behind the panel. Each nearby challenge releases one red control-panel piece.
- In a 3-player or 4+-player world, follow every extra switch or target shown by your session. The landmarks and solution logic stay the same, but the number of simultaneous inputs can increase.
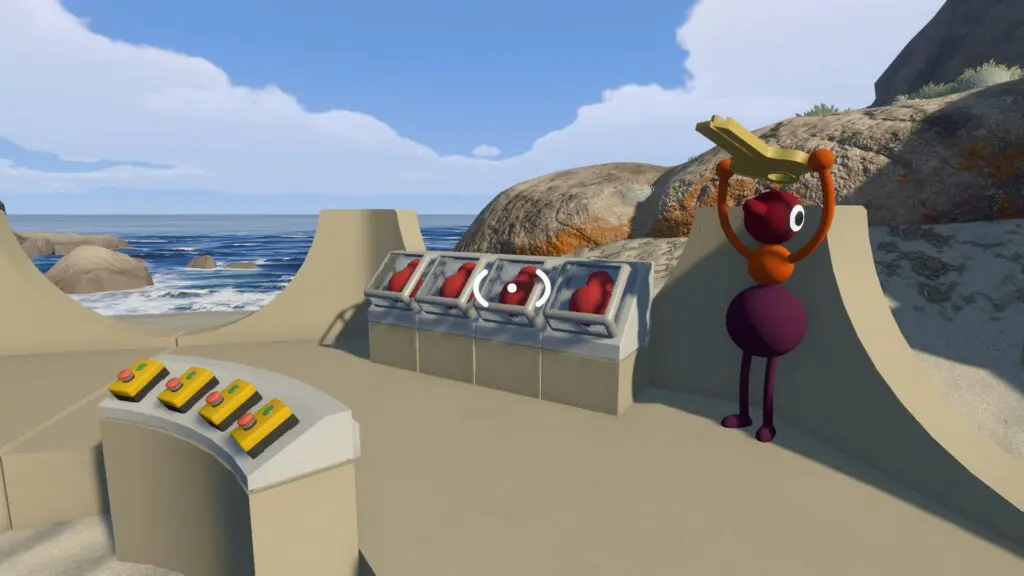
1. Crane button — stack one player
If this is the only opening challenge blocking the group, use the focused Crane Button puzzle guide for the 2-, 3-, and 4+-player stack heights, the shortest route from the tutorial, and a compact failure checklist.
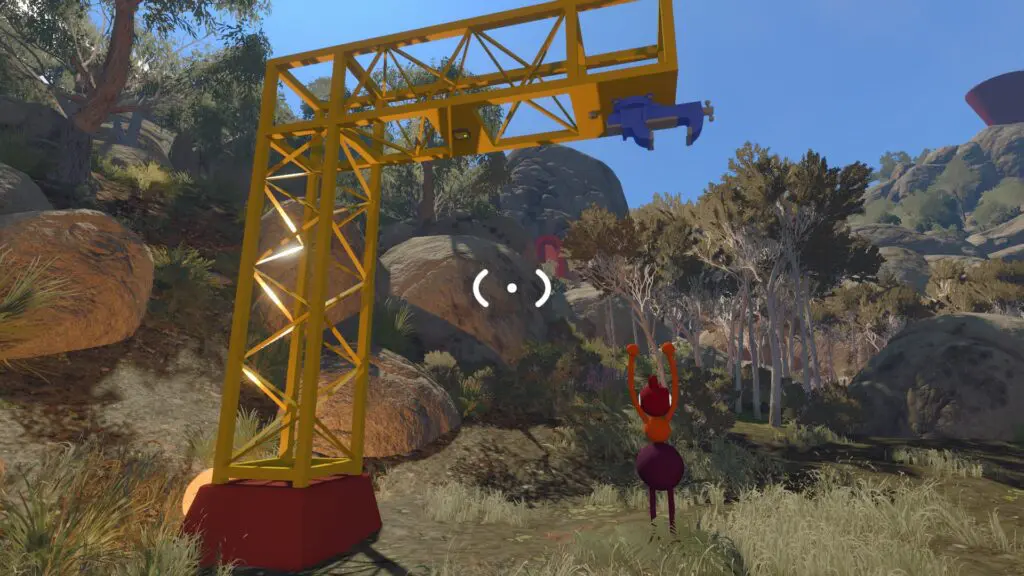
Find it: From the tutorial exit, go down the first ramp and look right between the boulders for a yellow crane. The approximate reading is 3520, 1280.
Do it:
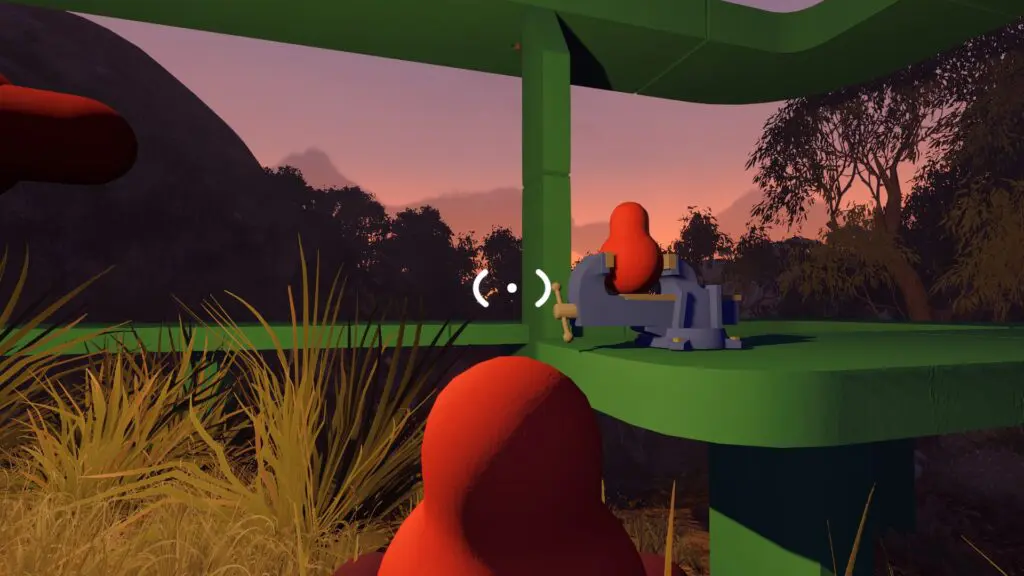
- One player targets a teammate and lifts them onto their head.
- Walk the stack under the crane arm.
- The upper player presses the red button on the underside of the crane.
You are done when: confetti fires and a red control-panel piece drops from the crane.
If it does not complete: lower the upper player, rebuild the stack directly under the button, and make sure the upper player—not the carrier—is pressing it.
2. Telescope signal — keep the button held
Use the focused Spyglass puzzle guide when you need the two-player role split, distant-light navigation, or closed-case recovery.
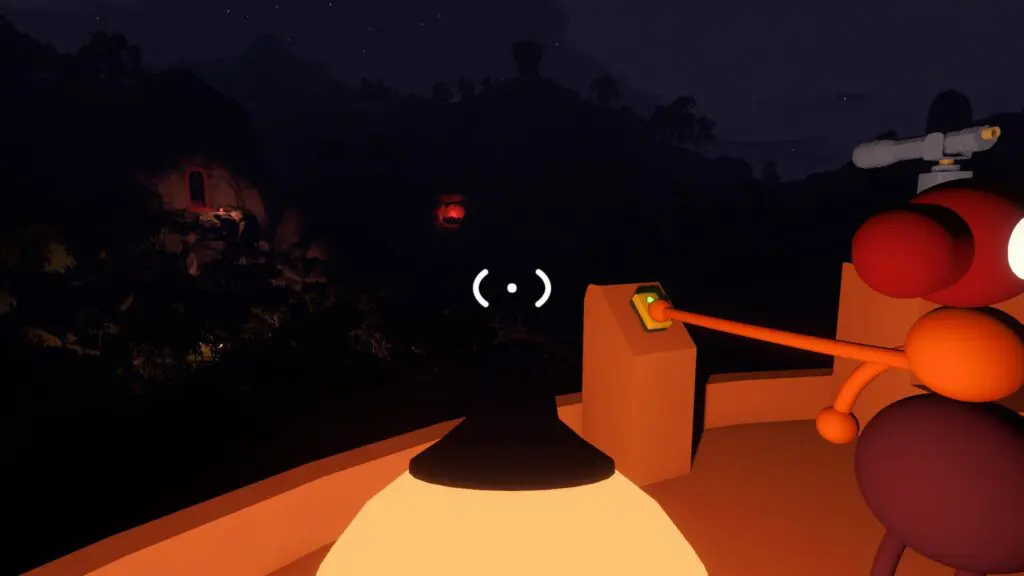
Find it: Continue up the mountain path from the crane to a small platform with a telescope and red button, around 3510, 1195.
Do it:
- Leave one player at the platform to hold the red button.
- While it is held, use the telescope direction and the red light in the distance to line up the route.
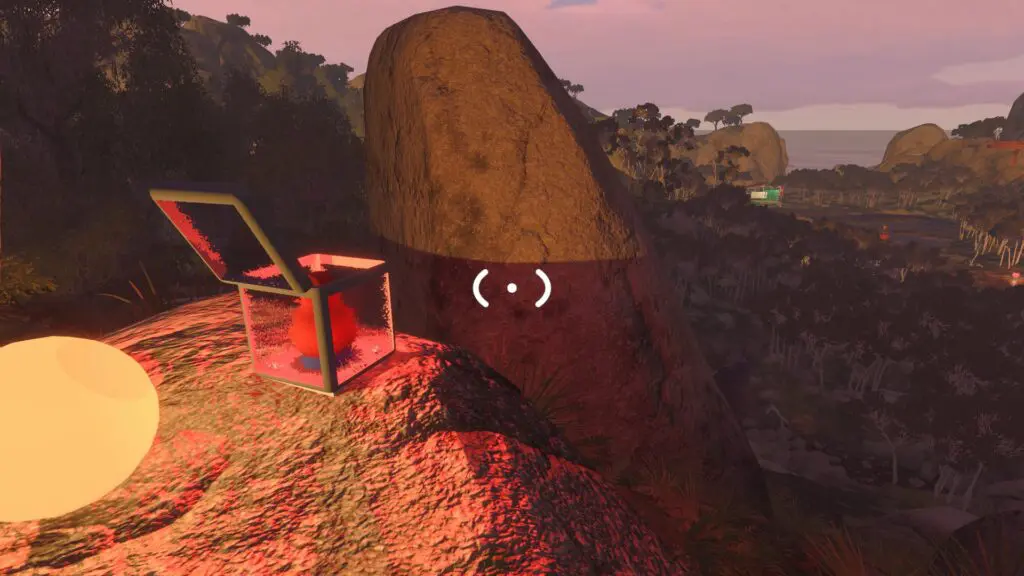
- The second player follows that line to the glass box on the mountainside and collects the piece.
You are done when: the runner has removed the red piece from the box.
If the light or access disappears: the platform player released the button. Return to the button, hold it continuously, and send the runner again.
3. Blue house symbols — describe five screens in order
Use the focused Blue House symbol guide for the reader and builder roles, all four recognition images, the example-only warning, and a position-by-position rejection checklist.
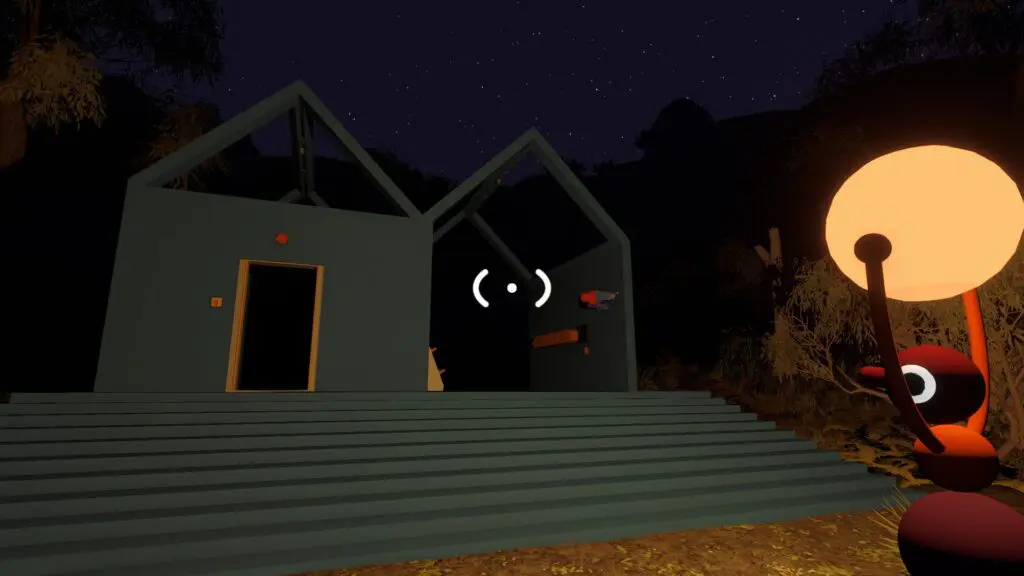
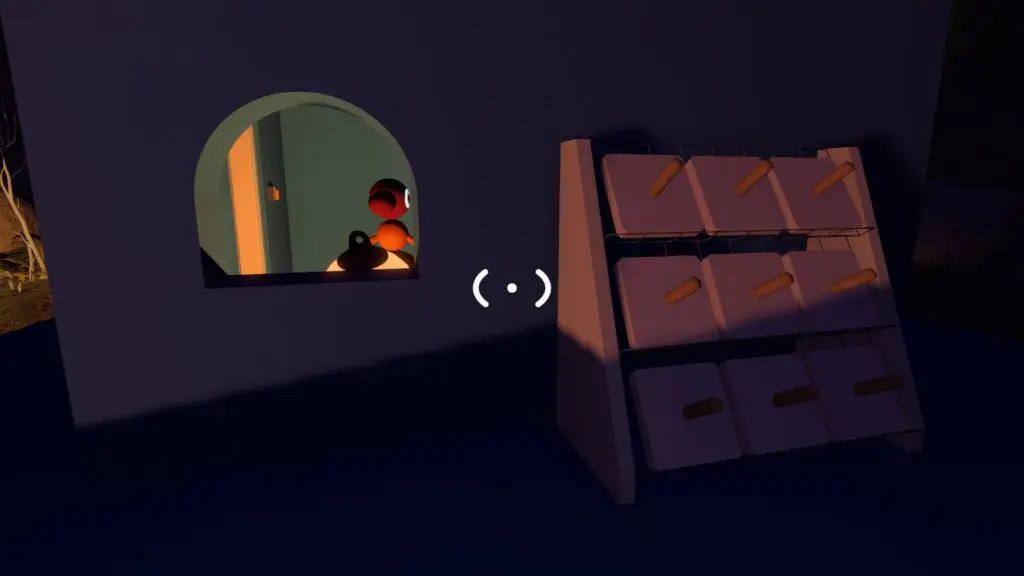
Find it: From the telescope, look right across the valley toward a green platform. Follow the mountain path; the blue house appears just before it, around 3660, 1295. Nine handled symbol pieces sit outside.
Assign roles: one reader goes inside; one builder remains outside. Extra players can manage pieces and repeat descriptions, but should not change the left-to-right order.
Do it:
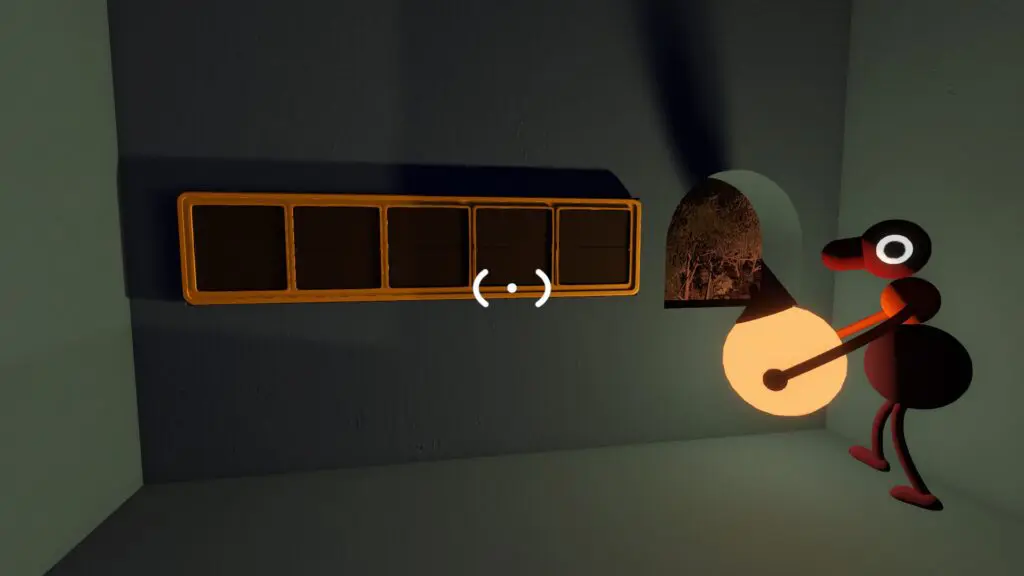
- The reader enters and presses the button beside the door. This closes the room and activates five screens.
- The reader describes the symbols from left to right, one screen at a time.
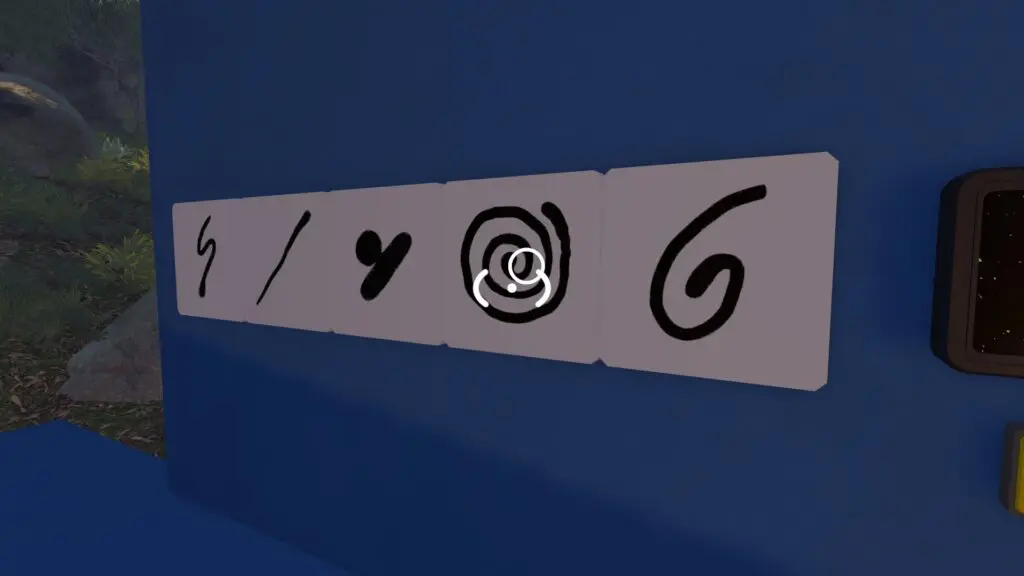
- The builder selects the matching outside pieces and places five of them on the panel in that same order.
- Use the open window to confirm ambiguous shapes. When showing a held piece, turn the character so the visible face points toward the window.
- Press the submit button beside the outside panel.
You are done when: confetti appears and the reward unlocks.
If nothing happens: do not reshuffle everything at once. Recheck screen one through five, correct the first mismatch, then submit again. The displayed sequence can differ between sessions, so a copied symbol answer is less useful than the communication method.
4. Green scaffold buttons — use a clear countdown
Use the focused Green Scaffold button guide for the selected-world setup, active-control check, countdown method, and mistimed-input recovery.
Find it: Continue east and slightly uphill from the blue house to the green scaffolding, around 3650, 1220.
Do it:
- Put players on opposite sides of the lower scaffold, one beside each red button.
- Agree on a countdown that both players can hear or see.
- The first player presses their button and immediately signals.
- The second player presses the opposite button straight after the signal.
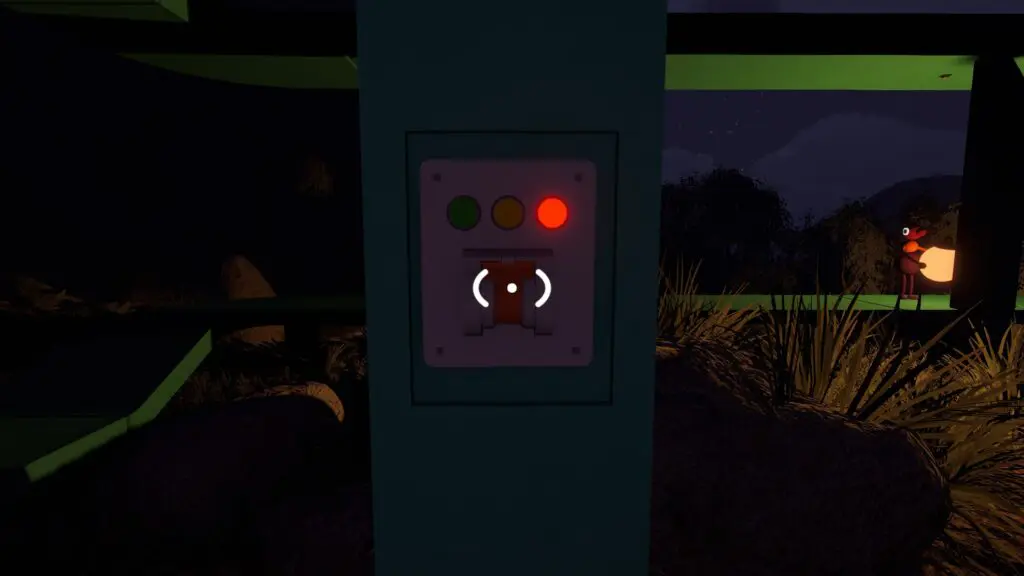
- If the selected world shows additional active buttons, assign one player to each and keep the same short sequence.
You are done when: confetti falls and the piece unlocks in the middle of the platform.
If it fails: regroup within communication range and shorten the interval between presses. Start the sequence again rather than repeatedly pressing at random.
Release the golden key
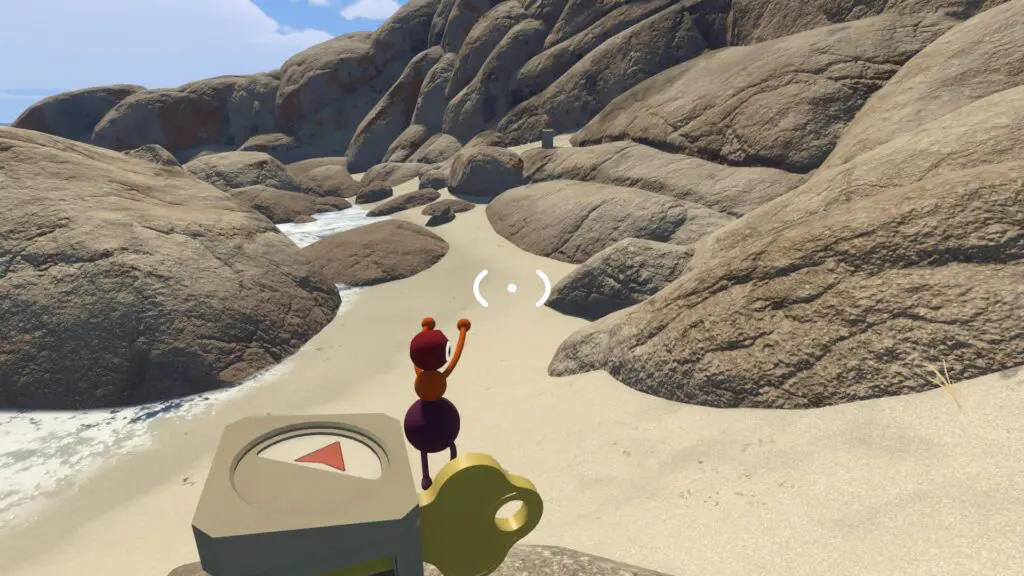
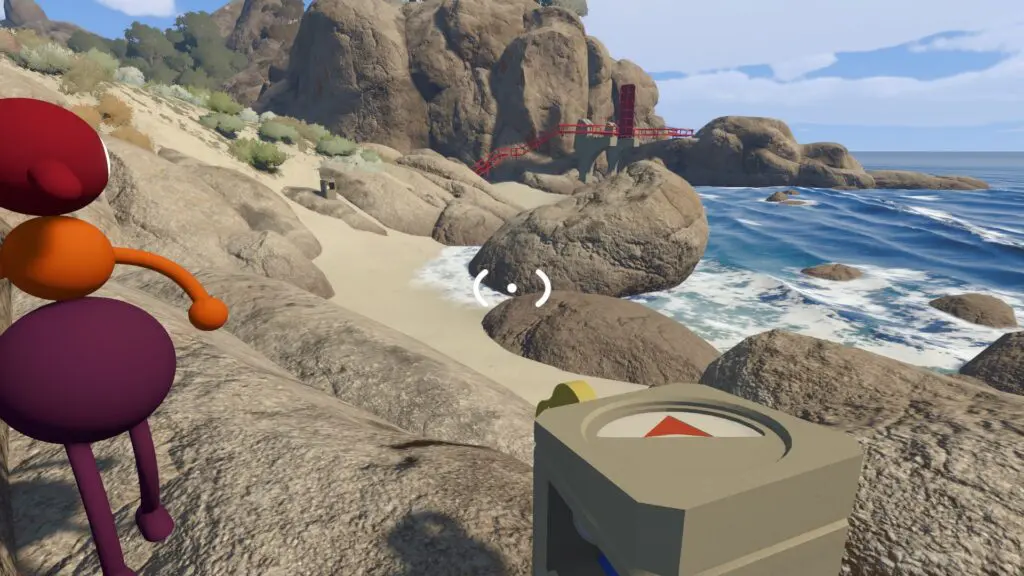
Return all four red pieces to the beach control platform. Hold the matching red panel buttons to open the glass covers, place the pieces in the four slots, and take the golden key from the back of the panel.
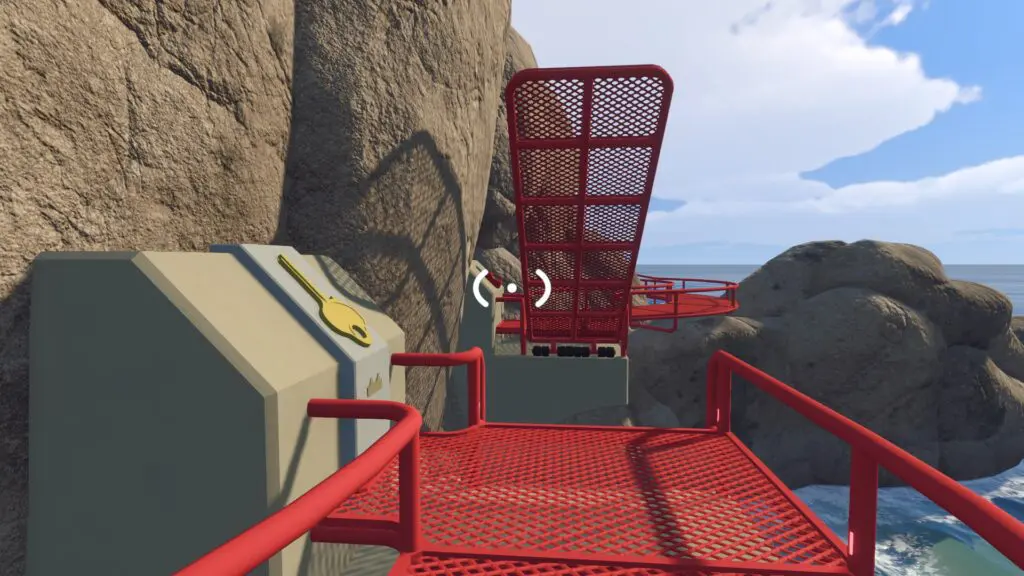
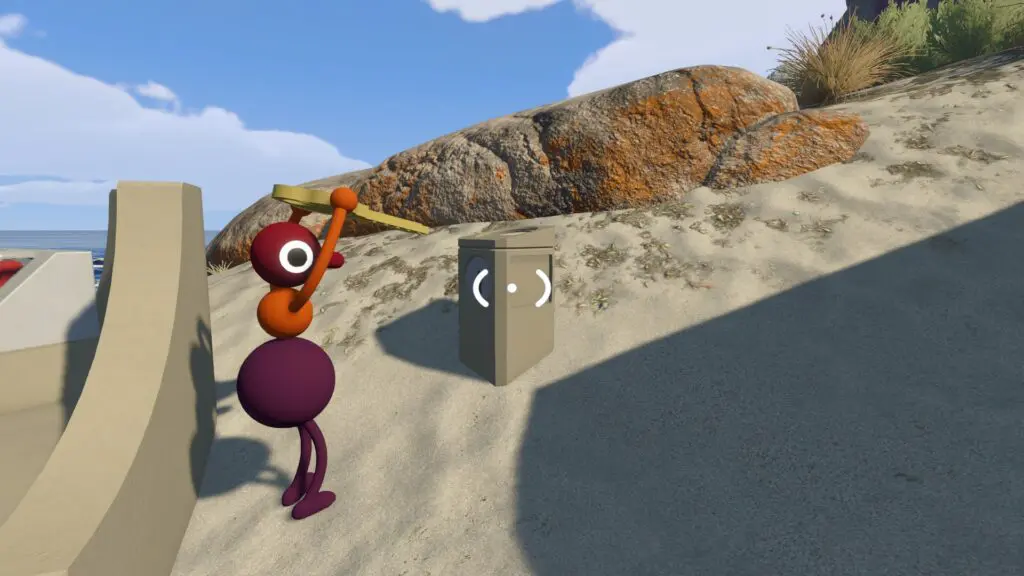
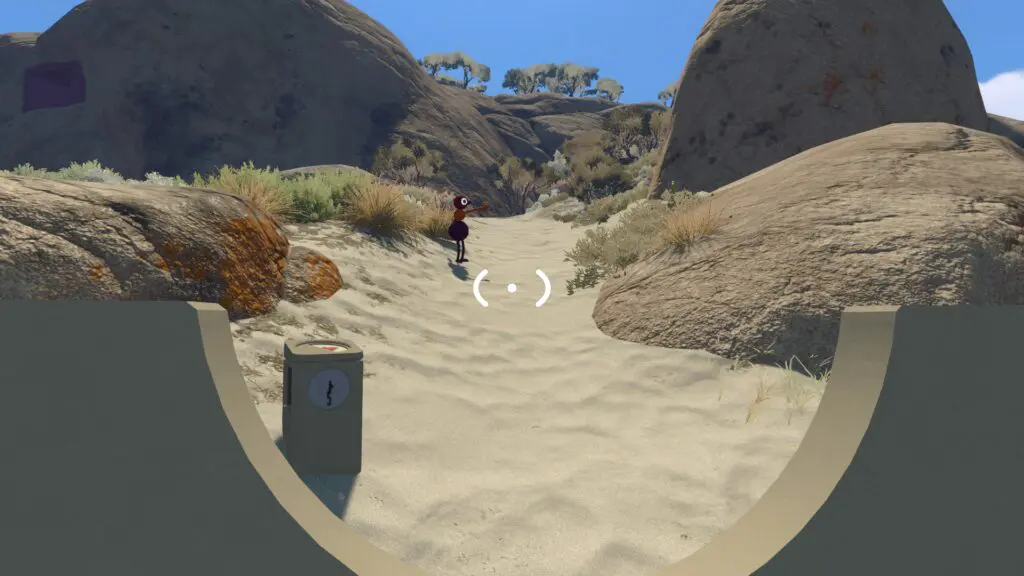
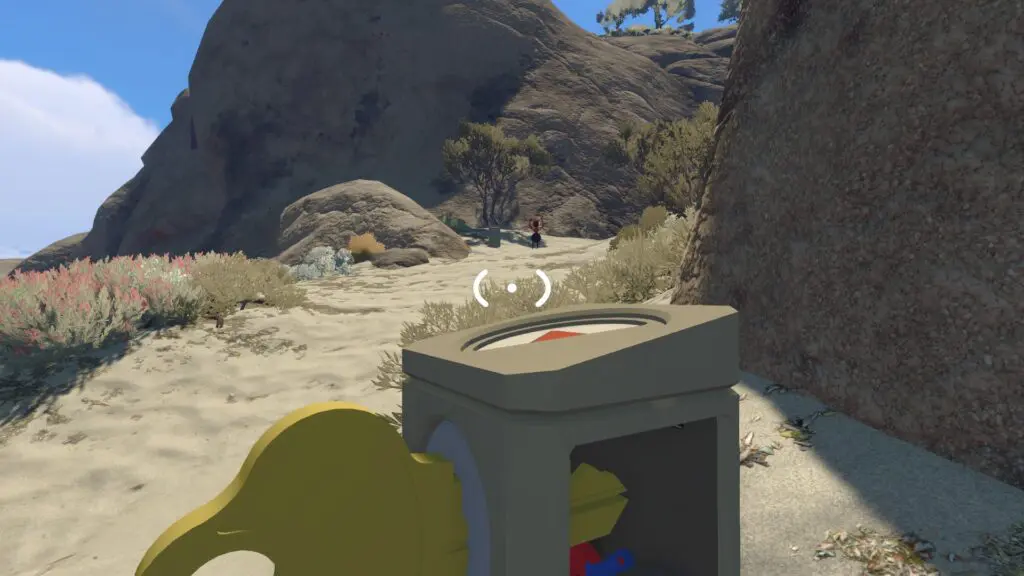
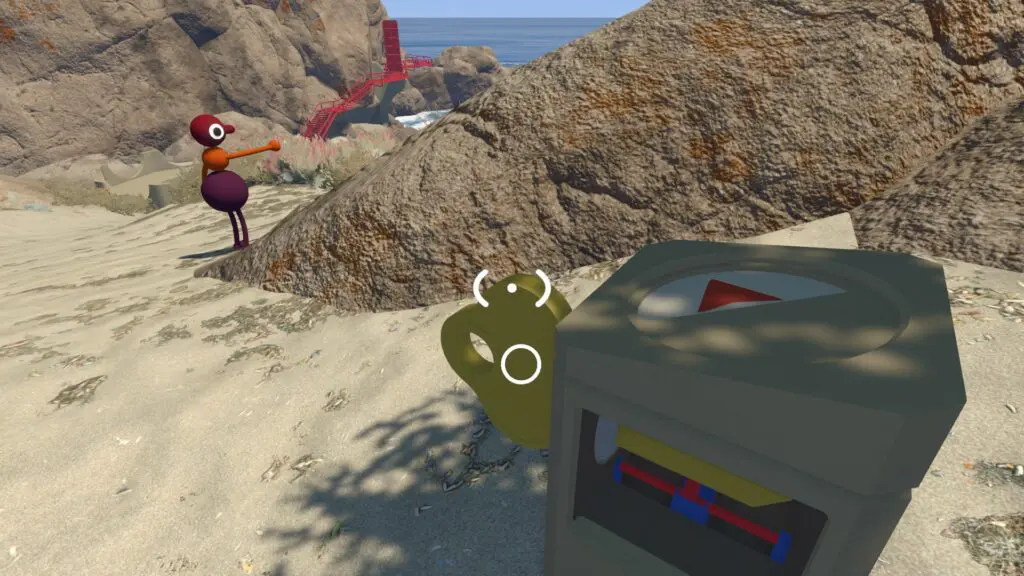
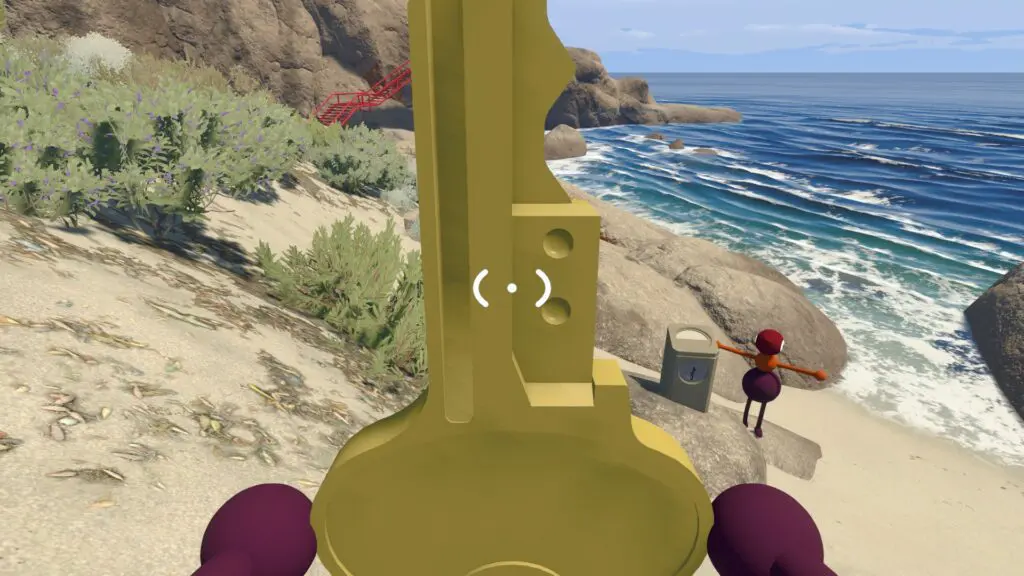
The key is deliberately too large for the bridge lock. It must pass through five cutters:
- Use the first cutter beside the beach control panel.
- After every cut, wait for the top panel to move and reveal an arrow.
- Follow the first arrow to the rock face on the right side of the sandy path.
- Follow the next arrow to the left side of that path.
- Continue to the cutter near the water, close to the bottom of the Crosswalk stairs.
- Turn along the beach for the final cutter.
Do not guess the next cutter from memory: each machine's arrow is the reliable handoff. After the fifth cut, carry the shaped key up the Crosswalk stairs and insert it into the grey lock panel.
What unlocking the Crosswalk changes
The drawbridge lowers and the group can enter the wider island. From this point on, tower control panels can accept rewards from puzzles beyond the nearest five, so later route pages describe efficient nearby sets rather than mandatory exclusive puzzles.
Related guides
Big Walk Crane Button Puzzle
Find the yellow crane, build the correct player stack, press the high button, and collect the fixed Crosswalk reward.
Read guideBig Walk Spyglass Puzzle
Hold the telescope-platform button, follow the distant red signal, open the remote glass case, and collect the Crosswalk piece.
Read guideBig Walk Blue House Symbol Puzzle
Read the five inside symbols, choose matching pieces outside, submit them in order, and fix a rejected answer without copying a sample code.
Read guideBig Walk Green Scaffold Button Puzzle
Count the active controls, assign one player to each station, use one countdown, and recover a mistimed Crosswalk attempt.
Read guideBig Walk Puzzle Teamwork
Choose a 2, 3, or 4+ world, divide observation jobs, and use in-game communication limits as part of the puzzle.
Read guideBig Walk Map & Landmarks — Scoped Route Guide
Navigate the opening area, Crosswalk, Map Room, tower routes, trains, chairlift, and tunnels without a false full-map claim.
Read guideBig Walk Beginner Guide — Your First Hour
Choose the right host and world size, test in-game communication, and avoid the most common first-session mistakes.
Read guide