
Big Walk Launcher Return Puzzle
A focused sender-and-catcher walkthrough with staging and timer-expiry recovery.
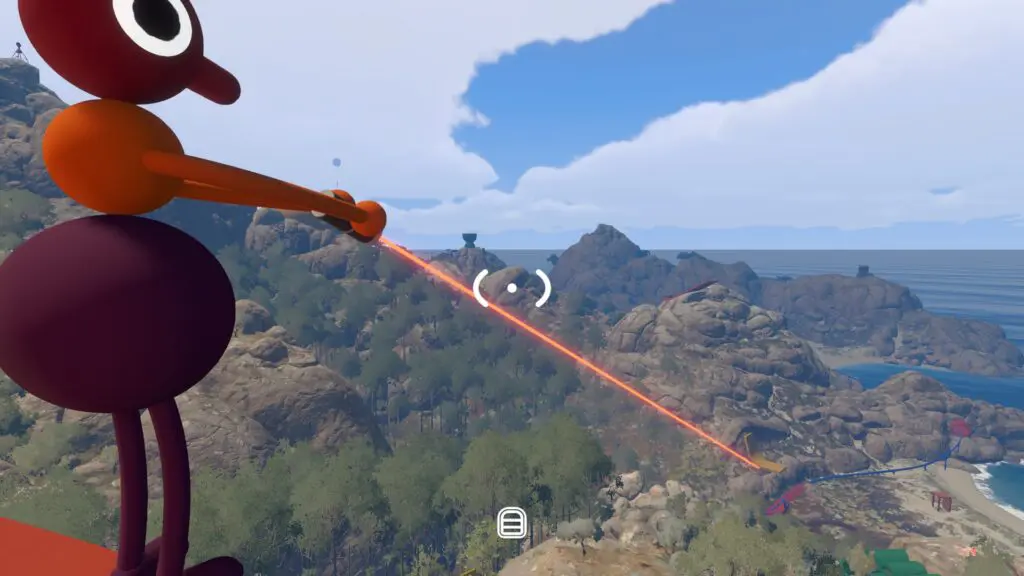
Table of contents
The yellow launcher platform fires a tomato-shaped timer into the field. A
catcher returns it before expiry, and the platform player seats it in the
receiving pedestal. Launcher return is a descriptive guide label, not an
official name.
Quick solution
- Find the yellow platform below Red Tower at approximately 3880, 1520.
- Put the catcher in the field before activating the launcher.
- The platform player uses the shooter on the left.
- The catcher collects the fired tomato timer and throws it back.
- The platform player catches it and places it into the green pedestal on the right.
- Collect the red reward after the timer seats.
Find the launcher platform
From Red Tower, look toward the small train-station side of the mountain for a yellow raised platform. Its left-side launcher and right-side receiving pedestal distinguish it from the split beach maze.
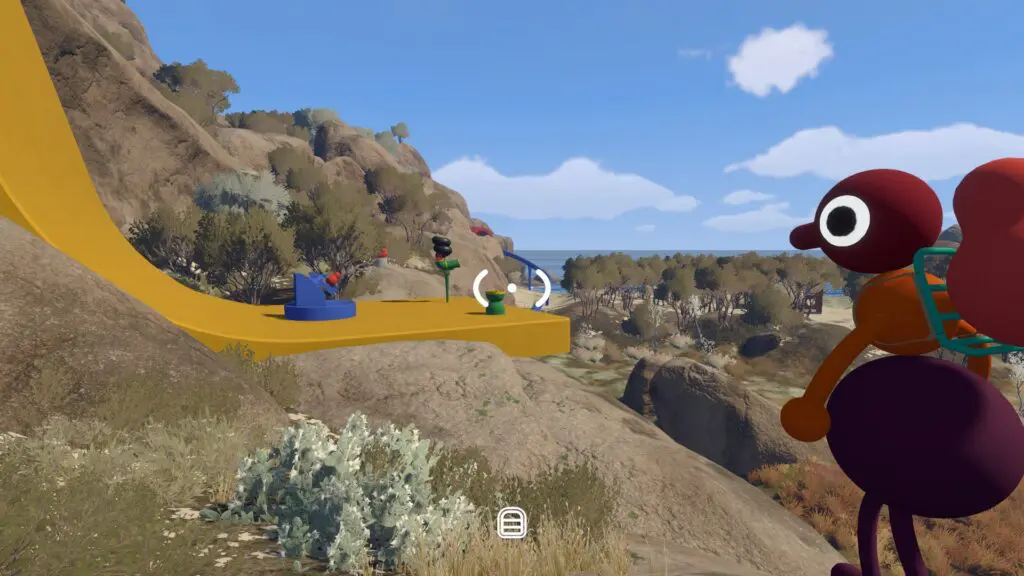
Place the catcher first
Do not fire while the field is empty. The catcher should stand near the expected landing zone, face the platform, and announce readiness. Extra players can spot the landing or retrieve a poor throw, but one catcher should own the return.
Fire, return, and seat the timer
The platform player activates the shooter only after the ready call. The catcher collects the timer, turns toward the platform, and uses a controlled return throw. The platform player catches it and immediately places it in the hole on the green pedestal.
Confirm completion
The challenge registers when the returned timer is seated before expiry. Wait for the control-panel reward to release and pick it up before resetting roles.
Recover before firing again
| Failure | Recovery |
|---|---|
| The timer lands beyond the catcher | Move the catcher to the observed landing area before the next shot. |
| The return misses the platform | Have the platform player stand at the edge and use a shorter throw. |
| The timer expires during role setup | Reset both players first; do not activate until the catcher calls ready. |
| The returned timer is on the platform but nothing completes | Place it into the right-side pedestal rather than leaving it loose. |
Finish the Map Room unlock
Take the reward to Red Tower. The complete Map Room route covers all five nearby options, the five cutters, and the Map Room lock. Use the map and compass location guide after the door opens.
Related guides
Big Walk Map Room Puzzles — Red Tower Solutions
Complete five useful Red Tower challenges, shape the golden key, and open the Map Room for navigation tools.
Read guideBig Walk Hoop Meter Puzzle
Throw round lanterns through the forest hoop, follow the visible progress meter, and correct repeated rim or distance misses.
Read guideWhere to Find the Big Walk Map & Compass
Open the Map Room, pick up the portable map and compass, and know what to do when the door or table is still unavailable.
Read guideBig Walk Train Puzzles — Blue Tower Solutions
Solve five useful Blue Tower challenges, shape the station key, start all three trains, and stop one for your group.
Read guide